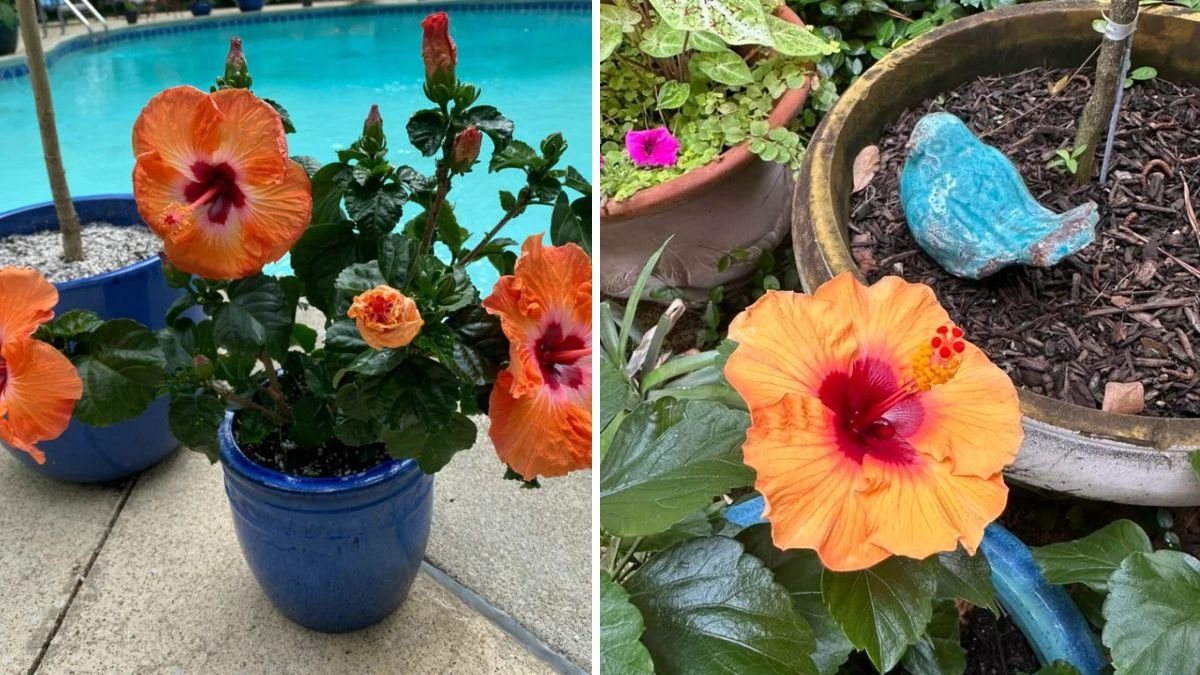
Hibiscus plants are one of the most stunning flowering shrubs you can grow at home. Their vibrant, tropical blooms—ranging from red, pink, white, yellow, orange, and even rare multicolors—make them a favorite for every garden lover. But many gardeners struggle with a common problem:
“My hibiscus has lots of leaves… but very few flowers!”
If that sounds familiar, don’t worry. With the right preparation and care, hibiscus plants can bloom continuously, producing large, bright flowers throughout the growing season. In this detailed guide, you’ll learn how to prepare your hibiscus plants to get lots of blooms—naturally and consistently.
Let’s begin your journey to a hibiscus garden full of color!
Understanding Hibiscus Blooming: Why Preparation Is Important
Hibiscus plants are heavy bloomers—but they need specific conditions to start producing flowers. Without proper sunlight, soil, nutrients, and pruning, the plant focuses more on leaves rather than blooms.
Preparing a hibiscus for flowering is like training an athlete—you set the right environment so it can perform beautifully.
Here’s everything your hibiscus needs before it can explode with blooms.
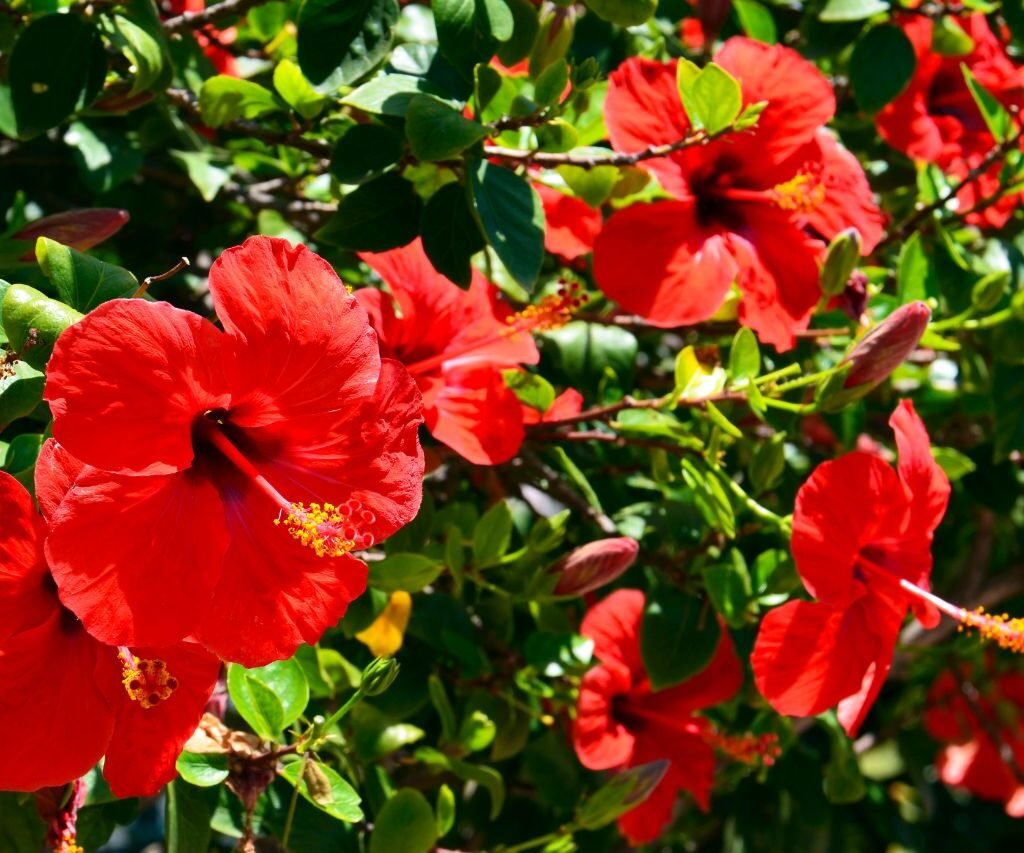
Step 1: Give Your Hibiscus the Right Sunlight (Most Important Secret!)

Hibiscus plants LOVE sunlight.
To get maximum blooms:
Give at least 5–7 hours of direct sunlight daily
- Morning sunlight (soft & warm) is ideal
- Avoid dark balconies or indoor corners
- If sunlight is low, bloom count reduces drastically
If your plant looks green but never blooms, insufficient sunlight is the #1 cause.

Partial Shade?
You can still get blooms, but the plant won’t reach full potential.
Tip: Rotate the plant weekly so all sides receive balanced sunlight.
Step 2: Use the Right Pot and Soil Mix
Hibiscus roots grow fast and need space.
Best pot size:
- Small plants: 10–12 inch pot
- Medium: 14–16 inch
- Large bush: 18–20 inch
Avoid tiny pots—they limit root growth and reduce bloom production.
Soil Mix: Light, airy, and nutrient-rich
Use a perfect hibiscus mix:
- 40% garden soil
- 30% cocopeat
- 20% compost (cow dung/vermicompost)
- 10% sand
- A handful of neem cake for pest protection
This soil retains moisture but also drains excess water.
Healthy roots = more flowers.
Step 3: Watering Correctly for More Blooms
Hibiscus needs consistent moisture.
Water every 2–3 days in summer
Every 4–5 days in winter
Keep soil evenly moist—but never soggy
Overwatering leads to:
- Root rot
- Yellow leaves
- Bud drop
Underwatering leads to:

- Dry buds
- Small flowers
- Slow growth
Perfect rule:
Water deeply when the top 2 inches of soil feel dry.
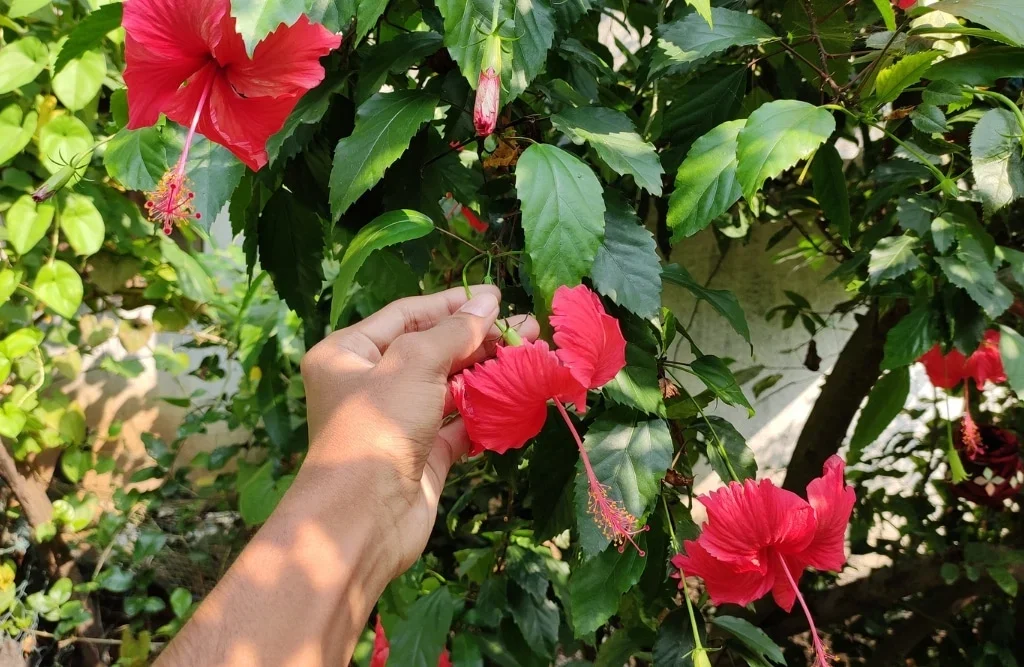
Step 4: Pruning—The Magic Technique for Tons of Flowers
Pruning is the secret to making hibiscus fuller and flower-heavy.
When to prune?
- End of winter
- Beginning of spring
- After every major blooming cycle
How to prune?
- Remove dead, weak, thin branches
- Cut back long branches by 30%
- Trim crossing or inward-growing stems
This encourages:
- Fresh green shoots
- More branching
- More flower nodes = more blooms
Always prune with clean, sharp tools to avoid disease.
Step 5: Fertilizer Routine for Explosion of Blooms
Hibiscus is a hungry plant—it requires regular feeding.
Best Fertilizers for Blooms
- NPK 10-10-10 (general growth)
- NPK 0-10-10 or 10-20-20 (bloom booster)
- Vermicompost
- Seaweed
- Banana peel fertilizer
Monthly Feeding Routine
Week 1: Vermicompost
Week 3: Bloom booster liquid feed
Every 15 days: Seaweed + Epsom salt spray
Epsom salt helps in:
- More blooms
- Greener leaves
- Reduced bud drop
Use 1 teaspoon in 1 liter of water, spray on leaves.
Step 6: Keep Pests Away (Healthy Plant = More Flowers)
Hibiscus often attracts:
- Aphids
- Whiteflies
- Mealybugs
- Spider mites
These pests suck sap and reduce bloom count.

Easy remedies:
- Neem oil spray (once a week)
- Soap water spray
- Keep plant well-ventilated
- Remove affected leaves
Never spray neem oil in harsh sunlight; use early morning or evening.
Step 7: Ideal Temperature & Climate for Flowering
Hibiscus blooms best in warm climates.
Ideal temperature:
- 18°C – 35°C
Too much heat causes bud drop.
Too much cold slows growth.
Tip: During peak summers, give light shade from 2–4 PM.
Hibiscus Blooming Cycle: What to Expect (With Full Updates)
Month 1: Recovery and Growth
After pruning and repotting:
- Plant grows new leaves
- New shoots appear
- Branching starts
Feed with balanced fertilizer.
Month 2: Strong Branch Development
You’ll notice:
- Faster growth
- More branching
- Tight leaf clusters
This is the stage where the plant prepares for buds.
Month 3: Bud Formation Begins
Small green bumps appear at branch tips.

To boost bud growth:
- Increase morning sunlight
- Use bloom booster
- Keep soil moderately moist
Avoid shaking or touching developing buds—they drop easily.
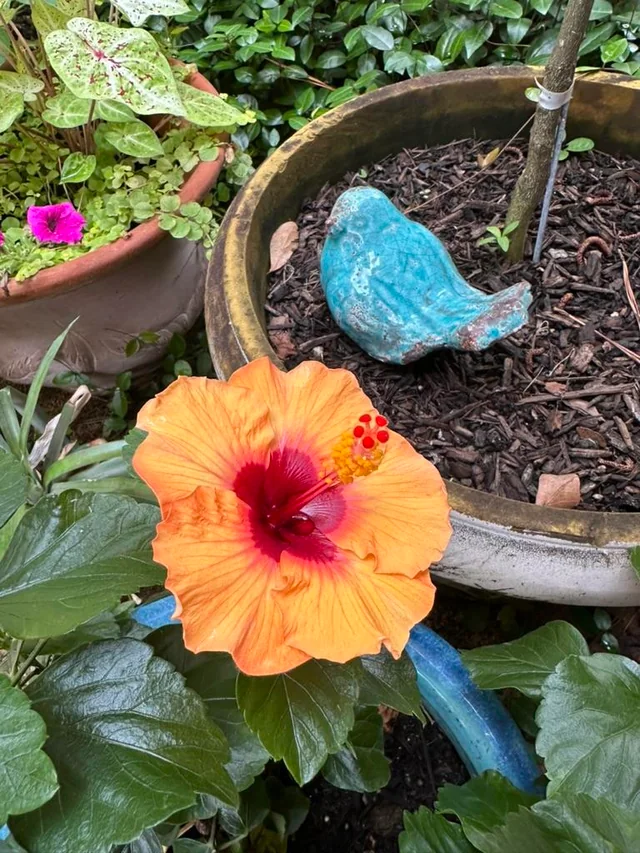
Month 4: Blooming Season Starts
Within days, buds enlarge and start opening.
Expect:
- Daily blooms
- Larger and brighter flowers
- Continuous flower production
Each bloom lasts 1 day—but new blooms appear daily if the plant is well-prepared.
Month 5 & Beyond: Continuous Flowering
Your hibiscus will flower regularly if you maintain:
- Fertilizer schedule
- Proper sunlight
- Sufficient water
- Pest control
You can enjoy flowers for 8–10 months of the year.
Common Problems & Their Solutions
Lots of buds but they fall off
Caused by inconsistent watering & pests
Maintain even moisture, spray neem oil
Plant grows tall but no blooms
Insufficient sunlight
Move to brighter area

Yellow leaves
Overwatering or nutrient deficiency
Adjust watering + add magnesium (Epsom salt)
Small flowers
Low phosphorus
Use bloom booster
Final Tips for Making Hibiscus Bloom Non-Stop
- Use a big pot for better root expansion
- Give maximum sunlight possible
- Feed regularly—hibiscus is a heavy feeder
- Prune yearly for better shape & blooming
- Keep the plant slightly moist, never dry for long
- Protect from pests
- Don’t disturb buds once they start forming
With this preparation routine, your hibiscus will reward you with massive, continuous blooming all year long!
Leave A Comment