Composting is one of the best things you can do for your garden, environment, and daily waste management. Instead of throwing away vegetable scraps, dried leaves, fruit peels, and old soil, you can convert them into a powerful natural fertilizer—called compost. This nutrient-rich compost improves plant health, increases soil fertility, supports microbial life, and helps your plants grow faster and stronger without chemicals.
If you’ve ever wondered how people create dark, crumbly, soil-like compost at home, this step-by-step guide will give you the complete process—simple, clean, and effective. Whether you live in an apartment, bungalow, terrace home, or have limited space, composting is possible anywhere.
Let’s begin!
What Is Compost?

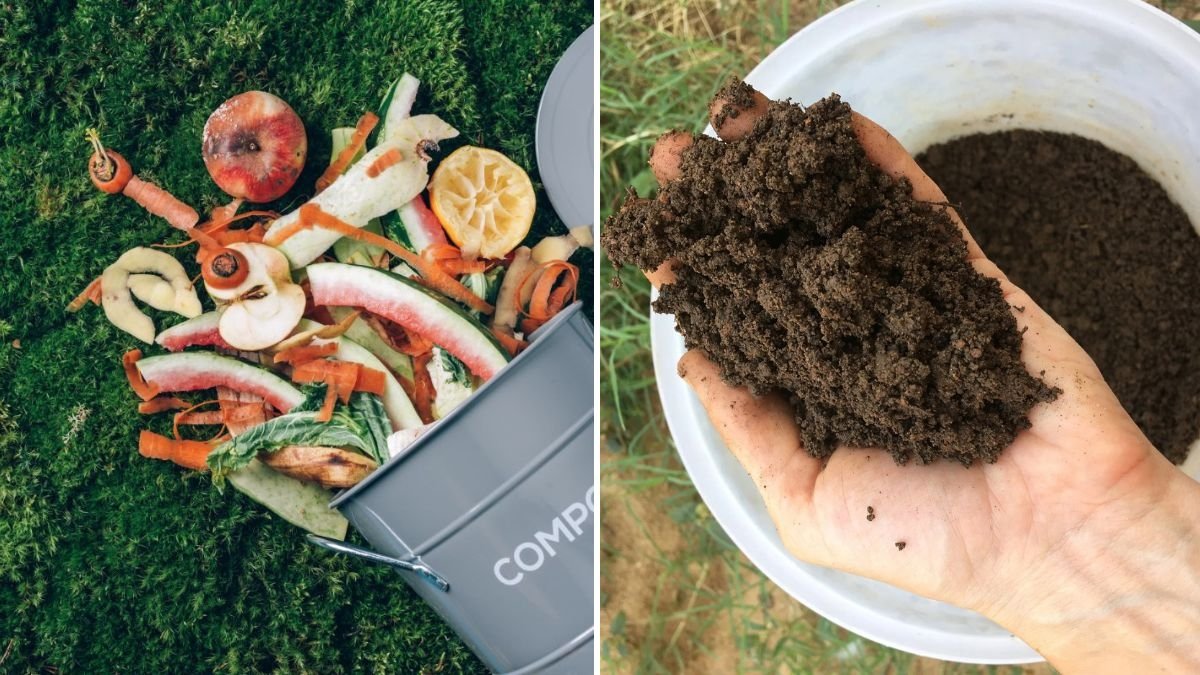
Compost is the result of decomposed organic matter such as food scraps, dry leaves, and plant waste. Microorganisms like bacteria, fungi, and earthworms break down the waste and convert it into nutritious soil.
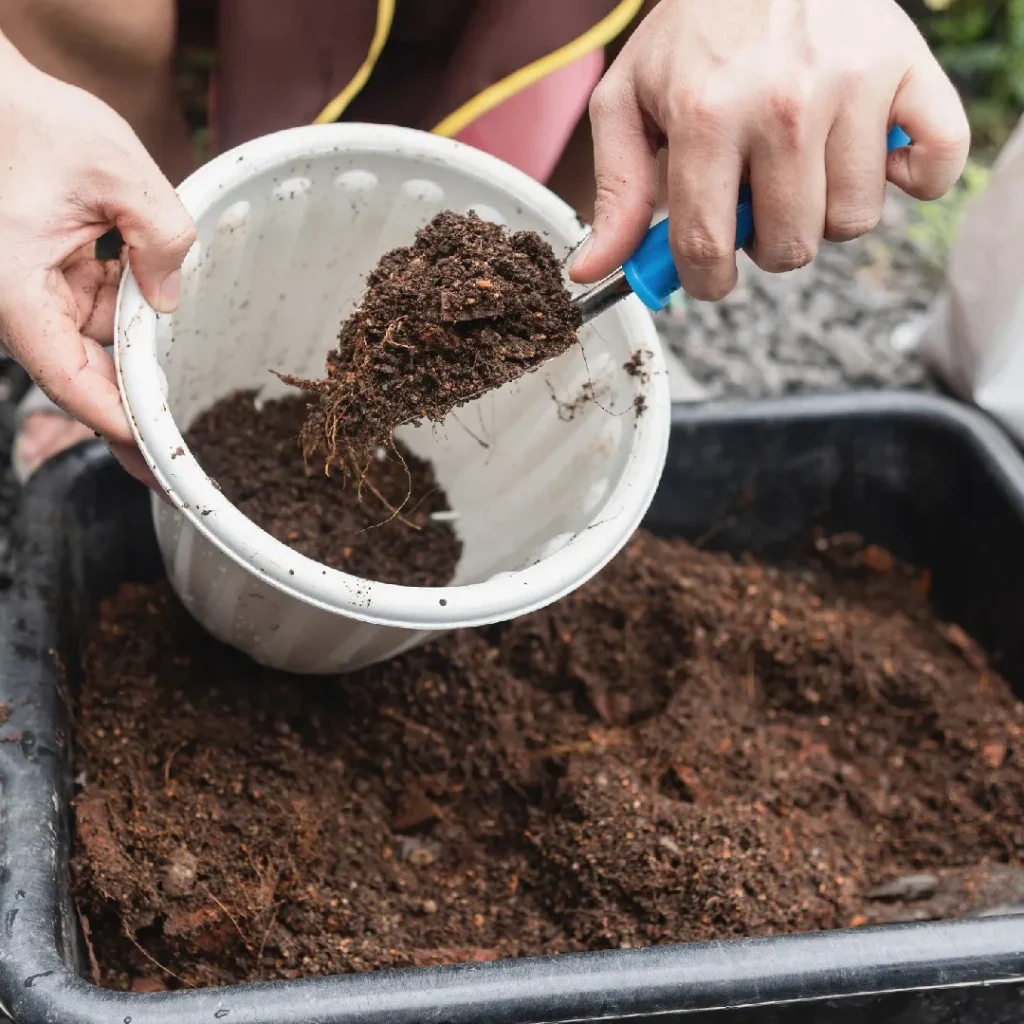
Good compost looks like dark soil, smells earthy, and crumbles easily. It is often called “Black Gold” because of its incredible benefits for gardening.
Why Make Compost at Home?
There are several reasons why composting is beneficial:
- Reduces 50–60% household garbage
- Prevents landfill pollution
- Creates free organic fertilizer
- Improves soil structure and fertility
- Protects plants from diseases
- Saves money otherwise spent on chemical fertilizers
Composting is eco-friendly, cost-effective, and rewarding.
What You Need to Start Composting
You don’t need expensive equipment. You can start with simple household items.

Basic Materials:
- A container (bucket, drum, or pot with holes)
- A lid or cover
- Dry leaves or sawdust
- Kitchen waste
- Soil or old compost
- A stirring tool (stick or spade)
Green Waste vs. Brown Waste
To make perfect compost, you need the correct balance of two types of materials:
| Type | Examples | Purpose |
|---|---|---|
| Green Waste (Wet/Nitrogen-Rich) | Vegetable peels, fruit scraps, tea leaves, coffee grounds, grass clippings | Adds nitrogen for microbial growth |
| Brown Waste (Dry/Carbon-Rich) | Dry leaves, paper strips, sawdust, cardboard pieces, cocopeat | Helps control smell and balance moisture |
Ideal Ratio:
1 part green waste + 2–3 parts brown waste
This balance keeps compost odor-free and speeds up decomposition.
What Not to Add to Compost
Avoid adding the following:
Meat, fish, eggs
Dairy products
Oily or cooked food
Plastics, metals, glass
Diseased plants
Pet waste
These items either attract pests, smell bad, or do not decompose properly.
Step-by-Step Composting Process
Step 1: Prepare the Compost Bin
Choose a container and drill or poke holes around it for airflow. Place it in a shaded area—not under direct rain.

Step 2: Add a Base Layer
Start with:
- Dry leaves
- Small sticks
- Newspaper pieces
This improves drainage and air supply.
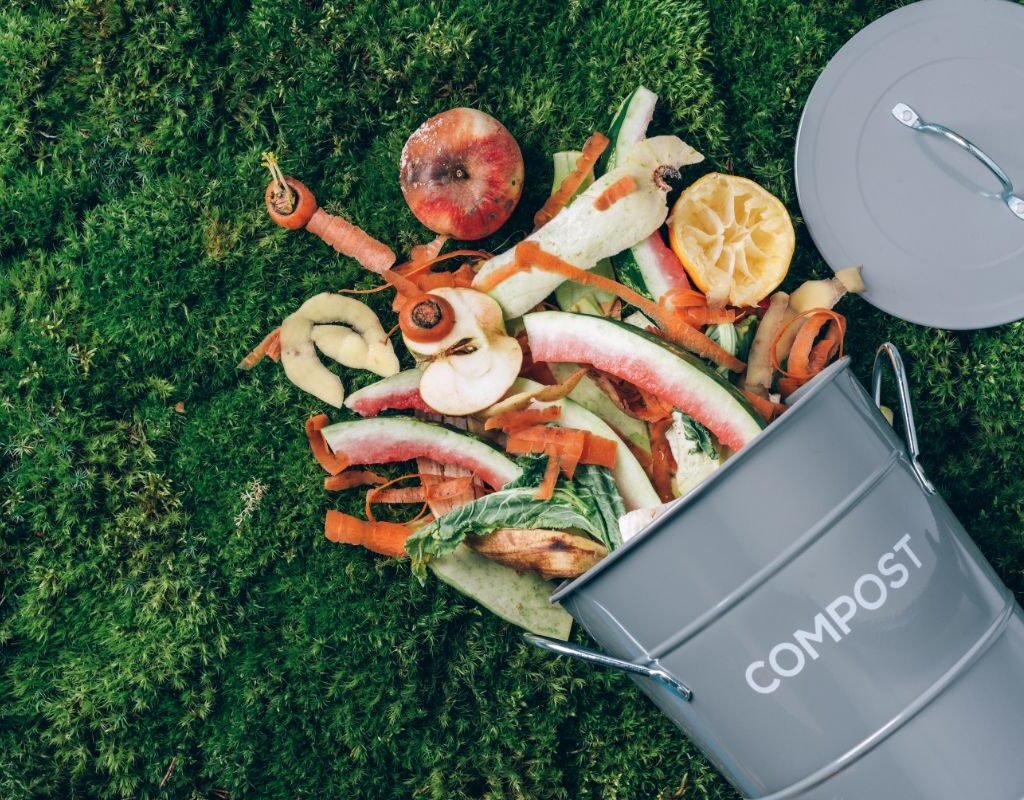
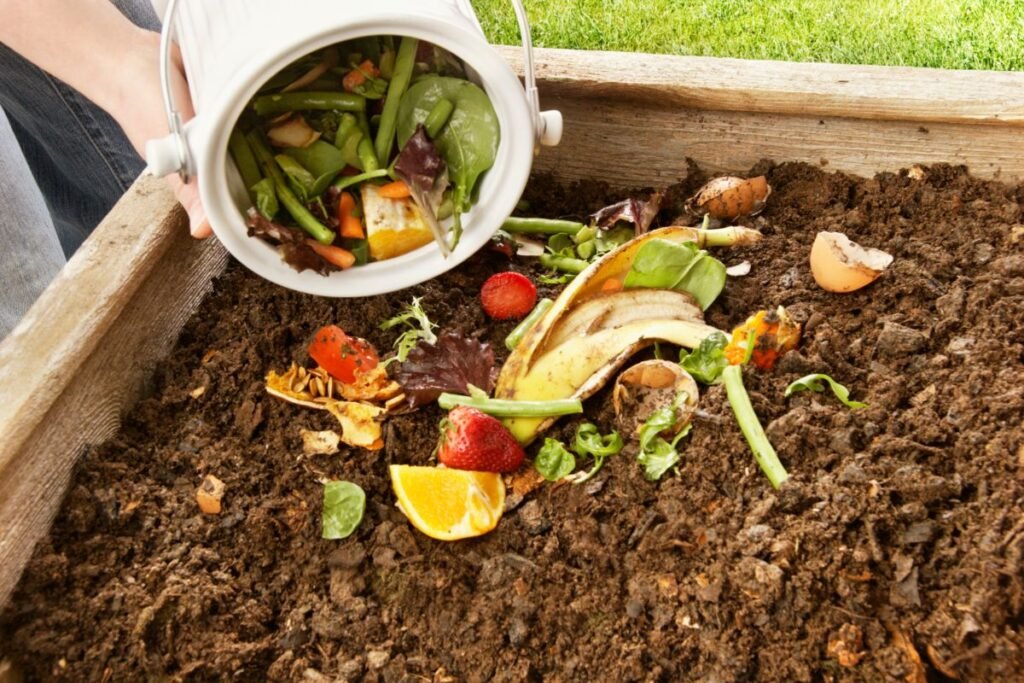
Step 3: Add Green Waste
Add vegetable scraps, banana peels, fruit waste, or leftover raw food waste from your kitchen.
Cutting larger waste into smaller pieces helps them break down faster.
Step 4: Add Brown Waste
Now cover the green waste with:
- Dry leaves
- Shredded cardboard
- Sawdust
This prevents smell and absorbs extra moisture.
Step 5: Layering
Continue alternating layers of:
Green Waste
Brown Waste

Finish with a final brown waste layer.
Step 6: Add Soil or Old Compost
Sprinkle a handful of soil or old compost on top. This introduces helpful microbes to speed decomposition.
Step 7: Mix Weekly
Every 5–7 days, stir or turn the compost to allow oxygen flow. This helps microbes work faster.
Moisture Rule: The Sponge Test
Compost should remain moist, not wet.
- If it’s too dry, add a little water or more green waste.
- If it’s too wet or smelly, add more brown waste like dry leaves.
The ideal moisture feels like a damp sponge.
Time Required for Composting
Depending on weather and material balance, compost takes:
45 to 90 days
Warmer climates break down faster than cold conditions.

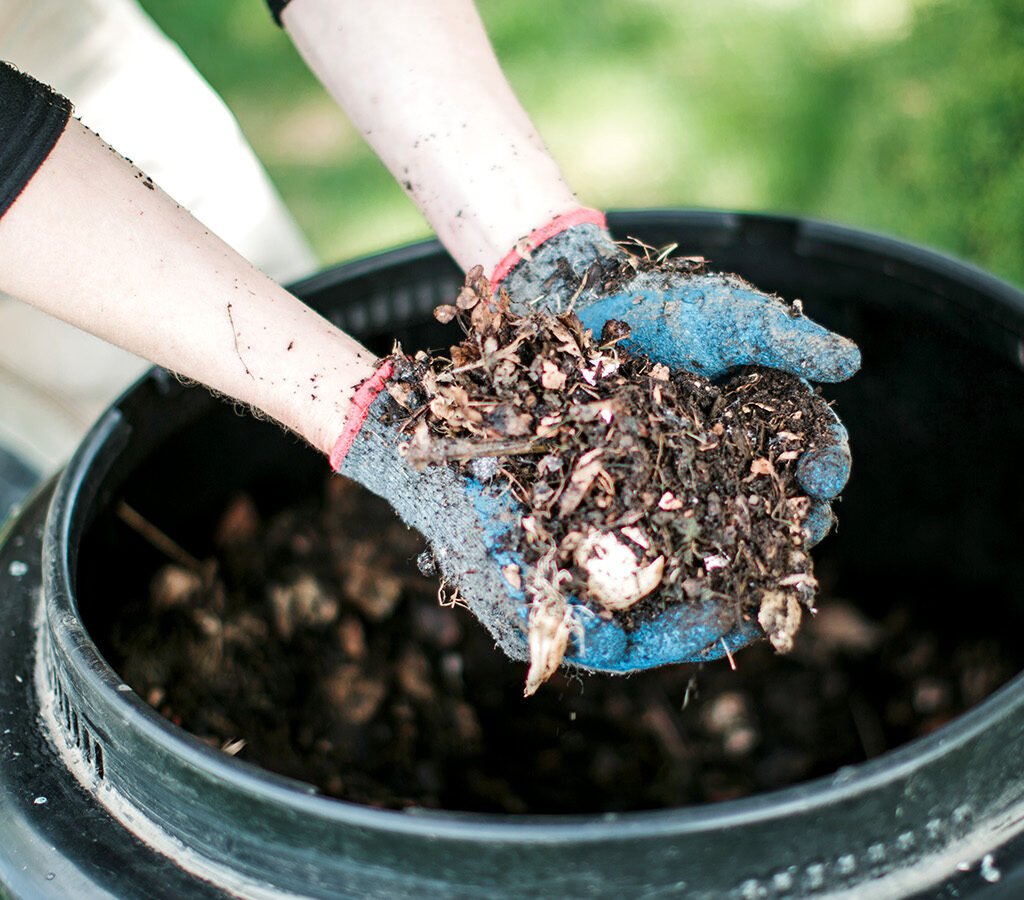
Signs That Compost Is Ready
Your compost is ready when:
It looks like dark brown soil
It has a loose, crumbly texture
It smells like fresh earth
Original waste is unrecognizable
If large pieces remain, sift the compost and return them to the bin for further breakdown.
How to Use Compost
Use compost in multiple ways:
- Mix with potting soil (1 part compost + 2 parts soil)
- Add a handful around root areas monthly
- Use as mulch around plants
- Mix in planting pits before adding plants
Vegetables, flowers, fruit plants, and indoor plants all benefit from compost.
Common Problems & Solutions
| Problem | Cause | Solution |
|---|---|---|
| Bad smell | Too much wet waste | Add dry leaves or paper |
| Ants | Too dry | Sprinkle water slightly |
| Compost not breaking down | Not enough oxygen | Stir more often |
| Flies | Food waste exposed | Cover with soil or brown waste |
With small adjustments, composting becomes smooth and odor-free.
Bonus Tip: Add Earthworms (Optional)
If you want faster composting, add earthworms—this method is called vermicomposting.
Earthworms eat waste and produce highly nutrient-rich castings.

Conclusion
Making compost at home with kitchen and garden waste is simple, natural, and deeply beneficial. You reduce household waste, save landfill space, and create nutrient-rich food for your plants—making them healthier, greener, and more productive.
Instead of throwing away useful biodegradable waste, turn it into valuable compost and help the planet while improving your garden.
Once you start composting, you’ll wonder why you didn’t begin earlier!
Leave A Comment