Roses are known as the queen of flowers—beautiful, fragrant, and timeless. While many gardeners think growing roses is difficult, there is a simple and rewarding way to expand your rose garden without buying new plants: growing roses from cuttings. With the right technique, a single mature rose stem can turn into a healthy, blooming plant.
This complete guide walks you through the entire process—from selecting cuttings to rooting, transplanting, and ongoing care—so you can successfully grow roses right at home.
Why Grow Roses from Cuttings?
Propagating roses from cuttings has several benefits:
- Saves money—no need to buy new plants
- Keeps the exact same flower color and fragrance
- Easy and requires very little equipment
- Faster than growing from seeds
Once you understand the steps, you’ll realize anyone—even a beginner—can do this successfully.
Step 1: Choosing the Right Cutting
The most important first step is selecting the correct type of stem.
Choose a stem that is:

- Semi-hardwood (neither soft nor woody)
- Healthy with no pests or fungus
- About 6–8 inches long
- Recently bloomed or still has a flower bud
Avoid:
Very soft new growth
Dry, brown, or extremely old stems
Using a clean, sharp tool, cut the stem at a 45-degree angle—this helps absorb more water and encourages faster rooting.
Step 2: Preparing the Cutting
Once you have your stem cutting:
- Remove the flower or bud.
The plant needs energy to grow roots—not sustain flowers. - Remove lower leaves.
Keep only 2–3 leaves at the top. - Optionally, remove thorns from the bottom half to avoid infection.
- Dip the bottom end in rooting hormone.
If you don’t have rooting hormone, you can use:- Aloe vera gel
- Honey
- Cinnamon powder
These natural alternatives help prevent fungal infections and encourage root growth.
Step 3: Preparing the Growing Medium

Roses need a loose, airy soil mix to root well. Avoid normal garden soil—it is too heavy and may rot the cutting.
Ideal rooting soil mix:

- 50% Coco peat or peat moss
- 30% Perlite or sand
- 20% Compost (optional)
The soil should stay moist but not soggy.
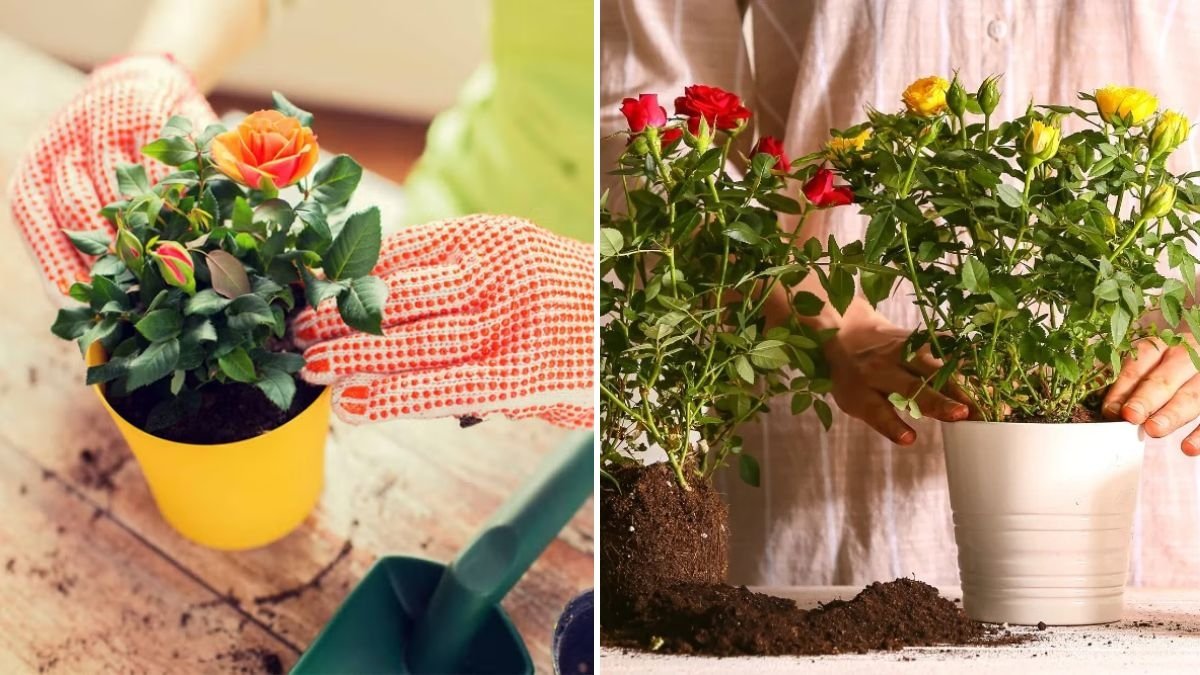
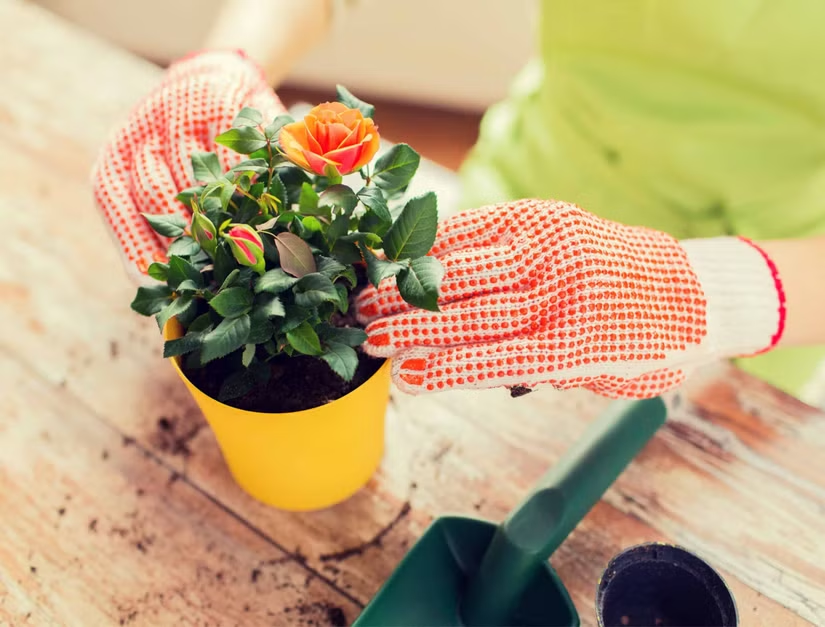
Step 4: Planting the Cutting
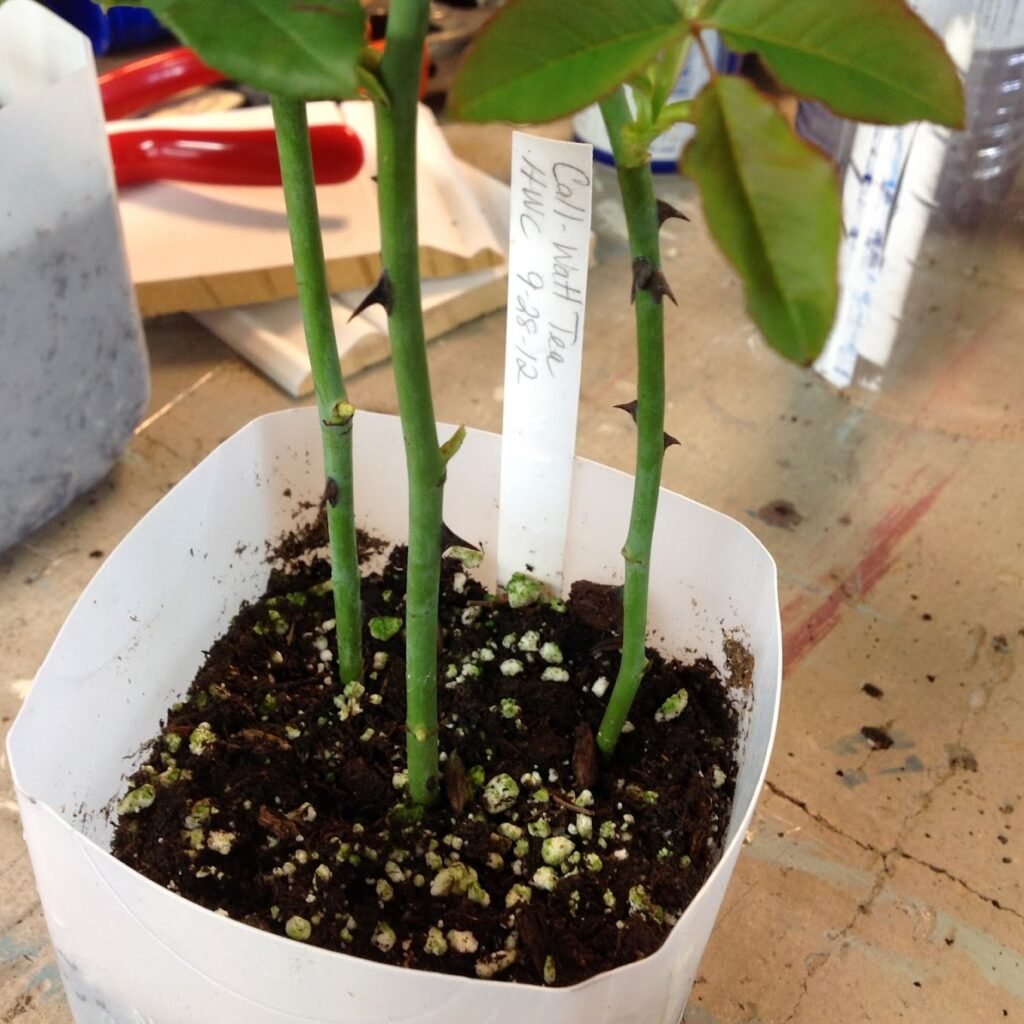
- Create a hole in the soil using a stick or pencil.
- Insert the cutting 2–3 inches deep.
- Press the soil gently around it for support.
Now the most important part: humidity control.
Cover the pot with:
- A plastic bottle
- A transparent polybag
- A mini greenhouse container
This traps moisture and prevents the cutting from drying out.
Step 5: Watering and Placement
- Water lightly after planting.
- Keep the soil moist—not waterlogged.
- Place the pot in bright, indirect sunlight.
- Avoid harsh afternoon sun.
Daily care checklist:
| Task | Needed? |
|---|---|
| Water when soil feels dry | |
| Remove condensation inside bag | |
| Move to full sun | (until rooted) |
Root Development Timeline
| Timeframe | What Happens |
|---|---|
| Week 1–2 | Cutting adjusts and begins callus formation |
| Week 3–4 | Tiny white roots start forming |
| Week 5–7 | Cutting becomes stable and new leaves grow |
Tip: Gently tug the cutting after 4 weeks. If you feel resistance, rooting has started successfully.

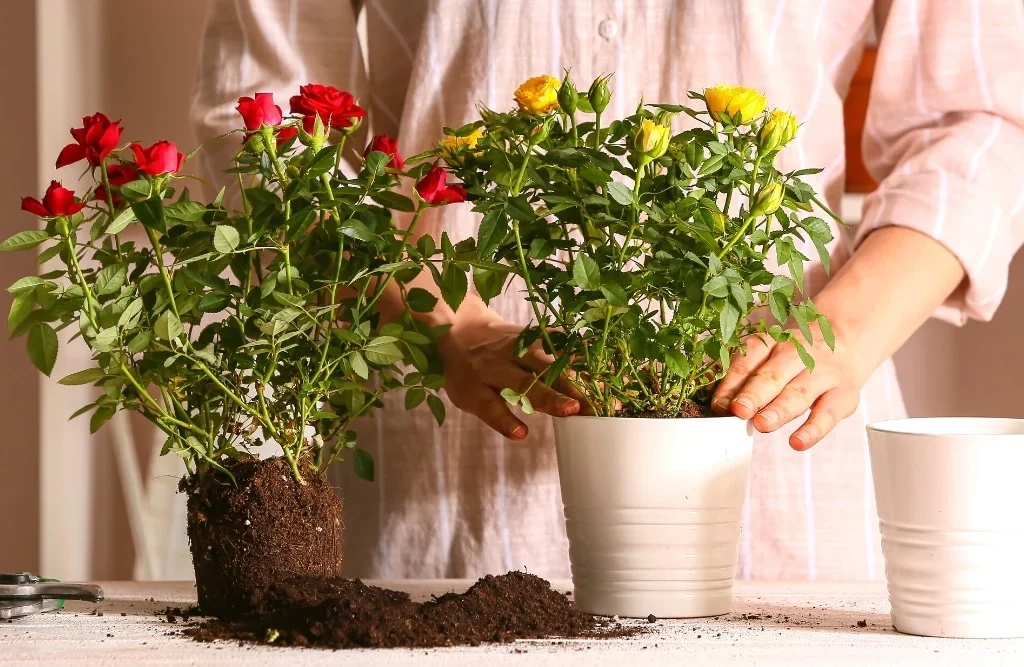
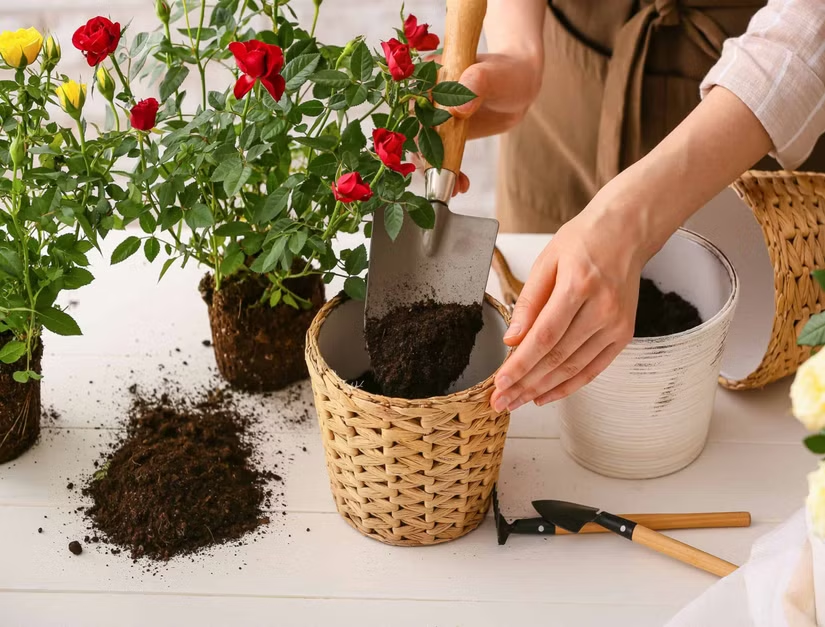
Step 6: Transplanting to a Larger Pot
Once new leaves appear and roots are developed, it’s time to move your baby rose plant to a bigger container.
Best soil mix for transplanting:
- 40% Garden soil
- 30% Compost (vermicompost or cow dung)
- 20% Coco peat
- 10% Sand
Place the pot in partial sunlight for 5–7 days, then gradually move to full sunlight.
Step 7: Care After Transplanting
Your new rose plant now needs regular care to grow strong and bloom beautifully.
Feeding:
- Apply compost every 30–40 days
- Use banana peel fertilizer or liquid seaweed for flowering
Watering:

- Water when the top 2 inches of soil feel dry
- Avoid watering on leaves to prevent disease
Pruning:
- Remove yellow leaves and dead branches regularly
- Pinch tips to encourage bushier growth
Pests to Watch For
Roses can attract pests if not monitored. Common ones include:
- Aphids
- Spider mites
- Mealybugs
Natural remedies:
- Neem oil spray weekly
- Soap water spray
- Hydrogen peroxide diluted spray (occasionally)
When Will It Bloom?
A healthy cutting-grown rose usually starts blooming within 4–6 months, depending on climate and care.
With consistent sunlight, feeding, and pruning, your cutting will transform into a beautifully blooming rose plant.
Final Thoughts
Growing roses from cuttings is one of the most rewarding gardening experiences. You don’t need expensive tools or advanced skills—just patience, attention, and love.

Soon, your garden will be filled with roses that you propagated yourself, making every bloom extra meaningful.
Bonus Tip for Beginners
Start with hardy varieties like:
- Desi roses
- Landscape roses
- Floribunda roses
They root more easily and grow faster.
Leave A Comment