
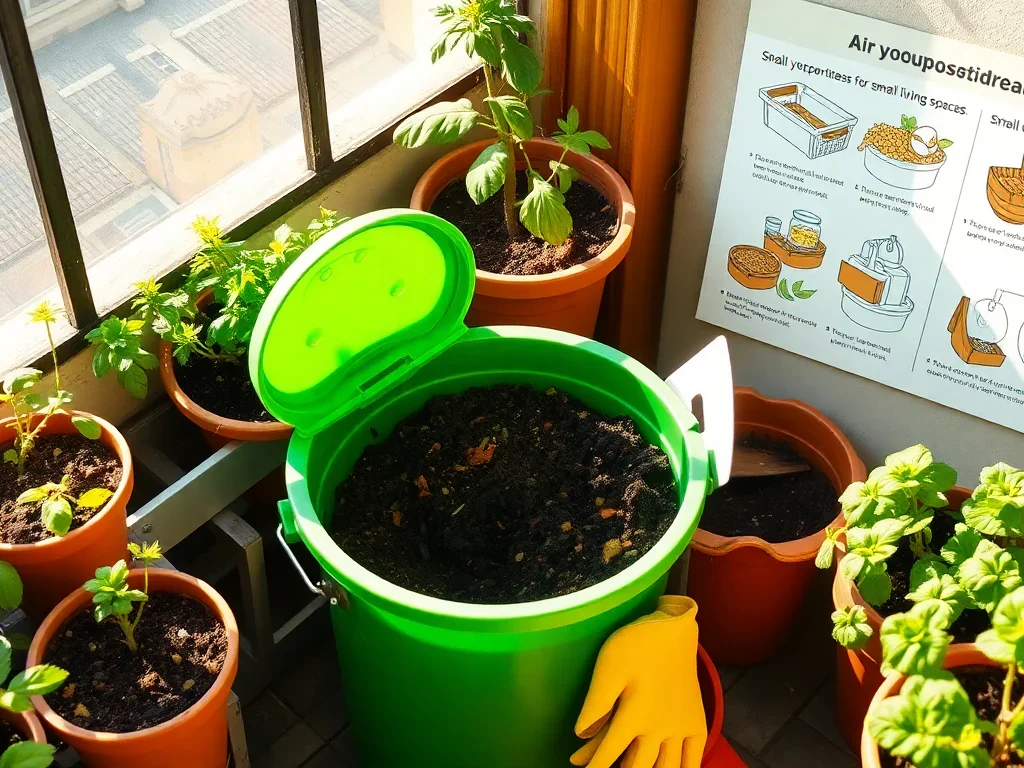
Composting is one of the easiest and most rewarding ways to reduce your household waste while creating nutrient-rich soil for your plants. But many urban gardeners believe composting is only possible in large backyards or outdoor spaces. The truth is—you can absolutely compost on a balcony, terrace, or even a small patio with the right setup.
A compact, DIY balcony-friendly compost bin is simple to make, odor-free when done correctly, and perfect for anyone living in an apartment. In this comprehensive guide, we’ll walk you through how to make your own compost bin on the balcony, the materials you need, how to maintain it, and tips to ensure successful composting even in limited space.
Let’s begin turning your kitchen scraps into garden gold!
Why Compost on the Balcony?
Before building your compost bin, it helps to understand why balcony composting is worth your time:
1. Reduces Household Waste
Nearly 50% of household waste is organic—fruit peels, vegetable scraps, tea leaves, eggshells, and more. Composting turns all of this into something useful instead of sending it to the landfill.
2. Saves Money
The compost you create enriches your pots and balcony garden without needing store-bought fertilizers.
3. Eco-Friendly
Composting reduces methane emissions from landfills and contributes to a healthier planet.
4. Perfect for Urban Gardening
If you grow even a few plants, compost provides essential nutrients that improve soil structure, water retention, and plant health.
5. Small-Space Friendly
You don’t need a huge compost pit—just a small container and a little creativity.

What You Need to Make a Balcony Compost Bin
You don’t need fancy tools to get started. Most materials are either already at home or easily available.
Materials Required
- A plastic bucket with lid (15–25 liters) OR a thick plastic storage bin
- A hand drill or screwdriver
- A small tray or plate to place under the bin
- Cocopeat or dry soil (optional but useful)
- Kitchen waste (greens)
- Dry leaves/shredded paper/cardboard (browns)
- Gloves (optional)
Choosing the Right Bin
Your compost bin should be:
- Sturdy
- Opaque to prevent light exposure
- Large enough to hold several weeks of waste
- Lightweight if you plan to move it occasionally
Round buckets or rectangular bins both work. If your balcony gets heavy rain, choose a bin with a tight-fitting lid.
Step-by-Step Guide: How to Make Your Own Compost Bin on the Balcony
Let’s put your composting system together.
Step 1: Drill Aeration Holes
Good airflow is essential for aerobic composting. Using a drill or screwdriver:
- Punch 8–10 holes in the lid
- Make 10–15 holes around the upper sides of the bin
- Make 8–10 holes at the bottom for drainage
These holes ensure air circulation and prevent foul smells.
Pro Tip: Place a tray beneath the bin to catch any liquid (compost tea), which you can later dilute and use for plants.
Step 2: Create the Base Layer
Start your compost bin with a carbon-rich “brown” layer.
Add:

- A handful of dry leaves
- Shredded paper
- Shredded cardboard
This layer absorbs moisture and prevents odors from the bottom.
For better odor control, mix in:
- A thin layer of cocopeat
- A handful of garden soil
Soil introduces beneficial microbes that speed up decomposition.
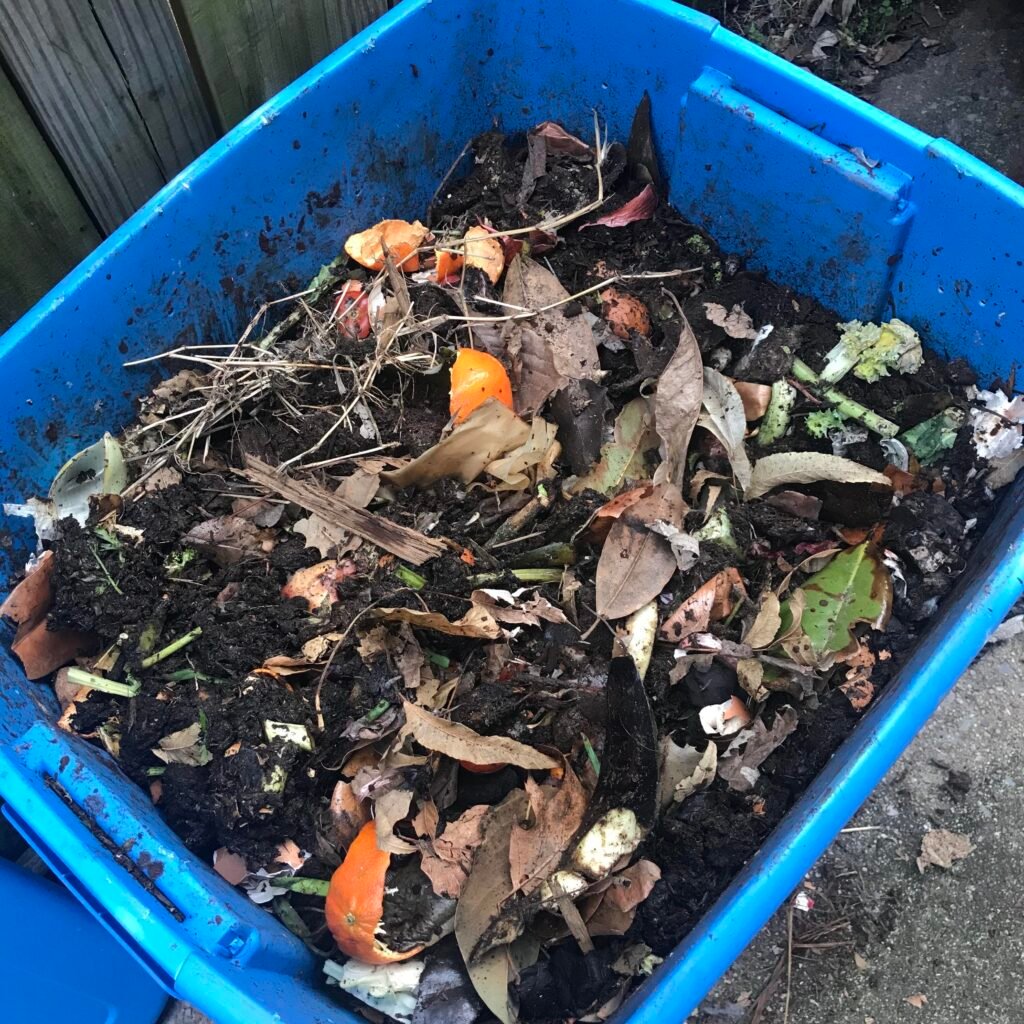
Step 3: Add Your Kitchen Waste (Greens)
Now it’s time to begin composting!
Add your daily kitchen waste, such as:
- Fruit and vegetable peels
- Tea leaves (without the bag)
- Coffee grounds
- Eggshells
- Spoiled cooked rice or plain bread (sparingly)
Never add:
- Meat or fish
- Dairy
- Oily or spicy foods
- Citrus in excess
- Glossy paper
- Plastic or packaged material
These items attract pests and cause foul odor.
Step 4: Add a Brown Layer After Every Green Layer
The key to smell-free composting is maintaining proper balance:
- Greens = wet, nitrogen-rich
- Browns = dry, carbon-rich
For every handful of kitchen waste you add, cover it with:

- Dry leaves
- Shredded newspaper
- Cocopeat
This prevents fruit flies and keeps the pile aerated.
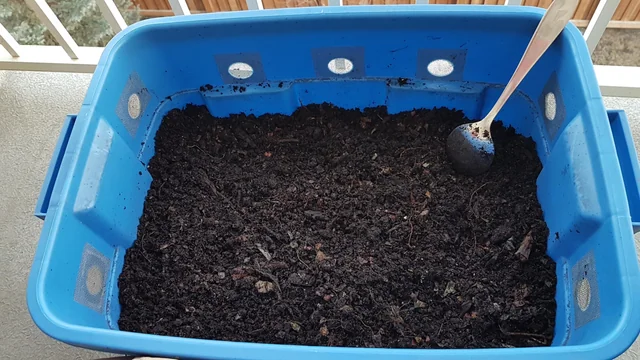
Step 5: Mix Every 3–5 Days
Turn the compost lightly using a garden trowel or gloved hands. Mixing:
- Speeds up decomposition
- Adds oxygen
- Prevents fungal growth
- Eliminates odor
If your bin feels too wet, add more brown material. If too dry, sprinkle a little water.
Step 6: Monitor the Moisture
Your compost should feel like a slightly damp sponge.
If too wet:
- Add more dry leaves or shredded paper
- Open the lid for extra airflow
- Mix well
If too dry:
- Add a little water
- Add more kitchen waste
Moisture balance is crucial for the microbes that break down organic material.
Step 7: Keep the Bin in a Shaded Corner
For balcony composting:
- Choose a spot with partial shade
- Avoid direct sunlight, which can dry the compost
- Avoid rain exposure to prevent soaking
A tucked corner beside your balcony railing works perfectly.
How to Know When Your Compost Is Ready
Composting usually takes 6–10 weeks depending on temperature and materials. Your compost is ready when:
- It looks dark and crumbly
- It smells earthy
- You cannot identify the original waste
- It feels light and soil-like
- No flies or pests are present
If you find larger pieces, simply sieve or remove them and put them back for further composting.

How to Use Your Homemade Compost
Your balcony compost is pure gold for your plants! Use it for:
1. Potting Mix
Mix compost with:
- 40% garden soil
- 30% compost
- 30% cocopeat
Perfect for vegetables, herbs, and flowering plants.
2. Top Dressing
Spread a handful of compost around the base of each plant every 3–4 weeks.
3. Seed Starting
Use light, sieved compost to enrich seed starter mixes.
4. Reviving Dull Soil
Compost improves soil texture, increases water retention, and boosts microbial activity.
Common Problems & Easy Fixes
Balcony composting is simple but may encounter small issues. Here’s how to handle them.
Problem 1: Bad Odor
Solution:
- Add more browns
- Mix thoroughly
- Reduce wet waste
- Keep lid closed
Problem 2: Fruit Flies
Solution:

- Cover each green layer with browns
- Add a thin soil layer on top
- Ensure the lid is tight
Problem 3: Too Wet and Mushy
Solution:
- Add dry leaves or cocopeat
- Enhance aeration
- Reduce moist kitchen waste
Problem 4: Too Dry
Solution:
- Add water slowly
- Increase green waste
Tips for Successful Balcony Composting
- Cut or chop scraps into smaller pieces for faster breakdown
- Never overload the bin in one day
- Maintain green-to-brown ratio (1:2 works best)
- Keep the lid closed to prevent pests
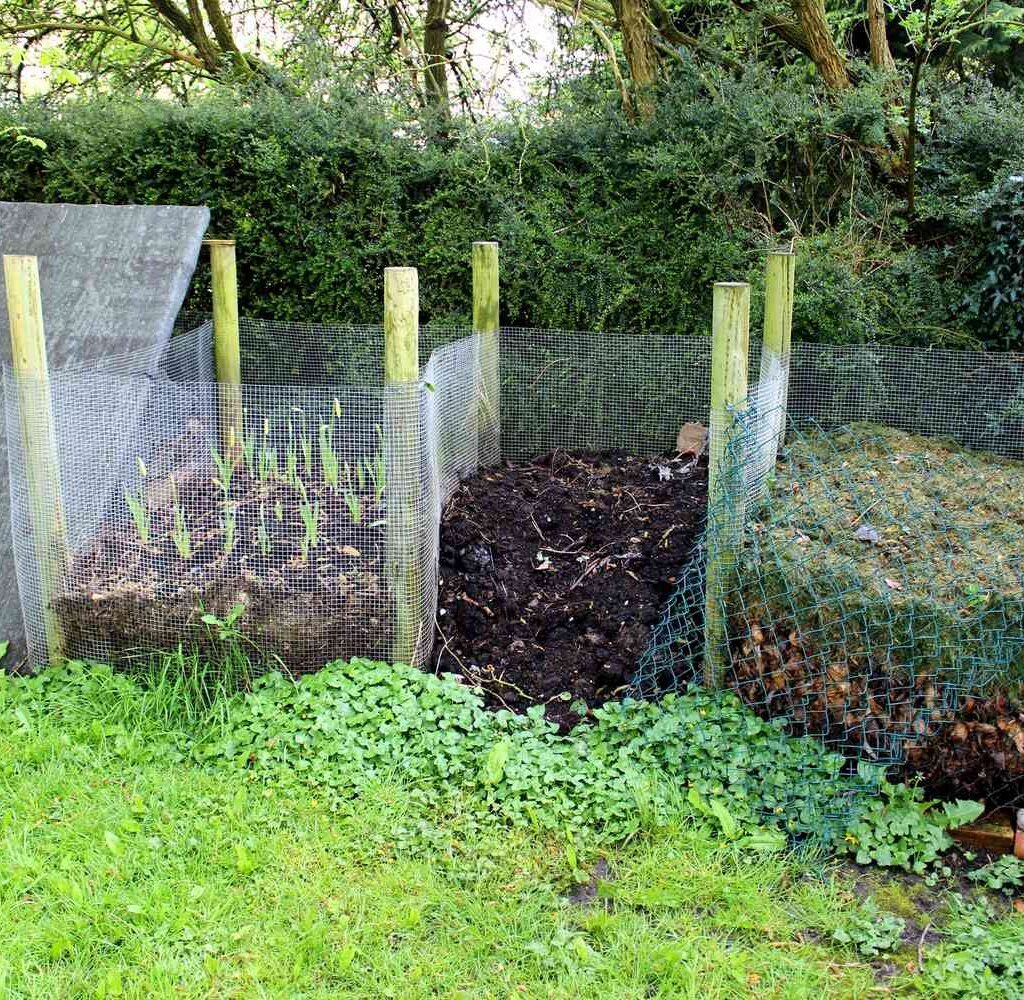
- Use two bins if you produce a lot of waste—one active, one resting
Conclusion: Your Balcony Compost Bin Is a Step Toward Sustainable Living
Making your own compost bin on the balcony is not just a gardening hack—it’s a lifestyle change. It reduces your waste, enriches your plants, and gives you the satisfaction of contributing to a greener world. Whether you’re an apartment dweller, a beginner gardener, or simply someone who wants to live more sustainably, balcony composting is easy, effective, and incredibly rewarding.
With a simple DIY setup, a few minutes of maintenance each week, and patience, you can produce rich compost right at home. Start today, and soon you’ll have healthier plants—and a healthier planet!
Leave A Comment