Growing your own chickpeas at home may sound unusual, but it is surprisingly easy and rewarding. Chickpeas, also known as garbanzo beans, are nutritious, versatile, and well-suited for container gardening. With the right pot, soil, sunlight, and care, you can enjoy a healthy harvest even in a small space. Whether you live in an apartment, have a balcony, or just want to experiment with home gardening, growing chickpeas in a simple pot is a practical and satisfying project.
Understanding Chickpea Plants
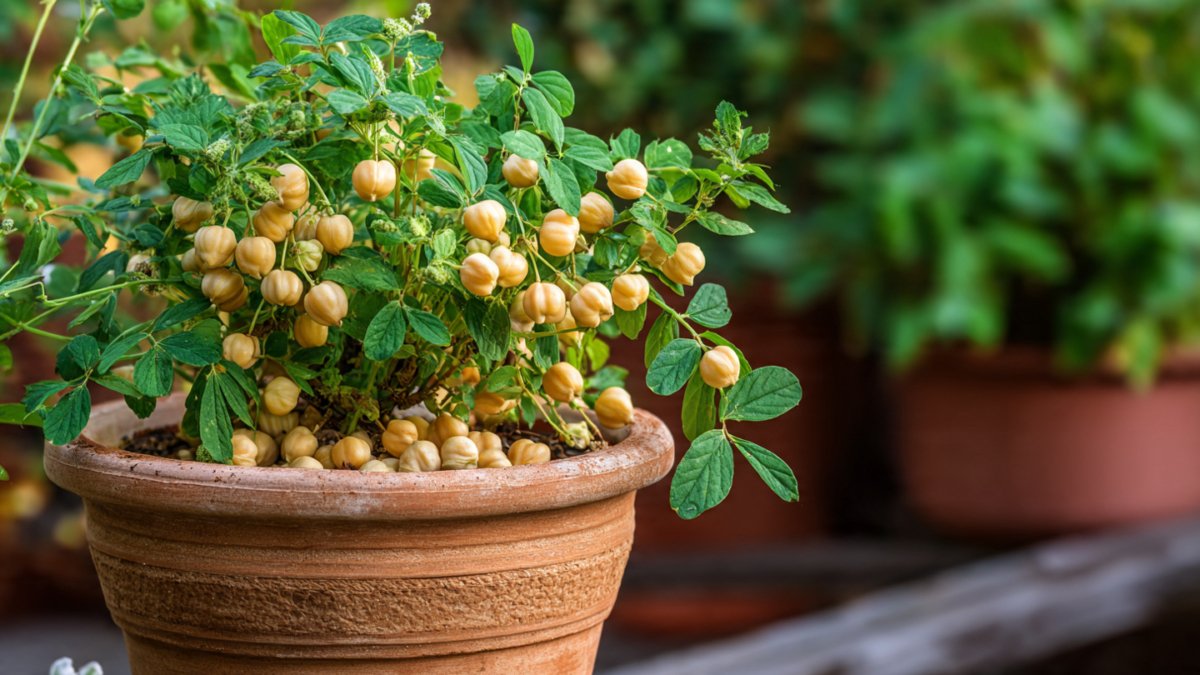
Chickpeas are cool-season legumes that thrive in moderate temperatures. They grow as bushy plants, usually reaching about 12 to 24 inches in height. Each plant produces small white, pink, or purple flowers that later develop into pods. Inside each pod are one or two chickpeas.
Unlike climbing beans, chickpeas do not need trellises. They grow upright and compact, making them ideal for containers. They also improve soil health by fixing nitrogen, which benefits other plants if you rotate crops later.
Choosing the Right Pot
Selecting the correct pot is the first step toward success. Chickpea plants develop long roots, so shallow containers are not suitable.
Choose a pot that is at least 10 to 12 inches deep and wide. Larger pots, around 14 inches, are even better because they provide more space for root growth. Make sure the container has drainage holes at the bottom. Without proper drainage, excess water can collect and cause root rot.
Plastic, ceramic, or clay pots all work well. Clay pots allow better airflow but dry out faster, while plastic pots retain moisture longer. Pick one that matches your watering habits and climate.
Preparing the Best Soil
Chickpeas prefer loose, well-draining soil. Heavy or compacted soil can prevent roots from developing properly and may lead to poor growth.
Use a high-quality potting mix rather than garden soil. Potting mixes are lighter and provide better drainage. For extra nutrition, mix in compost or well-rotted manure. A good ratio is three parts potting mix to one part compost.

The ideal soil pH for chickpeas is slightly acidic to neutral, between 6.0 and 7.0. Most commercial potting soils fall within this range, so testing is usually unnecessary unless you want to be precise.
Selecting and Preparing Seeds
Always choose high-quality chickpea seeds. You can buy seeds from garden centers or reputable online suppliers. If you plan to use dried chickpeas from a grocery store, make sure they are not heat-treated, as this can prevent germination.
Before planting, soak the seeds in water for 8 to 12 hours. This softens the seed coat and helps speed up germination. After soaking, drain the water and let the seeds dry slightly before planting.
Avoid using damaged or moldy seeds, as they are unlikely to sprout.
Planting Chickpeas in Pots
Fill your pot with prepared soil, leaving about one inch of space at the top. Gently level the surface without compacting it.
Plant each seed about 1 to 2 inches deep. If your pot is wide enough, you can plant two or three seeds, spacing them at least 4 inches apart. This prevents overcrowding and allows each plant to grow properly.
Cover the seeds lightly with soil and water gently until the soil is evenly moist.
Place the pot in a warm, sunny location immediately after planting.

Providing the Right Sunlight
Chickpeas need plenty of sunlight to grow well. They require at least six to eight hours of direct sunlight every day.
Place your pot on a sunny balcony, terrace, windowsill, or garden spot that receives consistent light. If sunlight is limited, growth may be weak, and flowering may be reduced.
If you are growing indoors, consider placing the pot near a south-facing window or using grow lights to supplement natural light.
Watering the Correct Way
Proper watering is essential for healthy chickpea plants. The soil should be kept moist but never waterlogged.
Water the pot when the top inch of soil feels dry. During hot weather, this may mean watering every day or every two days. In cooler conditions, watering once or twice a week may be enough.
Always water slowly and deeply so moisture reaches the roots. Avoid splashing water on leaves, as this can encourage fungal diseases.
As the plants mature and begin producing pods, reduce watering slightly. Overwatering at this stage can affect pod development.
Feeding and Fertilizing
Chickpeas are light feeders because they fix nitrogen from the air into the soil. This means they usually do not require heavy fertilization.

At planting time, mixing compost into the soil is usually sufficient. If the plants appear weak or pale, you can apply a balanced liquid fertilizer once every three to four weeks.
Avoid fertilizers high in nitrogen, as too much nitrogen encourages leaf growth at the expense of flowers and pods. A fertilizer with equal or lower nitrogen compared to phosphorus and potassium works best.
Supporting Healthy Growth
Although chickpea plants are sturdy, they may need light support if they become top-heavy. Small stakes can help prevent bending or falling over, especially in windy locations.
Regularly remove weeds if they appear in the pot, as they compete for nutrients and water. Also, gently loosen the soil surface occasionally to improve airflow and prevent crusting.
Pinching is usually unnecessary, but removing damaged or diseased leaves helps maintain plant health.
Preventing Pests and Diseases
Chickpeas are relatively resistant to pests, but they can still be affected by aphids, leaf miners, and caterpillars. Inspect your plants regularly for signs of insects.
If pests appear, wash them off with a strong spray of water or use neem oil or insecticidal soap. Avoid harsh chemical pesticides, especially if you plan to eat the harvest.
Fungal diseases such as root rot and leaf spot can occur if the soil remains too wet. Good drainage, proper spacing, and careful watering are the best prevention methods.

Make sure your pot receives good air circulation to reduce humidity around the plants.
Knowing When to Harvest
Chickpeas can be harvested in two main ways: as green chickpeas or as dried chickpeas.
For green chickpeas, harvest when the pods are plump but still green. This usually happens about 70 to 90 days after planting. These fresh chickpeas can be eaten cooked or roasted.
For dried chickpeas, allow the pods to turn brown and dry on the plant. The leaves will begin to yellow and fall off. This stage occurs around 100 to 120 days after planting.
Once most pods are dry, cut the plant at the base and hang it upside down in a dry, well-ventilated area for one to two weeks. After drying, remove the seeds from the pods and store them in airtight containers.
Storing and Using Your Chickpeas
Properly dried chickpeas can be stored for up to a year in a cool, dark place. Make sure they are completely dry before storage to prevent mold.
Homegrown chickpeas are perfect for making hummus, curries, salads, soups, and roasted snacks. Their fresh taste and texture are often superior to store-bought versions.
You can also save some seeds for the next planting season, creating a sustainable gardening cycle.

Common Mistakes to Avoid
One of the most common mistakes is using a pot that is too small. Restricted roots lead to weak plants and low yields. Always choose a sufficiently deep container.
Overwatering is another frequent problem. Chickpeas prefer slightly dry conditions rather than soggy soil. Poor drainage almost always leads to disease.
Lack of sunlight can also limit growth. Without enough light, plants become leggy and produce fewer pods.
Finally, using too much fertilizer, especially nitrogen-rich types, can result in lush leaves but very few chickpeas.
Final Thoughts
Growing chickpeas in a simple garden pot is an excellent way to enjoy fresh, healthy food while making the most of limited space. With the right container, quality soil, proper sunlight, and balanced care, even beginners can succeed.
This low-maintenance crop rewards patience with a generous harvest and adds beauty to balconies, patios, and small gardens. By following these steps and paying attention to your plant’s needs, you can confidently grow your own chickpeas and experience the satisfaction of home gardening from seed to plate
Leave A Comment