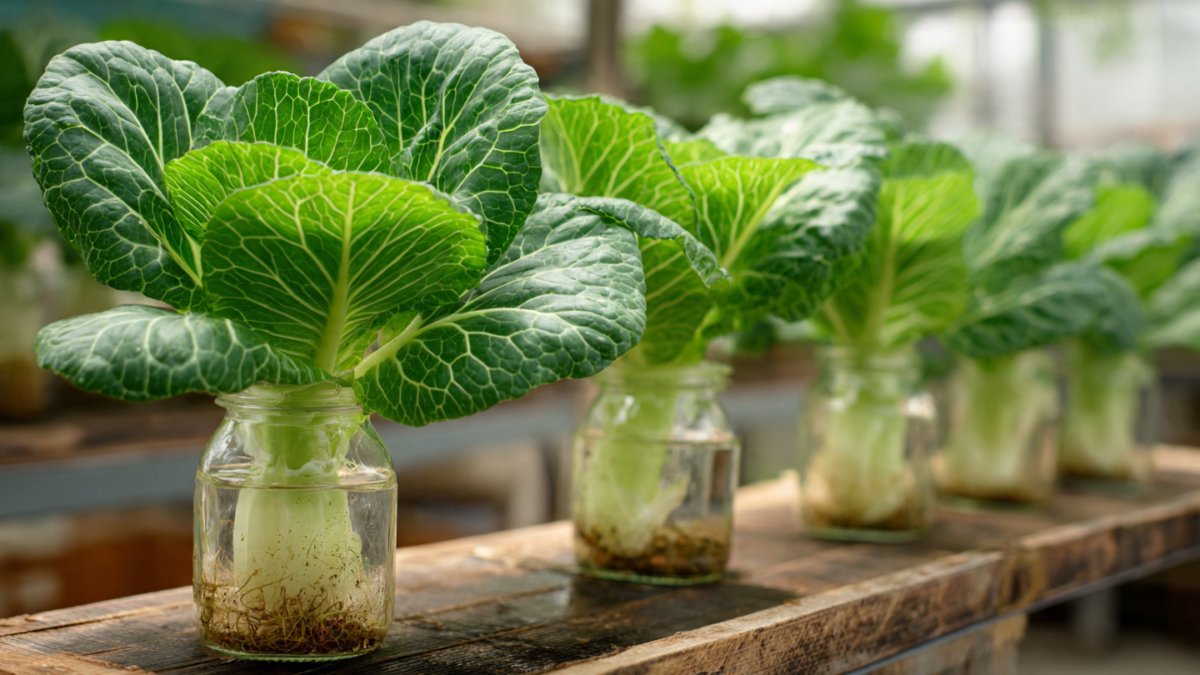
For many home gardeners, growing fresh vegetables at home is both a passion and a way to ensure a healthy, chemical-free diet. But space constraints often pose a significant challenge, especially for urban dwellers or those living in apartments. What if you could grow crisp, delicious cabbage right on your balcony, kitchen window, or tiny backyard without large garden plots? Enter the ingenious method of growing cabbage in plastic bottles—a simple, space-saving, and high-yield solution that’s perfect for housewives, hobbyists, and anyone interested in self-sufficiency.
This complete guide will walk you through everything you need to know about growing cabbage in plastic bottles, from selecting seeds to harvesting your leafy bounty.
Why Grow Cabbage at Home?
Cabbage is a versatile, nutrient-rich vegetable packed with vitamins C and K, fiber, antioxidants, and minerals. Including cabbage in your diet supports digestion, boosts immunity, and promotes overall wellness. While many may assume growing cabbage requires ample soil and garden space, the bottle method proves otherwise.
Growing cabbage at home offers several advantages:

- Freshness on demand: Pick leaves as needed, ensuring peak flavor and nutrition.
- Reduced chemical exposure: Control your soil and water, minimizing pesticides and fertilizers.
- Space efficiency: Ideal for apartments, balconies, or small patios.
- Cost-saving: Save money by growing your own instead of buying from markets.
- Educational and fun: A great project for kids and family, teaching gardening and sustainability.
Materials You’ll Need
You don’t need fancy tools to get started. Most of these items are likely already at home or easily available:
- Plastic bottles: 2-liter soda bottles work best.
- Potting mix: Well-draining soil rich in organic matter.
- Cabbage seeds: Choose varieties suitable for container growth, like “Mini Green” or “Micro Cabbage.”
- Watering can or spray bottle: To control moisture without overwatering.
- Scissors or knife: For cutting bottles.
- Fertilizer (optional): Organic compost or liquid fertilizer to boost growth.
Step 1: Preparing the Plastic Bottles
The beauty of this method lies in the clever use of everyday plastic bottles. Here’s how to prepare them for cabbage cultivation:
- Clean the bottle: Remove any labels and rinse thoroughly.
- Cut the bottle: Cut off the top one-third of the bottle. This top piece can be inverted as a mini-greenhouse to cover seedlings.
- Create drainage holes: Puncture small holes at the bottom of the bottle to prevent waterlogging. Proper drainage is essential to avoid root rot.
- Optional window: For larger bottles, cut a small side window to check root growth and soil moisture.
By recycling plastic bottles, you’re also contributing to an eco-friendly gardening approach.
Step 2: Preparing the Soil
Cabbage thrives in nutrient-rich, well-draining soil. Here’s a simple way to prepare your potting mix:

- Mix equal parts of garden soil and compost for a fertile base.
- Add perlite or sand to improve drainage.
- Optional nutrients: A tablespoon of organic fertilizer per bottle encourages strong growth.
Fill the bottle with soil up to 2–3 inches below the top. Lightly compact, but avoid over-compressing the soil, which can impede root development.
Step 3: Sowing Cabbage Seeds
Starting cabbage seeds in bottles is easy and rewarding:
- Plant the seeds: Place 2–3 seeds ½ inch deep in the soil.
- Water gently: Use a spray bottle to moisten the soil without washing away seeds.
- Cover the bottle: Invert the cut top portion to act as a mini-greenhouse. This traps moisture and warmth, promoting germination.
- Placement: Keep the bottle in a sunny location, such as a windowsill, balcony, or under grow lights.
Germination typically occurs within 5–10 days, depending on the temperature. Maintain consistent warmth (around 60–70°F or 15–21°C) for optimal growth.
Step 4: Caring for Seedlings
Once seeds sprout, they require careful attention to ensure strong, healthy plants:

- Sunlight: Cabbage seedlings need 6–8 hours of sunlight daily. Rotate bottles to ensure even growth.
- Watering: Keep the soil consistently moist, but avoid soggy conditions. Water small amounts daily or as needed.
- Thinning: When seedlings have 2–3 true leaves, thin to one strong plant per bottle. Remove weaker seedlings to reduce competition for nutrients.
- Fertilization: Light liquid feeding every 2 weeks encourages robust leaf development.
Step 5: Transplanting (Optional)
Some gardeners prefer starting seeds in smaller bottles and transferring seedlings to larger containers as they grow. If you choose this route:
- Select larger bottles or pots (3–5 liters) for mature growth.
- Handle seedlings carefully to avoid root damage.
- Plant at the same soil level to minimize transplant shock.
With proper care, your cabbage will continue to thrive and grow quickly.
Step 6: Encouraging Optimal Growth
Cabbage in bottles grows best with consistent care:
- Temperature: Ideal range is 60–75°F (15–24°C). Avoid extreme heat, which can stress the plant.
- Sunlight: Ensure at least 6 hours of direct sunlight daily.
- Fertilization: Every 3–4 weeks, apply a balanced organic fertilizer. Leafy greens, like cabbage, thrive with nitrogen-rich nutrients.
- Pest management: Watch for aphids, caterpillars, or fungal issues. Spray with mild soapy water or neem oil if needed.
By paying attention to these factors, you’ll maximize leaf size and overall yield.

Step 7: Harvesting Your Home-Grown Cabbage
One of the most satisfying moments for any gardener is harvesting. Cabbage grown in bottles is no exception. Depending on variety and care, cabbage can be ready for harvest in 60–90 days:
- Size: Small or mini-cabbage varieties are perfect for container growth. Harvest when the heads are firm and compact.
- Method: Use a sharp knife to cut the head at the base, leaving some outer leaves for potential regrowth in certain varieties.
- Storage: Fresh cabbage can last up to 2 weeks in the refrigerator, ensuring a steady supply of nutritious greens.
Advantages of Bottle Gardening for Cabbage
Growing cabbage in plastic bottles offers several unique benefits:
- Space-saving: Ideal for urban homes with limited outdoor space.
- Mobility: Bottles can be moved indoors during harsh weather.
- High yield: With proper care, each bottle produces a full head of cabbage.
- Eco-friendly: Reuses plastic bottles, reducing household waste.
- Accessible gardening: Perfect for beginners and housewives with limited gardening experience.
Common Mistakes and How to Avoid Them
Even with the easiest methods, some beginners make common mistakes. Here’s how to prevent them:
- Overwatering: Avoid soggy soil; proper drainage prevents root rot.
- Insufficient sunlight: Lack of light results in weak, elongated leaves. Rotate bottles or use grow lights.
- Neglecting nutrients: Small containers require regular fertilization to replace depleted nutrients.
- Crowding plants: Thinning seedlings is essential to prevent competition.
By paying attention to these pitfalls, even first-time gardeners can succeed.

Tips for Success
- Choose dwarf or compact cabbage varieties to ensure they fit comfortably in bottles.
- Label bottles with planting dates to track growth stages.
- Regularly monitor moisture by checking soil with your finger or a small stick.
- Harvest selectively: You can pick outer leaves as needed, leaving the inner head to continue growing.
- Rotate bottles for even sunlight exposure and stronger stems.
Final Thoughts
Growing cabbage at home in plastic bottles is more than just a gardening trend—it’s a practical, sustainable, and rewarding solution for anyone looking to enjoy fresh, home-grown vegetables. This method empowers housewives, urban gardeners, and beginners to grow a nutritious staple with minimal space and effort.
The combination of low-cost materials, space efficiency, and high yield makes it a perfect choice for those who want to embrace home gardening without the complications of large-scale planting. By following this step-by-step guide, you can transform ordinary plastic bottles into productive mini-gardens, ensuring a fresh, healthy supply of cabbage throughout the year.
So why wait? Gather your bottles, select your seeds, and start your cabbage-growing journey today. With patience, care, and a touch of creativity, you’ll enjoy the satisfaction of harvesting your own leafy greens right from the comfort of your home—proof that even the smallest spaces can yield big rewards.
Leave A Comment