Corn is often seen as a crop that requires large fields, plenty of space, and rural farmland. But the exciting news is—you can grow fresh, sweet, juicy corn right from your balcony, terrace, or backyard using containers. With the right care, soil mix, sunlight, and feeding schedule, corn grows beautifully in pots and produces full-sized cobs that taste amazing.
Whether you’re gardening in a city apartment or want a fun growing experiment with kids, growing corn in containers is rewarding and easier than you may think. In this complete guide, you’ll learn how to plant, grow, care for, and harvest corn step-by-step with full updates to help you track progress.
Why Grow Corn in Containers?

Growing corn in containers offers unique benefits:
- Perfect for small-space gardening
- Allows controlled soil, moisture, and nutrients
- Easy to protect from pests
- Fun and educational gardening project
- Fresher and sweeter than store-bought corn
Corn harvested and eaten within hours tastes much sweeter since natural sugars turn to starch quickly—making homegrown corn extra special.
Best Corn Varieties for Containers
Not all corn types grow well in pots. The best choices are compact or dwarf varieties.
Ideal container-friendly varieties:
- Sweet Corn
- Baby Corn
- Miniature or Dwarf Corn
- Popcorn varieties (optional but fun!)
Sweet corn is the most rewarding because it produces delicious edible cobs perfect for grilling, boiling, or roasting.
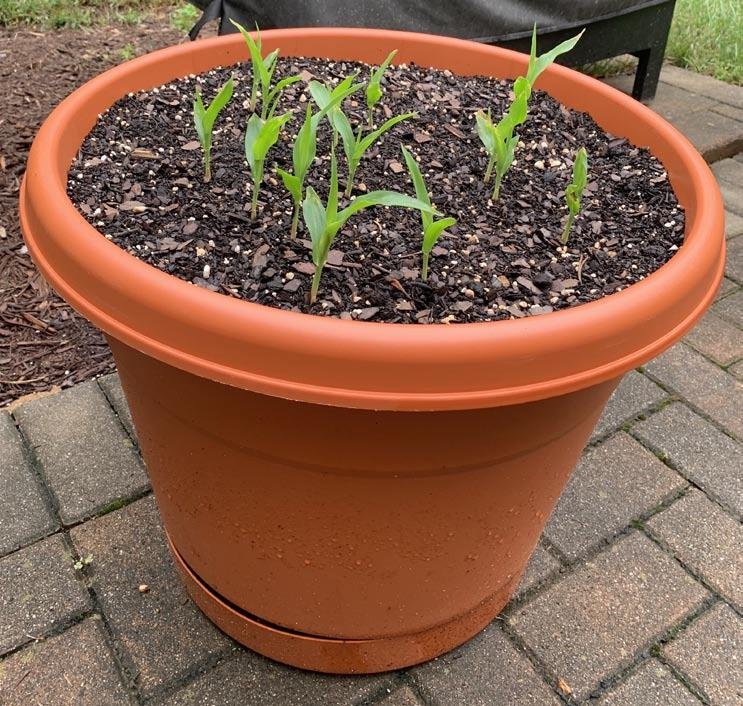
Choosing the Right Container
Corn grows tall and needs root space and stability.

Minimum container size:
- Depth: 12–18 inches
- Width: 15–20 inches
- Drainage: Must have holes
Grow multiple corn plants together—not just one—because corn is wind-pollinated. Pollination improves when plants grow in clusters.
Ideal planting groups:
- 6, 9, or 12 plants per container (depending on pot size)
Best Soil for Growing Corn

Corn is a heavy feeder and grows best in nutrient-rich, loose, well-drained soil.
Ideal soil mix:
- 40% garden soil
- 30% compost (cow dung, vermicompost, or kitchen compost)
- 20% cocopeat
- 10% sand or perlite
You can also add:
- A handful of bone meal (for root growth)
- A handful of neem cake (to prevent soil insects)
Mix thoroughly to create soft, airy soil that helps roots grow deep.
Stage 1: Planting Corn Seeds

Corn seeds are large and easy to sow.

How to plant:
- Fill your container with soil mix.
- Make holes 1 inch deep, spaced 6 inches apart.
- Drop one seed per hole.
- Cover with soil and water gently.
Place the container in full sunlight—corn requires 6–8 hours daily.
Germination time:
5–10 days depending on temperature.
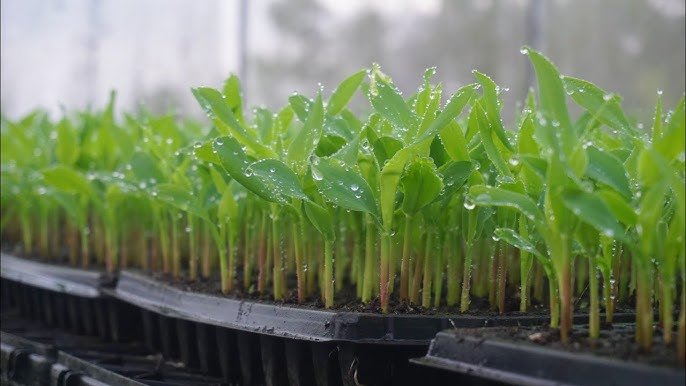
Stage 2: Seedling Care (Week 1–3)
Once seedlings appear:
Keep soil slightly moist, not soggy
Protect from heavy rainfall and harsh wind
Thin weak seedlings if needed (leave the strongest)
During this stage, growth may appear slow—that’s normal. The plant is busy establishing roots.
Stage 3: Growth Booster Phase (Week 3–5)
When plants reach 6–10 inches tall, they need extra nutrition.
Feed with:

- Liquid compost tea OR seaweed fertilizer
- Banana peel fertilizer (excellent potassium source)
Water deeply but allow the topsoil to dry slightly between watering.
At this stage, the corn leaves will grow rapidly and begin forming a tall stalk.
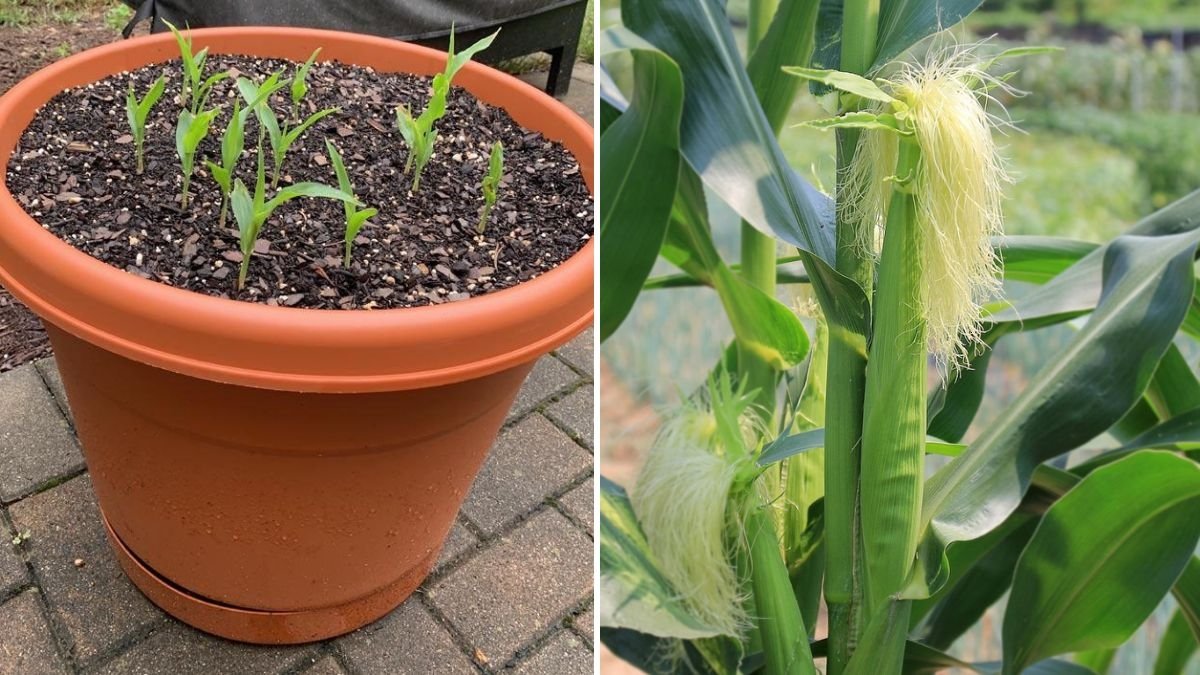
Stage 4: Pollination & Tasseling (Week 6–8)
Corn produces two important parts:
| Part | Location | Purpose |
|---|---|---|
| Tassels | Top of the plant | Produce pollen |
| Silks | Attached to baby cob | Receive pollen to form kernels |
Corn needs good airflow for pollination.
To improve pollination in containers:
Gently shake the plant once daily
Brush pollen from tassels to silks using a soft brush
This increases the number of kernels on the cob.
Stage 5: Feeding During Cob Formation
Once tassels and silks appear, corn needs high potassium fertilizer.

Use:
- Wood ash
- Banana peel fertilizer
- Tomato fertilizer blend
Continue watering deeply—corn is thirsty during cob growth.
Pests to Watch For
Corn can attract:
| Pest | Solution |
|---|---|
| Aphids | Neem oil spray every 10 days |
| Corn earworm | Cover silks with mesh or tissue |
| Ants | Cinnamon or neem cake |
Consistent inspection prevents damage.
Signs of Healthy Corn Growth
You’re on the right path if:
- Leaves are bright green
- Silks appear fresh and moist
- Plant stands tall and sturdy
Yellow leaves may indicate nitrogen deficiency—feed compost tea to correct it.
Stage 6: Harvesting Corn
Corn is ready to harvest when:
- Silks turn brown and dry
- Kernels feel plump when pressed
- The cob feels full and heavy
Harvesting tip:
Twist the cob downward until it snaps off.

Corn tastes best when cooked immediately after harvest.
Common Problems & Solutions
| Issue | Cause | Fix |
|---|---|---|
| Small cobs | Poor pollination | Shake plants regularly |
| Pale leaves | Low nutrients | Add nitrogen or compost |
| Dry silks too early | Underwatering | Increase watering frequency |
After Harvest: Can the Plant Grow Again?
Corn plants do not regrow cobs after harvesting. Remove and compost the old plant and reuse soil after refreshing with compost.
Tips for Maximum Success
Grow multiple plants, not one
Ensure full sun exposure
Feed regularly
Keep soil moist
Encourage pollination
Conclusion
Growing corn in containers is a fun and rewarding gardening adventure. With proper sunlight, watering, pollination, and nutrition, you can enjoy fresh, sweet corn from your home garden—even in limited space.
Watching corn grow from seed to harvest gives a deep appreciation for nature and your food. With the right care, your balcony can turn into a small cornfield full of green stalks, golden tassels, and delicious cobs.
So grab a pot, plant some seeds, and start growing your own homegrown corn—one container at a time!
Leave A Comment