
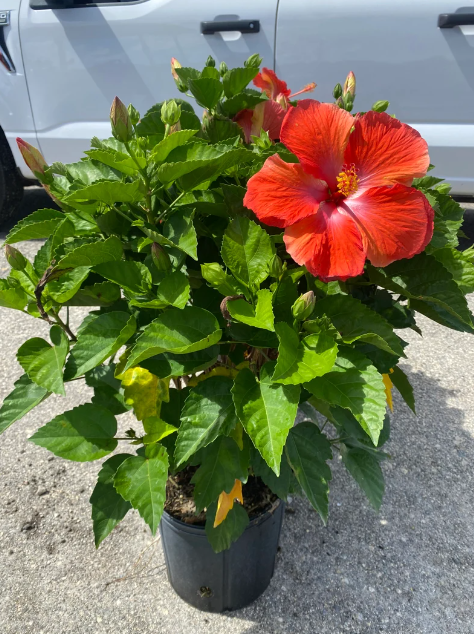
Hibiscus—known for its large, colorful flowers—is one of the most loved flowering plants for home gardens. The best part? You don’t need to buy new plants every time. Growing hibiscus from cuttings is incredibly easy, and rooting them in water is one of the fastest, most successful propagation methods.
Whether you’re a beginner or an experienced gardener, this complete guide will show you how to root hibiscus cuttings in water step-by-step with full growth updates, so you get healthy, strong plants ready for transplanting.
Why Propagate Hibiscus in Water?
Water rooting has become very popular because of how simple and reliable it is. Here’s why:
- Fast root formation
- Easy to monitor root growth
- Less chance of soil diseases
- Beginner-friendly method
- Higher success rate than direct soil planting
If you want to multiply your hibiscus plants for free, this method is perfect.
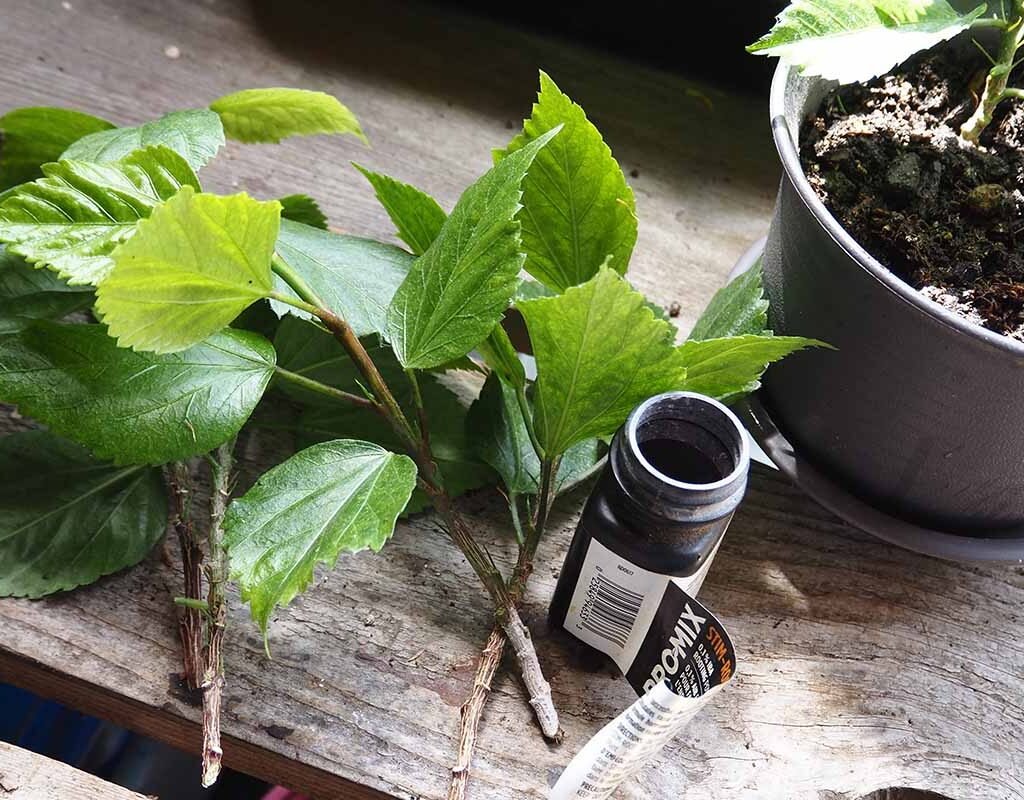
Step 1: Choosing the Right Hibiscus Cutting
Not every stem works well for propagation. Selecting the right cutting increases your success rate significantly.
Features of a Good Cutting:
- 6–8 inches long
- From a healthy mother plant
- Semi-hardwood stem (not too green, not too woody)
- Contains 3–4 leaf nodes
- Free from pests and disease
How to Prepare the Cutting:
- Remove the lower leaves completely.
- Keep only 2–3 leaves at the top to reduce water loss.
- If leaves are large, cut them in half.
- Trim the bottom part of the stem at a 45-degree angle for better water absorption.
Now your cutting is ready for water rooting.

Step 2: Selecting a Jar and Preparing Water
To root hibiscus cuttings in water, use:
- A clear glass jar or bottle
- Clean, chlorine-free water
Why use glass?
It allows you to clearly observe root growth and detect rot early.
Water Preparation Tips:
- Use filtered or stored water (tap water kept overnight).
- Fill the jar about 3–4 inches.
- Ensure only the nodes (where leaves were removed) are submerged.
Step 3: Placing the Cutting in Water
Place the prepared cuttings carefully into the jar.
Important Conditions:
- Keep the jar in bright, indirect sunlight (avoid direct sun).
- Maintain a warm temperature (25–35°C).
- Replace or top-up the water every 3 days.
Why Change Water?
Fresh water prevents fungal growth and oxygen depletion, which helps in faster root development.
Step 4: Rooting Timeline (Full Updates)
Here’s what happens at each stage:
Day 1–3:
- Cutting stays hydrated
- Leaves remain green
- Some swelling around nodes starts
Day 4–7:
- Hair-like small root bumps appear
- These are the first signs of rooting
Day 10–14:
- Thin white roots begin to grow longer
- The cutting becomes more stable in water
Day 14–20:
- Roots grow 1–2 inches
- New leaf buds may start forming at the top
Day 21–30:
Your hibiscus cutting becomes fully rooted and ready for soil transplantation.

The ideal root length for planting is 2–3 inches.
Step 5: Preparing the Soil for Transplanting
Once the roots develop well, the next step is transplanting the cutting into soil.
Best Soil Mix for Hibiscus:
- 40% garden soil
- 30% compost or cow dung
- 20% sand
- 10% cocopeat
This mix ensures good drainage and keeps the hibiscus roots moist but not soggy.
Best Pot Size:
- Start with an 8–10 inch pot
- Make sure the pot has drainage holes
Step 6: Planting the Rooted Cutting
Follow these steps carefully to avoid transplant shock:
- Fill the pot with the soil mix.
- Make a small hole in the center.
- Gently remove the cutting from the water without damaging the roots.
- Place it inside the hole and cover the roots with soil.
- Press the soil gently to remove air pockets.
- Water immediately and deeply.
Important Tip:
Keep the plant in shade for 5–7 days after planting. This helps the cutting adjust to soil conditions.
Step 7: Post-Planting Care (First Month)
After the cutting has been transferred to soil, proper care will ensure healthy growth.

Week 1:
- Leaves remain stable
- Plant focuses on establishing its roots
- Keep soil evenly moist (not soggy)
Week 2:
- New leaves start growing
- Slight upward growth noticeable
Week 3:
- Stems strengthen
- New branches appear
Week 4:
- Plant becomes more vigorous
- You can move it to a sunnier spot (morning sun only)
Step 8: Light, Water, and Fertilizer Requirements
Sunlight
Hibiscus needs plenty of sunlight once established.
- Best: 4–6 hours of morning sunlight
- Avoid strong afternoon sun for young cuttings
Watering
- Keep soil moist but never waterlogged
- Water every 2–3 days or when the top soil dries
Fertilizer
Start feeding after 30 days of transplanting.
Best fertilizers:
- Vermicompost
- Cow dung
- Mustard cake liquid
- Seaweed extract
Feed once every 20–25 days.
Step 9: Common Problems & Their Solutions
1. Leaves Turning Yellow
Cause: Overwatering or poor drainage
Solution: Improve soil aeration, reduce watering
2. Root Rot in Water
Cause: Dirty water or submerged leaves
Solution: Change water frequently, remove lower leaves

3. No Roots After 3 Weeks
Cause: Cutting too woody or low temperature
Solution: Use semi-hard cuttings and keep in warm place
4. Droopy Plant After Transplanting
Cause: Transplant shock
Solution: Keep in shade, mist leaves, maintain moisture
Step 10: When Will Your Hibiscus Flower?
A cutting-grown hibiscus plant will start producing flowers in:
- 3–5 months, depending on variety and conditions
Once it matures, it can give year-round blooms if properly cared for.
Step 11: Tips for Bushy and Heavy Flowering Hibiscus
- Pinch the growing tips to encourage branching
- Keep the plant in full morning sunlight
- Feed with potassium-rich fertilizers
- Remove old yellow leaves regularly
- Avoid overwatering
These small steps guarantee more blooms and a healthier plant.
Final Thoughts
Growing hibiscus from cuttings in water is one of the easiest and most satisfying gardening experiences. With just a jar of water, a healthy cutting, and simple care, you can create new hibiscus plants in less than a month.

This method is perfect for plant lovers who want to multiply their plants, gift them to friends, or fill their garden with vibrant hibiscus flowers.
Leave A Comment