Sprouts and microgreens are tiny nutritional powerhouses that are easy to grow at home, packed with vitamins, minerals, and antioxidants. From crunchy salads to fresh smoothies, they add flavor, color, and health benefits to your daily meals. If you’ve ever wanted to grow your own fresh greens quickly and effortlessly, this guide will show you how to make sprouts and microgreens at home—fast, simple, and fun!
Why Grow Sprouts and Microgreens at Home?
Growing sprouts and microgreens at home is not just convenient—it’s also incredibly rewarding:
- Nutrient-Dense: Microgreens can contain up to 40 times more nutrients than mature vegetables. They are rich in vitamins A, C, K, and essential minerals.
- Cost-Effective: Buying fresh sprouts and microgreens from stores can be expensive, but growing your own is cheap and sustainable.
- Quick Harvest: Unlike traditional gardening, sprouts and microgreens grow in just a few days to two weeks.
- Fresh and Chemical-Free: You control what goes into your food, so your greens are organic and free from pesticides.
- Versatile in Cooking: Sprouts and microgreens can be added to salads, sandwiches, soups, smoothies, or used as a garnish.
With all these benefits, growing your own sprouts and microgreens is a smart and healthy choice for anyone.
Step 1: Choosing Seeds
The first step is selecting the right seeds. Not all seeds are suitable for sprouting, so look for edible, non-GMO seeds labeled for sprouting or microgreens. Popular options include:

- Sprouts:
- Mung beans
- Lentils
- Chickpeas
- Alfalfa
- Fenugreek
- Microgreens:
- Radish
- Broccoli
- Sunflower
- Pea shoots
- Basil
Tip: Avoid seeds treated with chemicals or coated with pesticides, as they are not safe for consumption.
Step 2: Preparing Your Container
You don’t need fancy equipment—simple kitchen items work perfectly:
- For Sprouts: Use jars, trays, or sprouting bottles with ventilation holes.
- For Microgreens: Shallow trays, seedling trays, or even recycled containers with drainage holes work well.
Clean your containers thoroughly to prevent contamination and mold growth.
Step 3: Soaking Seeds
Soaking seeds is a crucial step that kickstarts the germination process:

- Place your seeds in a jar or bowl and cover with clean, filtered water.
- Soak for 6–12 hours, depending on the type of seed (smaller seeds like alfalfa need less time; larger seeds like mung beans need longer).
- After soaking, drain the water thoroughly.
Soaking helps soften the seed coat and speeds up sprouting, making your greens ready faster.
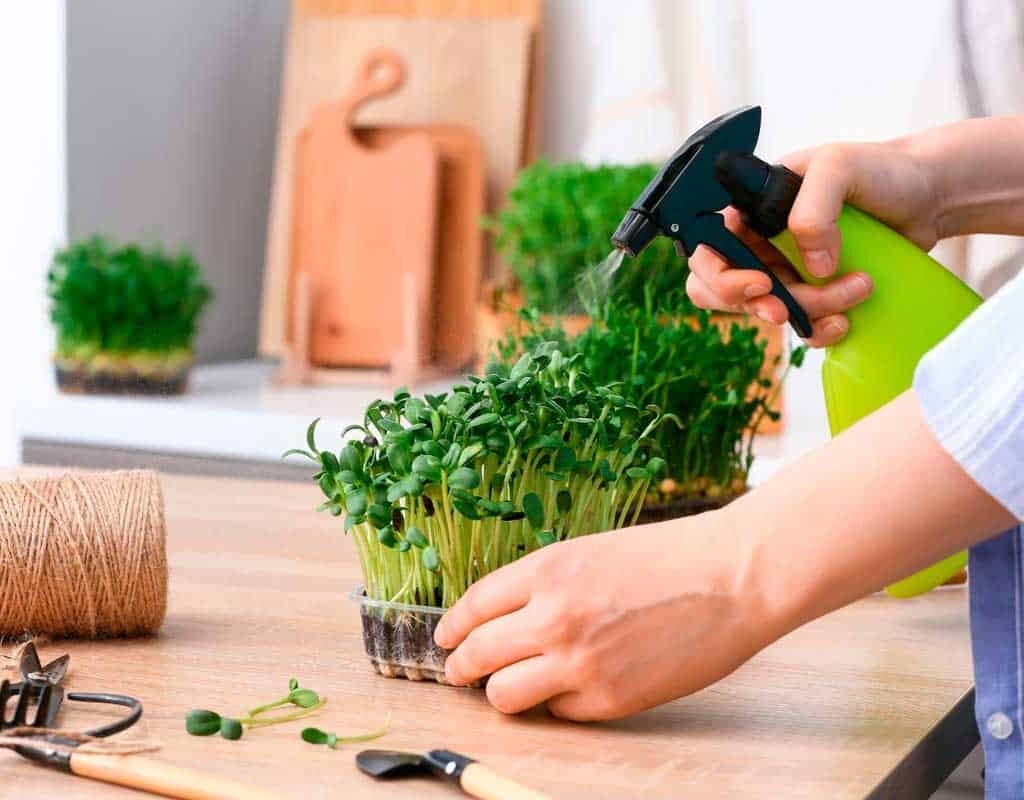
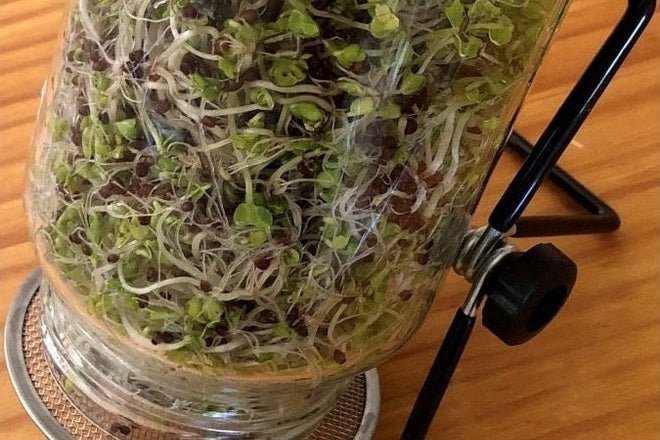
Step 4: Sprouting Seeds
Sprouts are ready to grow after soaking. Here’s the method:
- Place soaked seeds in your jar or tray. Spread them evenly.
- Cover the jar with a breathable lid or cloth to allow airflow while keeping insects out.
- Rinse and drain the seeds 2–3 times per day to prevent mold.
- Keep the jar at room temperature, away from direct sunlight.
Most sprouts, like mung beans and alfalfa, are ready in 3–7 days. They should be crisp, green, and tender.
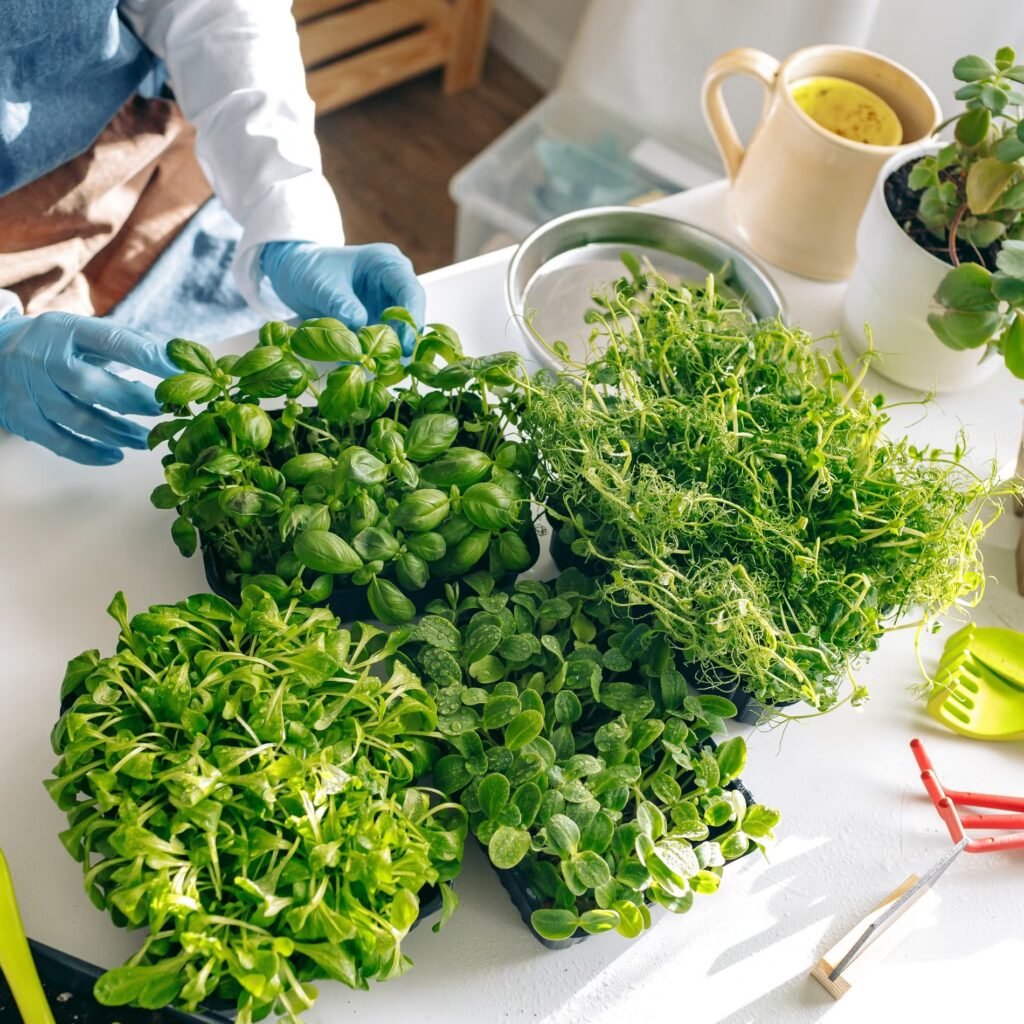
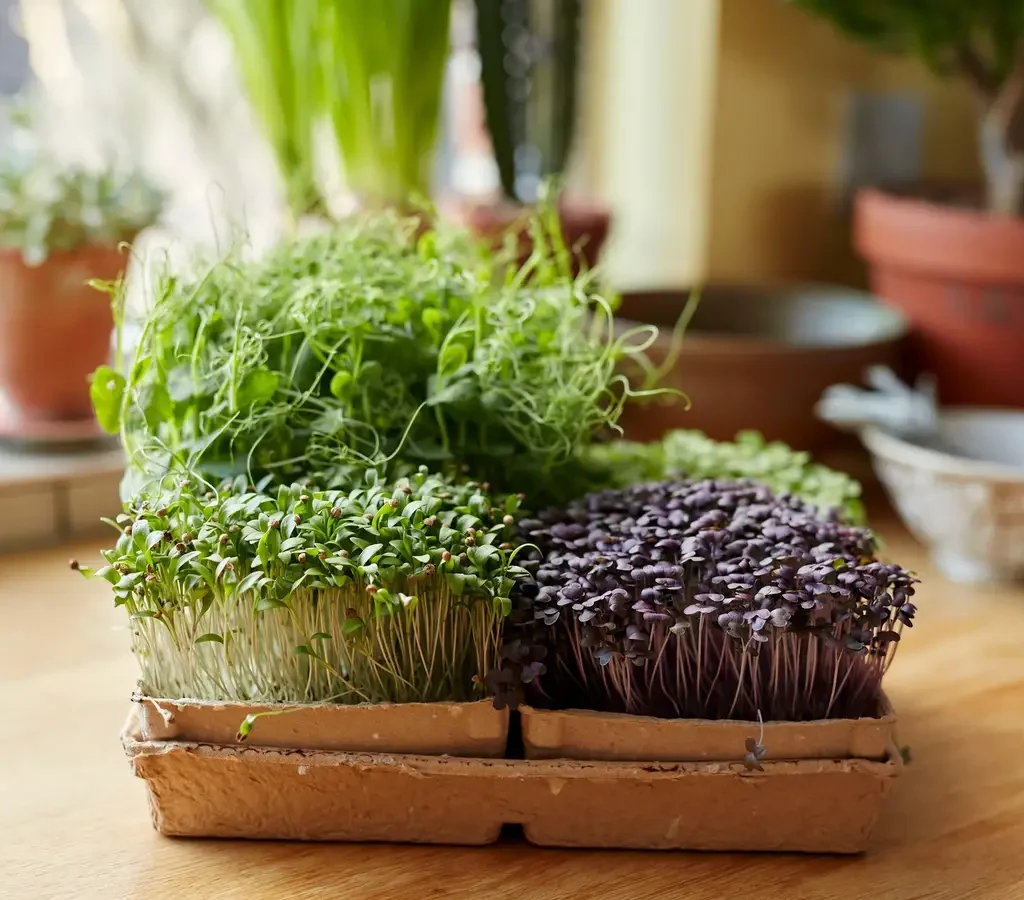
Step 5: Growing Microgreens
Microgreens take a bit longer than sprouts but are still fast-growing:

- Fill your tray with a 1–2 inch layer of moist, well-draining soil. You can also use coco peat or a seed-starting mix.
- Scatter your seeds evenly on the soil surface, avoiding overlapping too much.
- Press seeds lightly into the soil and mist gently with water.
- Cover the tray with a lid or plastic wrap to maintain humidity until seeds germinate (usually 2–4 days).
- Once seedlings appear, remove the cover and place the tray in indirect sunlight or under a grow light for 10–12 hours a day.
- Mist regularly to keep the soil moist but not waterlogged.
Microgreens are usually ready to harvest in 7–14 days, depending on the variety.
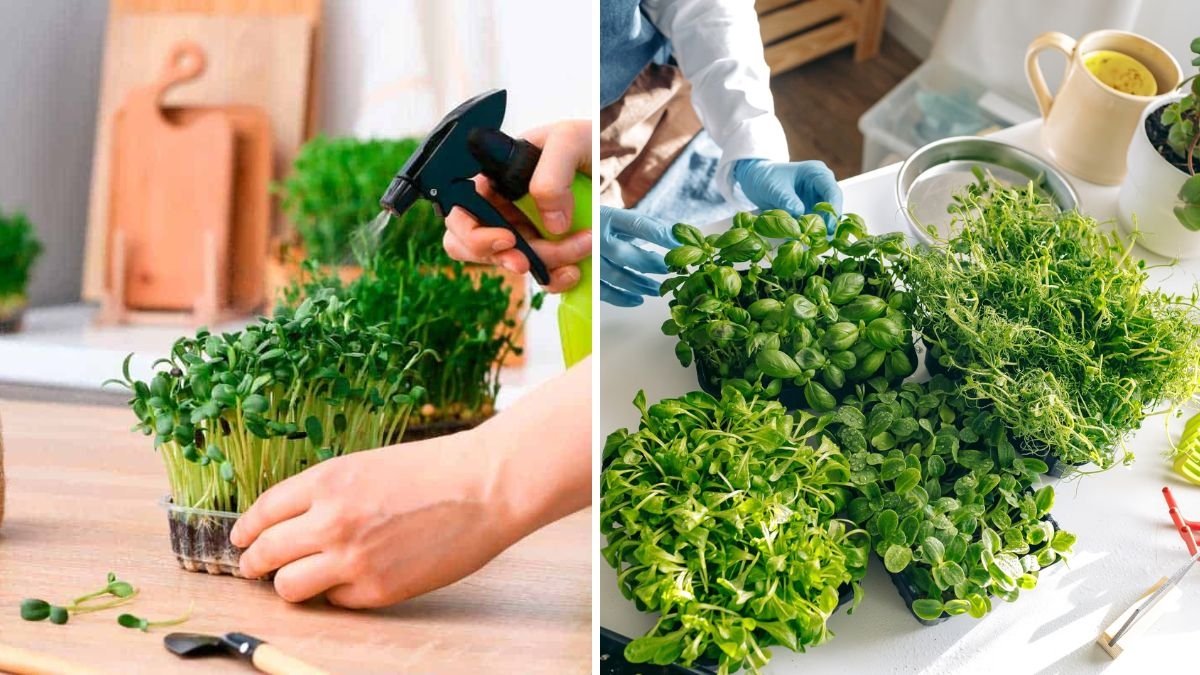
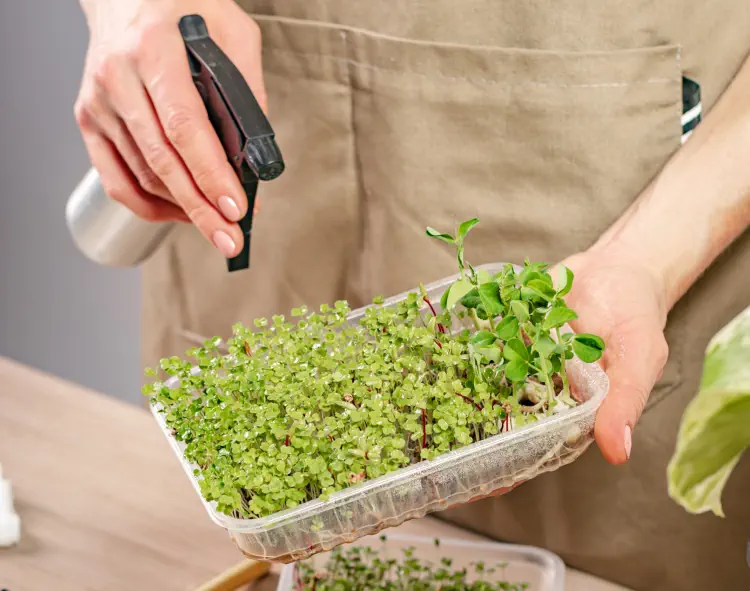
Step 6: Harvesting Sprouts and Microgreens
Harvesting is simple and rewarding:
- Sprouts:
- Once your sprouts are about 1–2 inches long, rinse them thoroughly.
- Drain and store in a clean container in the refrigerator. They can last up to a week.
- Microgreens:
- Cut stems just above the soil line using scissors.
- Wash gently and use fresh in salads, sandwiches, or smoothies.
Freshly harvested sprouts and microgreens taste amazing and are packed with maximum nutrients.
Step 7: Storing and Using Your Greens
To keep your sprouts and microgreens fresh:

- Store in an airtight container in the refrigerator.
- Rinse before eating if stored for several days.
- Use within 5–7 days for maximum freshness and nutritional value.
Microgreens can also be frozen or dried for longer storage, but fresh is always best for flavor and nutrients.
Step 8: Common Problems and Solutions
Even though sprouts and microgreens are easy to grow, some challenges may arise:
- Mold Growth: Often caused by poor drainage or lack of airflow. Solution: Rinse sprouts regularly, avoid overcrowding seeds, and ensure proper ventilation.
- Leggy Growth: Microgreens stretch when they don’t get enough light. Solution: Provide adequate sunlight or use a grow light.
- Bitter Taste: Certain microgreens like broccoli or radish can taste bitter if harvested too late. Solution: Harvest promptly when they reach 1–3 inches.
- Seed Rot: Occurs if seeds are left soaking too long or soil is overly wet. Solution: Follow soaking times carefully and maintain proper soil moisture.
Step 9: Creative Ways to Enjoy Sprouts and Microgreens
Sprouts and microgreens are incredibly versatile:
- Salads: Add a crunchy, flavorful boost to green salads.
- Smoothies and Juices: Blend into green smoothies for extra vitamins.
- Sandwiches & Wraps: Use as a fresh and healthy layer in sandwiches.
- Soups & Garnishes: Sprinkle on soups, stir-fries, or pasta for a nutritious touch.
- Herbal Blends: Combine with herbs for homemade spice blends or salad toppings.
By incorporating them into your meals, you not only enhance flavor but also increase nutritional intake effortlessly.

Quick Tips for Fast and Successful Growth
- Always use clean containers and filtered water to avoid contamination.
- Do not overcrowd seeds—give each seed enough space to grow.
- Keep sprouts and microgreens at the right temperature (65–75°F).
- Provide adequate light for microgreens to prevent leggy growth.
- Harvest promptly to enjoy peak flavor and nutrition.
Conclusion
Growing sprouts and microgreens at home is fast, easy, and incredibly rewarding. With minimal effort, you can enjoy fresh, nutrient-packed greens that are perfect for boosting your health and adding flavor to your meals. Whether you have a balcony, kitchen counter, or small garden space, you can start your own mini indoor garden today.
By following these simple steps, you’ll have a constant supply of fresh sprouts and microgreens ready in just a few days. From boosting immunity to creating delicious meals, homegrown greens are a natural, healthy, and sustainable choice. Start today and experience the joy of growing your own nutritious food at home!
Leave A Comment