Mint, also known as Pudina, is one of the most versatile and aromatic herbs you can grow at home. Whether it’s for refreshing beverages, chutneys, salads, or garnishing dishes, having fresh mint at your fingertips is a delight. The best part? You don’t need seeds or complicated techniques—growing mint from cuttings is fast, easy, and highly effective, even for beginners.
In this complete guide, you’ll learn how to grow mint from cuttings, step-by-step care tips, watering routine, soil and sunlight requirements, common problems, and a week-by-week update timeline, so you can see your mint thrive.
Why Grow Mint From Cuttings?
Mint is a perennial herb that spreads quickly. While you can grow it from seeds, propagation through cuttings offers several advantages:

- Faster growth compared to seeds
- Guaranteed plant identity (same flavor as the parent plant)
- High success rate
- Cost-effective – no need to buy multiple plants
- Year-round propagation
Even a small stem cutting can become a full, lush mint plant in just a few weeks.
Best Time to Take Mint Cuttings
The ideal time for propagation is:
- Spring or early summer (March–June) for fastest growth
- Anytime you have a healthy mint plant at hand
Choose healthy, green, non-woody stems for the best results.

Step 1: Choosing and Preparing Your Mint Cutting
- Select a healthy stem with 4–6 inches in length.
- Cut the stem just below a node (where leaves meet the stem).
- Remove the lower leaves, leaving 2–3 leaves at the top.
- If the stem has flowers, pinch them off—this directs energy to root growth.
- Optional: Dip the cut end in rooting hormone for faster results.
Pro Tip: Use clean scissors or pruning shears to avoid spreading diseases.
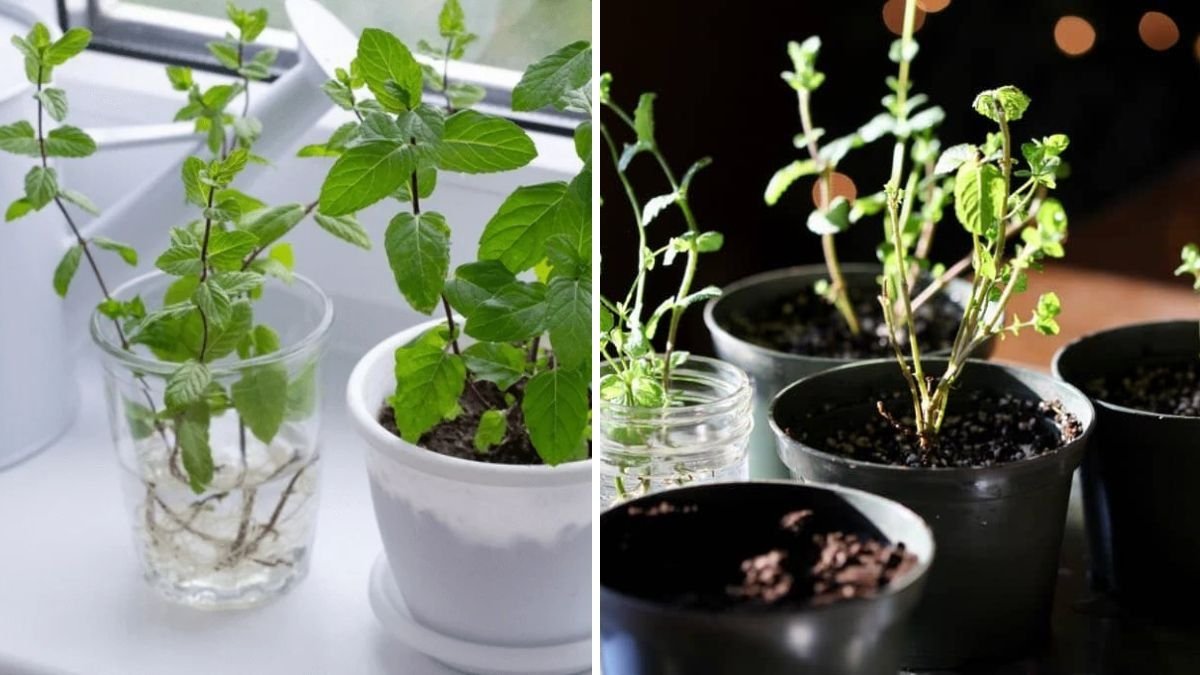
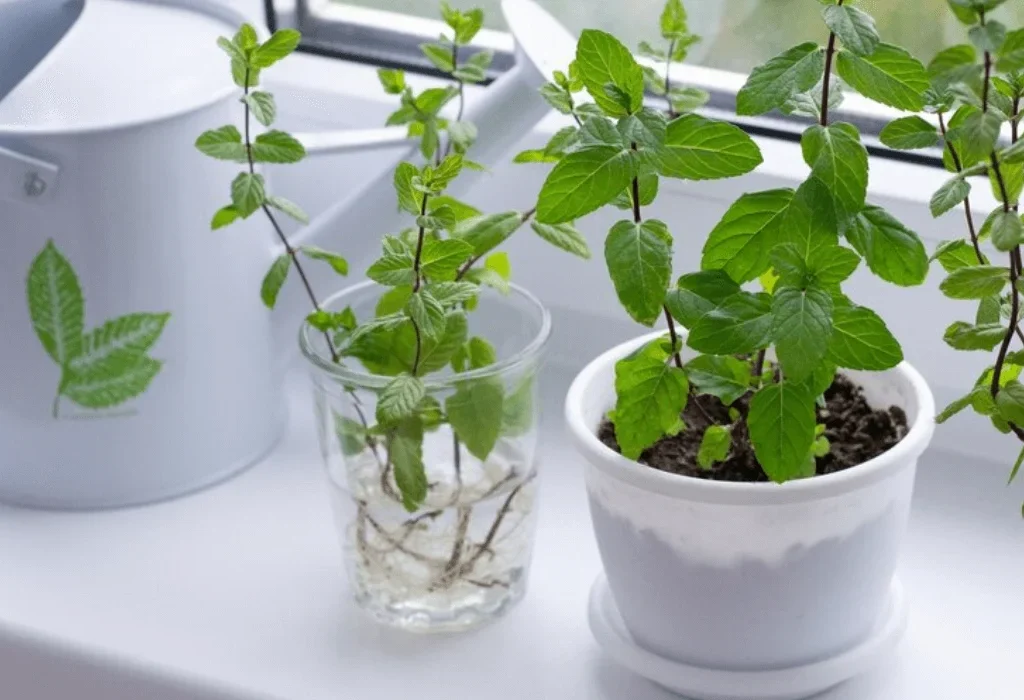
Step 2: Rooting Mint in Water (Easiest Beginner Method)
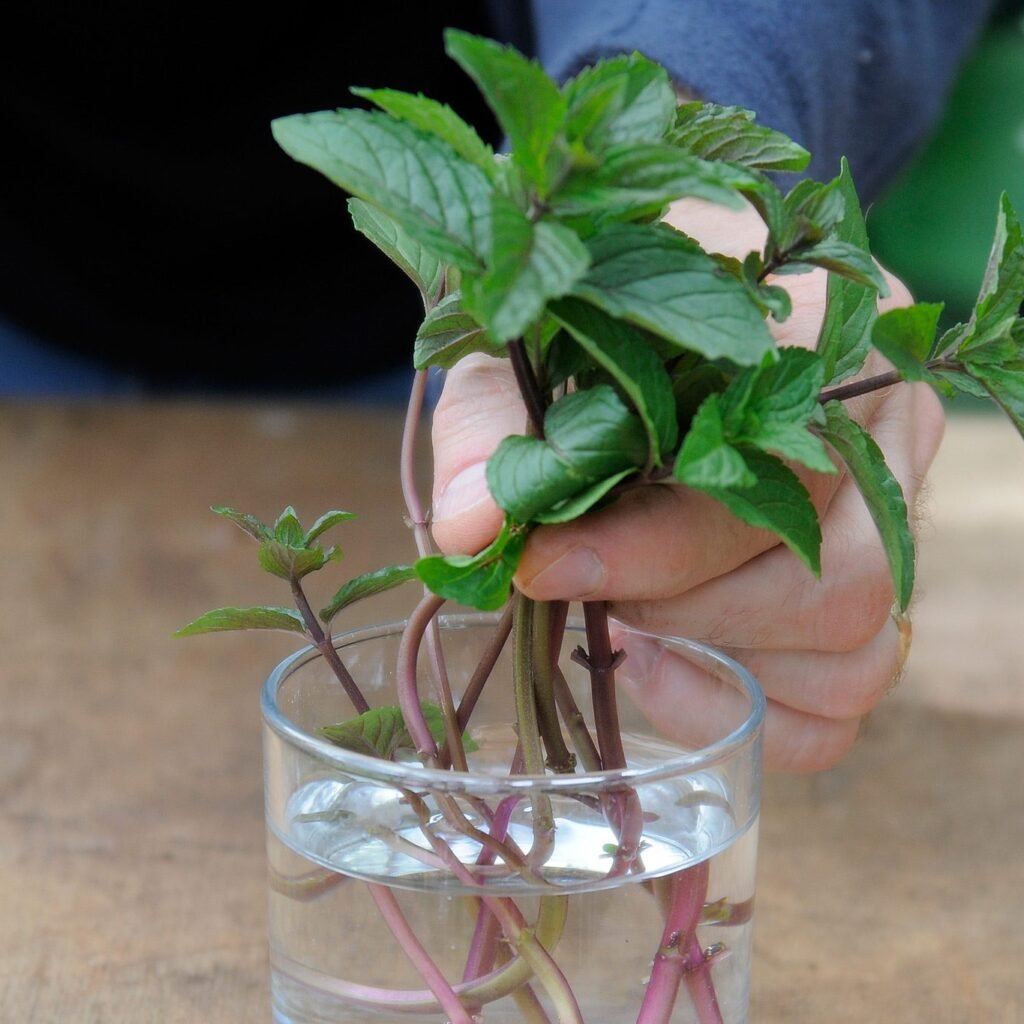
Mint is one of the easiest herbs to root in water. Here’s how:
- Fill a small glass or jar with clean water.
- Place the mint cutting in water, ensuring nodes are submerged.
- Keep the jar in bright, indirect sunlight.
- Change the water every 2–3 days to prevent bacterial growth.
Within 7–10 days, you’ll notice tiny roots forming at the nodes.

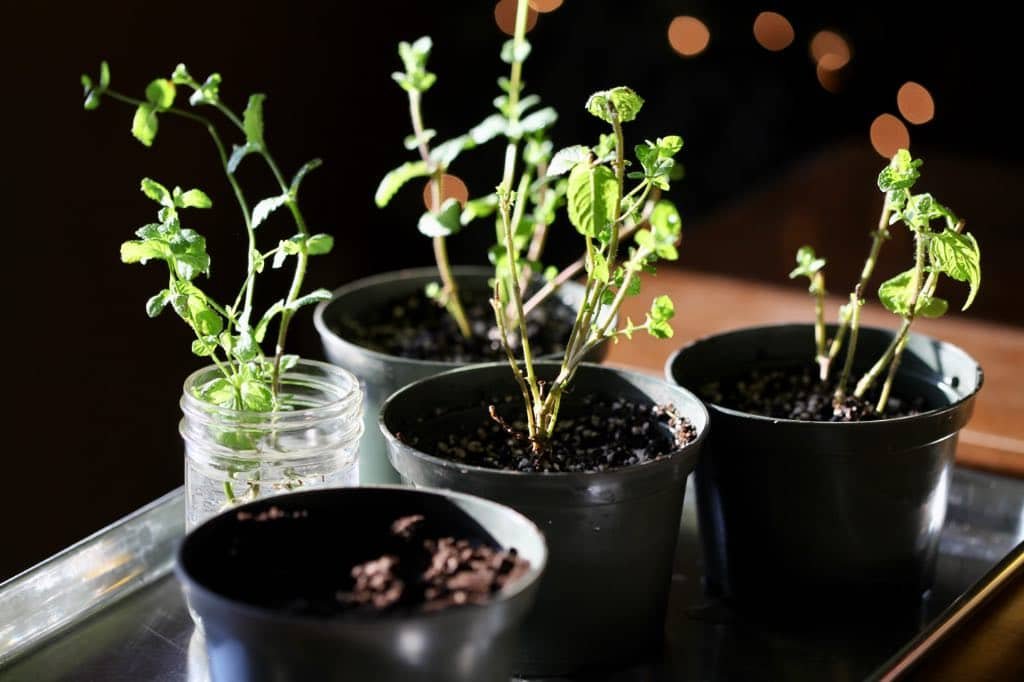
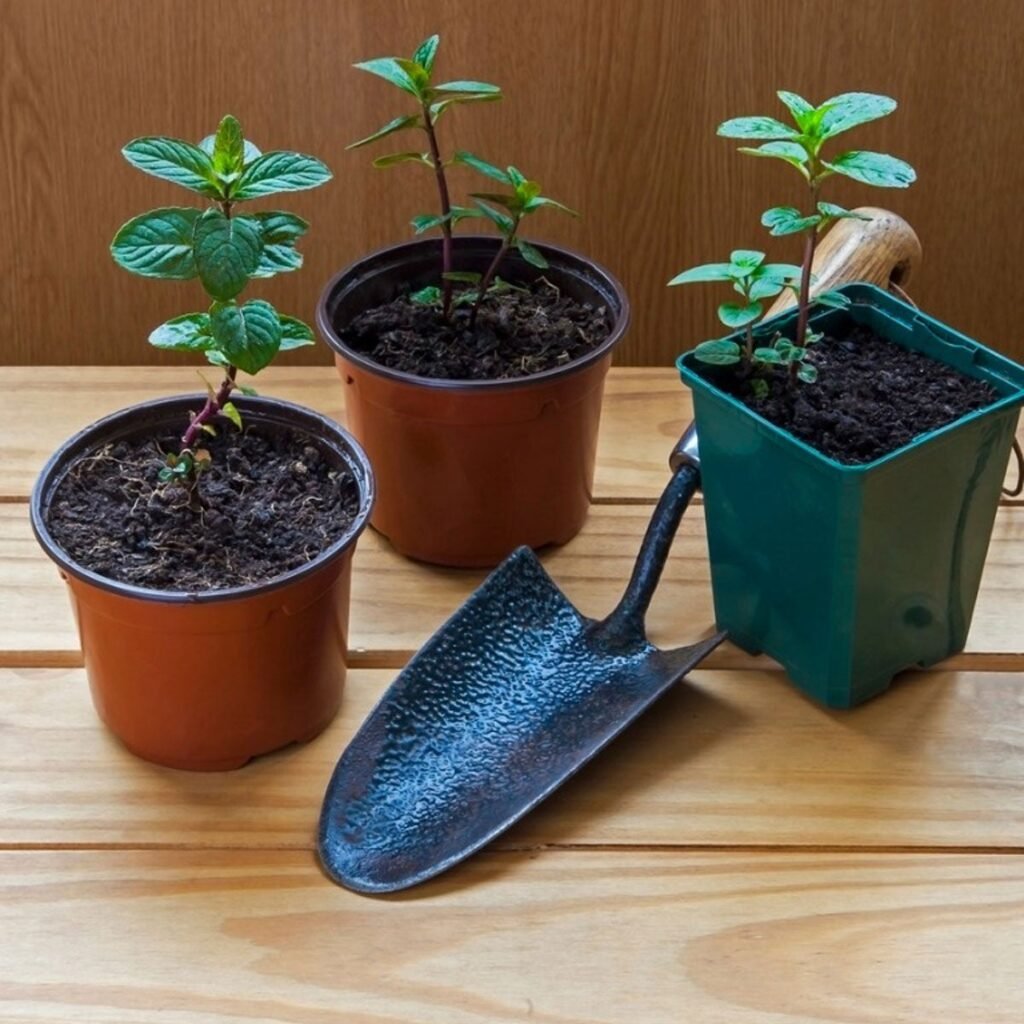
Step 3: Planting in Soil
Once roots reach 2–3 inches:
- Fill a small pot with well-draining soil:
- 50% garden soil
- 30% compost or cocopeat
- 20% sand (for drainage)
- Make a small hole and gently plant the rooted cutting.
- Firm the soil around the stem to secure it.
- Water lightly, keeping the soil moist but not soggy.
Step 4: Light and Temperature
Mint grows best in:
- Bright, indirect sunlight (4–6 hours daily)
- Warm temperatures between 20–28°C
- Avoid exposing young cuttings to harsh afternoon sun initially
Once established, mint is hardy and can handle full sun.

Step 5: Watering Routine
- Water whenever the top inch of soil feels dry.
- Keep soil consistently moist but not waterlogged.
- Avoid overhead watering to prevent fungal infections.
Tip: Mulch around the base with dried leaves or straw to retain moisture.
Step 6: Fertilizing Your Mint
Mint is a fast-growing herb that thrives with light feeding:
- Use organic compost every 2–3 weeks
- For faster growth, apply liquid fertilizer diluted 1:4 every month
- Avoid over-fertilization—it can make leaves taste bitter
Step 7: Common Problems and Solutions
1. Yellowing Leaves
- Cause: Overwatering or nutrient deficiency
- Solution: Reduce watering, add compost
2. Slow Growth
- Cause: Low sunlight or weak soil
- Solution: Move to brighter location, use nutrient-rich soil
3. Pests (Aphids or Spider Mites)
- Spray neem oil or mild insecticidal soap
- Maintain airflow around the plant
4. Stem Rot
- Cause: Waterlogged soil
- Solution: Repot in well-draining soil and avoid excess watering
Step-by-Step Update Timeline (Perfect for Videos)
Week 1 – Initial Stage
- Cuttings placed in water
- Tiny root nodes start forming
Week 2 – Visible Roots
- 1–2 inch roots appear
- Leaves remain fresh and green
- Keep in indirect sunlight
Week 3 – Transplant to Soil
- Roots 2–3 inches long
- Plant in well-draining soil
- Water lightly, avoid soggy soil
Week 4 – Early Growth in Soil
- Roots anchor in soil
- New leaves start growing from top nodes
- Plant looks healthy and upright
Week 5–6 – Lush Growth Begins
- Multiple shoots emerge
- Leaves become larger and aromatic
- Fertilize lightly with compost
Week 8 – Established Mint Plant
- Plant is bushy and ready for harvesting
- Can pinch tips regularly to encourage more branching
- Continue watering and sunlight care
Week 10+ – Regular Harvesting
- Start harvesting fresh leaves
- Pinch top leaves regularly to keep plant bushy
- Plant continues thriving and multiplying
Pro Tips for Beginners
- Always use clean tools to prevent disease
- Pinch top leaves to encourage bushy growth
- Harvest leaves regularly to promote new growth
- Avoid letting mint flower early; it reduces leaf production
- Use well-draining soil and moderate sunlight
Conclusion
Growing mint from cuttings is fast, easy, and perfect for beginners. With just a few steps—selecting a healthy stem, rooting in water, planting in soil, and proper care—you can enjoy lush, aromatic mint in just a few weeks.

Following the update timeline, you can track progress for your gardening journal, YouTube videos, or social media posts. Once established, mint will keep providing fresh leaves year-round, making it a must-have herb for every kitchen garden.
Leave A Comment