
Growing flowers from bulbs is one of the easiest and most rewarding ways to add beauty, fragrance, and color to any home garden. Whether you have a balcony, terrace, windowsill, or backyard, flower bulbs can transform your space into a stunning garden with very little effort. These plants are low maintenance, fast growing, and provide long-lasting blooms that are perfect for decoration or cut flower arrangements.
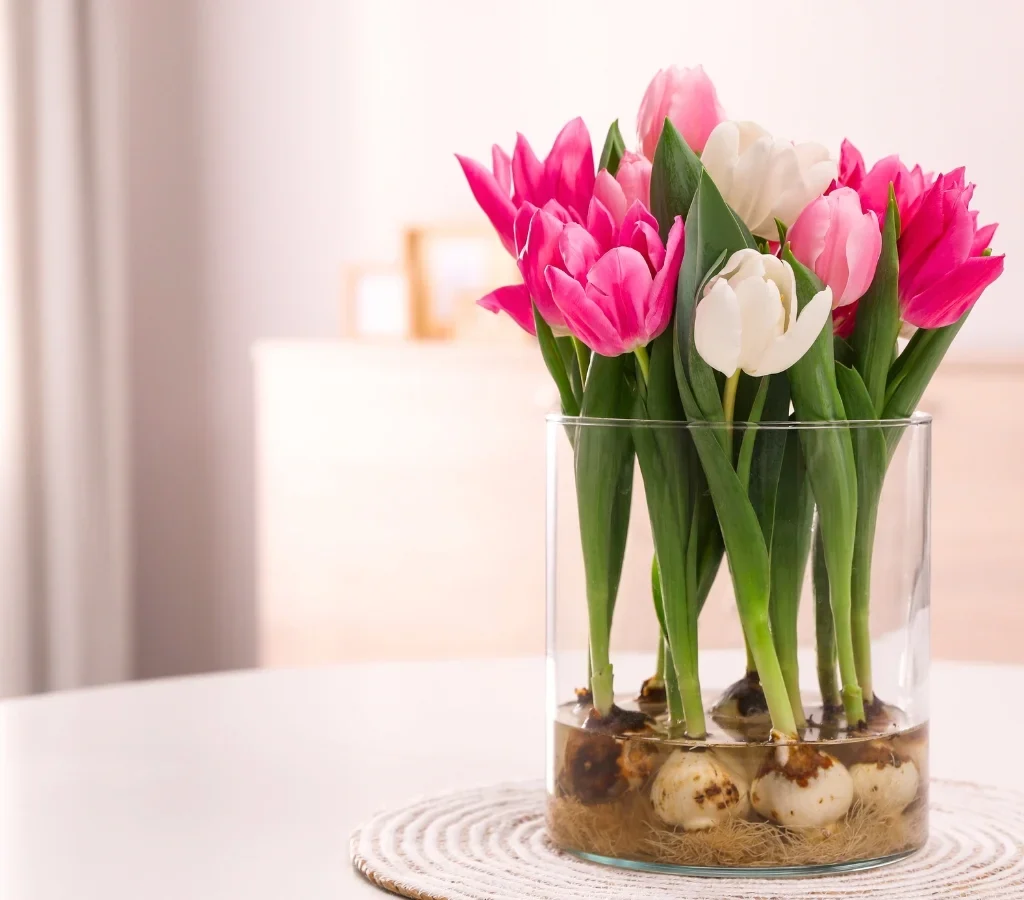
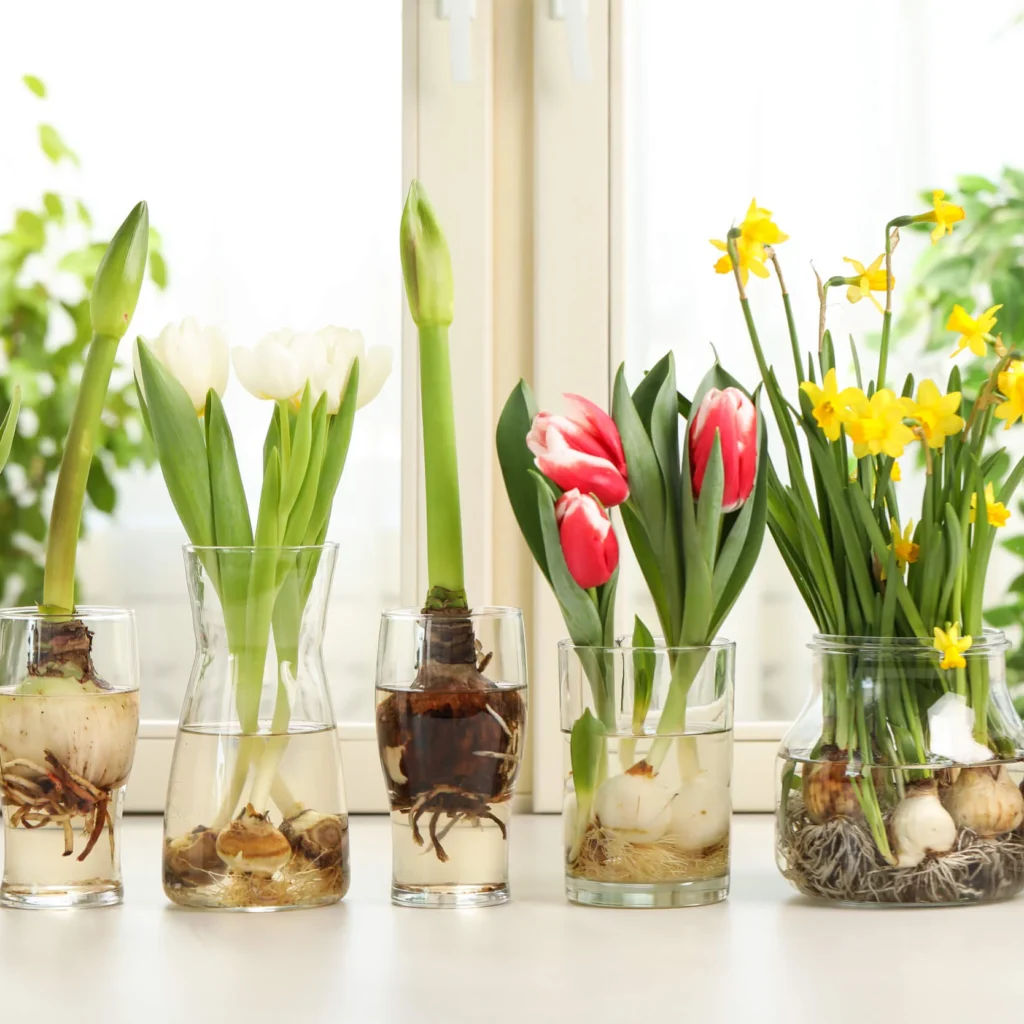
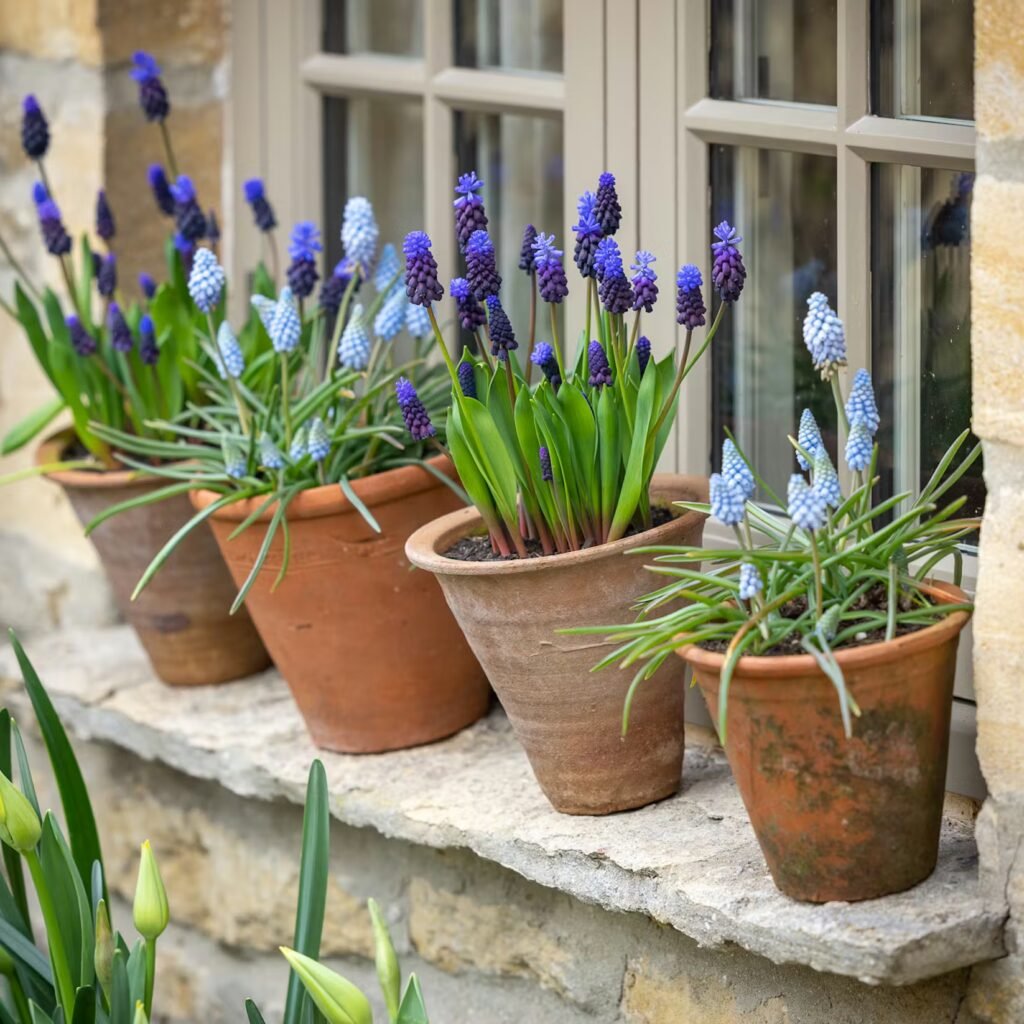
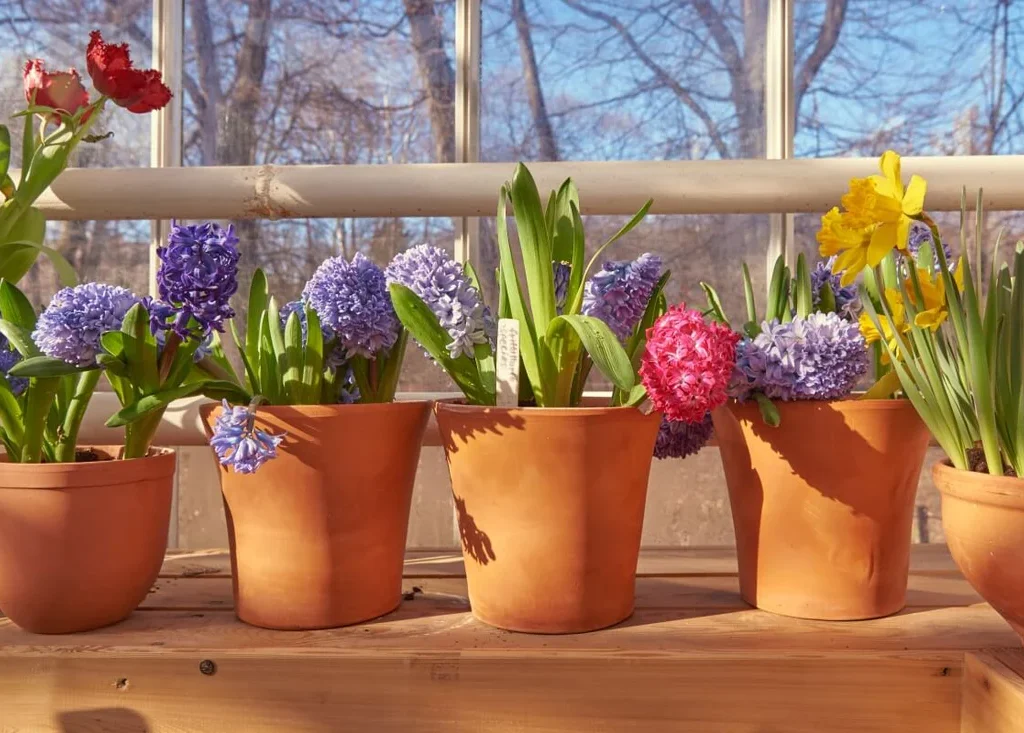
Flower bulbs like tulips, hyacinths, daffodils, gladiolus, lilies, ranunculus, and irises are among the most popular because of their ability to grow in pots and containers. The best part is that you don’t need to be a gardening expert to grow them successfully.
This detailed guide includes planting instructions, care routines, watering schedules, and a realistic time-based growth update to help you understand how bulbs develop from planting to flowering.
What Are Flower Bulbs?
A flower bulb is a plant structure that contains everything necessary for growth. Unlike seeds, bulbs are already partially developed plants with stored nutrients, roots, and stems. Because of this stored energy, they grow faster and bloom sooner than seeds.
There are two main types of bulbs:
- Spring-flowering bulbs (Tulips, Hyacinths, Daffodils): Planted in winter and bloom in spring.
- Summer-flowering bulbs (Lilies, Gladiolus, Amaryllis): Planted in early spring and bloom during summer.
Materials You Need
- Healthy flower bulbs
- Pots or grow bags with drainage holes
- Loose, well-draining soil mix
- Cocopeat or perlite (optional)
- Organic compost or vermicompost
- Watering can or spray bottle
Best Soil Mix for Bulbs
The key to growing bulbs successfully is good drainage. Bulbs rot easily in soggy soil.

Recommended mix:
- 40% garden soil or cocopeat
- 30% compost
- 20% sand or perlite
- 10% leaf mulch or kitchen compost (optional)
This mixture keeps the soil light, nutrient-rich, and airy.
Step-by-Step Planting Guide
Step 1: Selecting the Bulbs
Always choose bulbs that are:
- Firm and heavy
- Free from wrinkles or soft spots
- Not moldy or damaged
Larger bulbs usually produce stronger plants and bigger flowers.
Step 2: Planting Depth and Spacing
General planting rule:
Plant bulbs at a depth two to three times their height.
For example:
A 2-inch tall bulb must be planted 4 to 6 inches deep.

Spacing between bulbs should be at least 3 to 6 inches, depending on size.
Place bulbs with the pointed side facing upward. The flat or root side should face down.
Step 3: Watering After Planting
After planting, water thoroughly so that the soil settles around the bulb.
Next, water only when the topsoil becomes dry. Overwatering is the most common mistake beginners make.
Sunlight Requirements

Most bulb plants need:
- At least 4 to 6 hours of direct sunlight daily.
Some varieties, especially lilies and hyacinths, grow well even in partial shade.

Growth Timeline (Full Updates)
Here’s what you can expect after planting:
| Time | Growth Stage |
|---|---|
| Day 1–7 | Roots develop under the soil |
| Day 10–20 | First small shoot appears |
| Week 4–6 | Leaves grow and plant strengthens |
| Week 6–10 | Flower buds appear |
| Week 8–14 | Flowers bloom fully |
The timeline varies depending on season, bulb type, and climate.
Care and Maintenance
Watering
- Keep the soil slightly moist.
- Avoid splashing water on leaves to prevent fungal disease.
- Never allow water to stand in the pot.
Fertilizing
Add fertilizer every 15 to 20 days. Suitable options include:
- Vermicompost
- Bone meal (for flowering)
- Liquid seaweed or compost tea
Avoid high nitrogen fertilizers because they promote leaves but reduce flowering.
Mulching
Adding a thin layer of mulch helps:
- Retain moisture
- Reduce weeds
- Maintain soil temperature
This is especially helpful in hot climates.

Common Problems and Solutions
| Problem | Reason | Solution |
|---|---|---|
| Bulb rotting | Overwatering or poor drainage | Improve drainage and reduce watering |
| No flowers | Bulbs planted shallowly or lack nutrition | Plant deeper and fertilize |
| Yellowing leaves | Lack of sunlight or excess water | Move to sunlight and adjust watering |
| Pests like aphids | Humidity and weak plant health | Neem oil spray once a week |
After Bloom Care
Once flowers fade:
- Remove dried flowers (deadheading) to prevent seed formation.
- Keep leaves attached until they turn yellow.
- Leaves store energy in the bulb for next year’s growth.
Once the leaves dry completely, you may dig out the bulbs if they are seasonal or leave them in place if they are perennial.
How to Store Bulbs
If storing bulbs for next season:
- Remove bulbs carefully after leaves dry.
- Clean off soil gently.
- Air dry for one to two days.
- Store in a cool, dry, and dark place wrapped in paper or mesh bags.
Do not store bulbs in plastic bags because they trap moisture.
Final Results
With proper care, bulbs will produce stunning flowers with minimal effort. Many bulbs multiply and return year after year, giving more flowers each season. Some even form clusters, allowing you to divide and replant for more bloom areas.
Conclusion
Growing flower bulbs at home is simple, satisfying, and suitable for beginners. With the right soil, watering schedule, and sunlight, you can enjoy beautiful flowers within a few weeks. This method works perfectly in pots, balcony railings, raised beds, or garden soil.

Start with a few bulbs, follow the steps carefully, and soon you’ll enjoy a colorful and fragrant home garden.
Leave A Comment