
Chamomile is more than just a soothing tea—it’s a gentle, aromatic herb cherished for its calming properties, delicate flowers, and natural beauty. Imagine growing your own chamomile right at home using simple tea bags! Not only is it easy, but it’s also a fun and cost-effective way to enjoy fresh chamomile whenever you want. This guide will take you step by step through planting, caring for, and harvesting chamomile from tea bags, making the process quick, easy, and enjoyable.
Why Grow Chamomile at Home?
Chamomile has been valued for centuries for its medicinal, culinary, and decorative uses. Growing it at home offers numerous benefits:
- Health and Wellness: Chamomile is well-known for promoting relaxation, aiding digestion, and improving sleep quality. Freshly grown chamomile can be used to make teas, tinctures, and herbal remedies.
- Aromatic Beauty: Its sweet, apple-like fragrance enhances your garden, balcony, or indoor space.
- Cost-Effective: Growing chamomile from tea bags is inexpensive compared to buying fresh herbs or seeds.
- Easy to Grow: Chamomile is hardy, requires minimal maintenance, and grows quickly under the right conditions.
- Pollinator-Friendly: Chamomile flowers attract bees and butterflies, supporting local biodiversity.
Step 1: Selecting the Right Chamomile Tea Bags
Not all tea bags are created equal. To grow chamomile successfully, choose high-quality, pure chamomile tea bags:
- Check the Ingredients: Ensure the tea contains 100% chamomile flowers with no added flavors, fillers, or preservatives.
- Organic Option: Organic tea bags reduce the risk of chemical contamination in your plants.
- Number of Bags: One tea bag is enough to grow multiple plants; however, using 2–3 tea bags ensures a higher germination rate.
Once you have your tea bags, you’re ready to start growing!

Step 2: Preparing Chamomile Seeds from Tea Bags
Chamomile seeds are tiny and delicate, but extracting them from tea bags is straightforward:
- Carefully open the tea bag without tearing the paper too much.
- Gently shake the chamomile flowers into a small bowl.
- Optional: Let the flowers dry for a few hours to make seed collection easier.
The seeds are ready to plant once separated from the dried flowers.
Step 3: Choosing the Right Planting Container and Soil
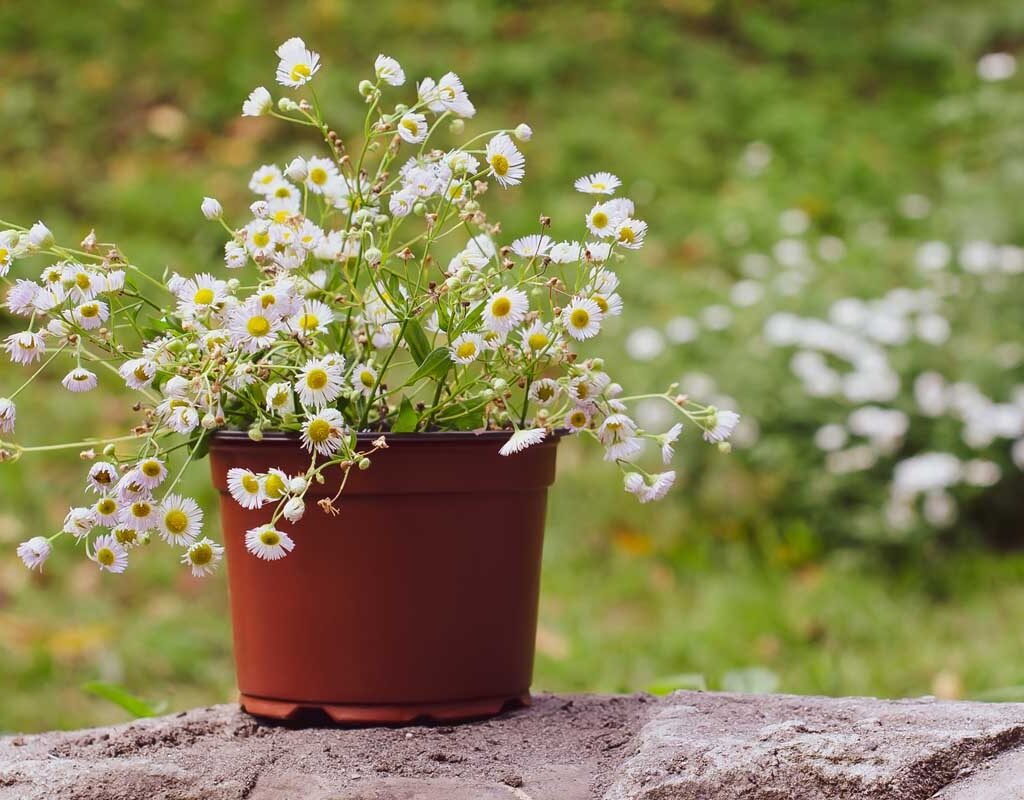
Chamomile can be grown in pots, window boxes, or garden beds. Here’s what to consider:
- Container: Use a pot or tray with drainage holes to prevent waterlogging.
- Soil: Chamomile prefers well-draining, sandy or loamy soil. A mix of potting soil with sand or perlite works perfectly.
- Size: Choose a container that is at least 6–8 inches deep for root development.
A sunny windowsill, balcony, or garden bed with plenty of sunlight is ideal.

Step 4: Planting Chamomile Seeds
Planting chamomile seeds from tea bags is quick and simple:
- Fill your container with prepared soil, leaving about 1 inch of space from the top.
- Sprinkle the seeds evenly over the soil surface.
- Lightly cover the seeds with a thin layer of soil (about 1/8 inch). Chamomile seeds need light to germinate, so don’t bury them too deep.
- Mist the soil gently with water using a spray bottle to avoid washing away seeds.
- Keep the soil consistently moist but not soggy.
Step 5: Germination and Early Care
Chamomile seeds usually germinate within 7–14 days if provided with the right conditions. To encourage healthy growth:
- Temperature: Keep the container in a warm spot, ideally 65–75°F.
- Sunlight: Chamomile requires at least 4–6 hours of sunlight daily. Use a sunny window or supplement with a grow light if indoors.
- Watering: Mist the soil daily to maintain moisture without flooding the seeds.
- Thinning: Once seedlings develop 2–3 sets of true leaves, thin them by snipping weaker seedlings at the base to give space for stronger plants to grow.
Step 6: Transplanting Chamomile (Optional)
If you started seeds in a small tray, you might want to transplant them into larger pots or your garden:
- Choose a sunny, well-drained location.
- Gently remove seedlings, keeping the roots intact.
- Plant them 6–8 inches apart to allow space for growth.
- Water lightly after transplanting to help them settle in.
Chamomile is adaptable and grows well both indoors and outdoors, making it perfect for urban gardeners.

Step 7: Caring for Chamomile Plants
Chamomile is low-maintenance but thrives with a few simple practices:
- Watering: Water when the soil feels dry. Avoid overwatering, as chamomile does not like soggy soil.
- Sunlight: Ensure your plant receives adequate sunlight daily. If indoors, rotate the pot to provide even exposure.
- Fertilizing: Chamomile doesn’t require heavy feeding. A light organic fertilizer or compost once a month is sufficient.
- Pruning: Regularly trim spent flowers to encourage continuous blooming.
With minimal effort, your chamomile plants will flourish beautifully.
Step 8: Harvesting Chamomile
Harvesting chamomile is simple and rewarding:
- Pick flowers when they are fully open, usually mid-morning after dew has dried.
- Use sharp scissors to snip flower heads without damaging the plant.
- For drying, spread the flowers on a paper towel or hang small bundles upside down in a dark, dry, and well-ventilated area.
- Store dried flowers in airtight containers for teas, baths, or crafts.
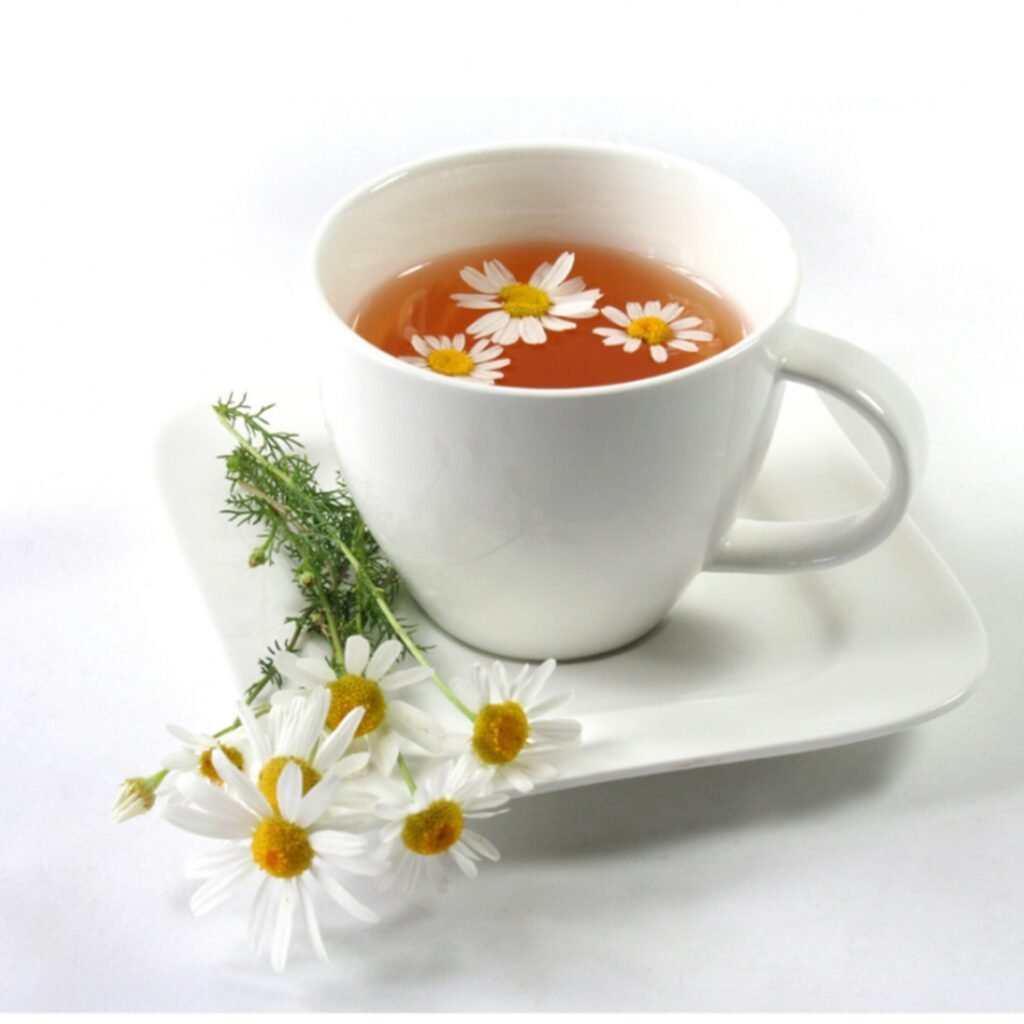
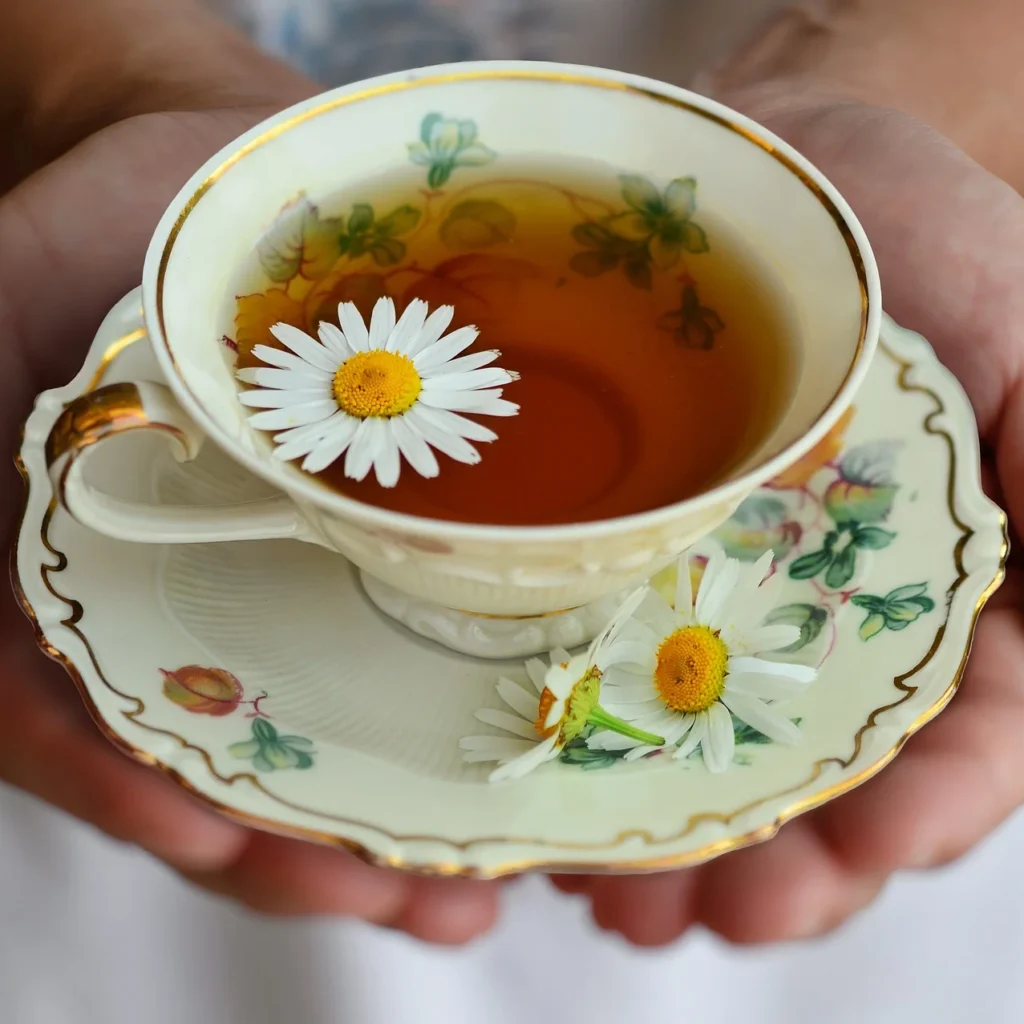
Fresh chamomile can also be used immediately for making tea, infusions, or homemade skincare remedies.

Step 9: Common Issues and Solutions
Chamomile is hardy, but you may encounter minor issues:
- Leggy Growth: Occurs when seedlings don’t get enough sunlight. Solution: Provide more direct light or a grow lamp.
- Pests: Aphids or spider mites may occasionally appear. Solution: Spray with mild soapy water or neem oil.
- Fungal Diseases: Caused by overwatering or poor air circulation. Solution: Ensure proper drainage and space between plants.
By monitoring your plants, these problems can be easily managed.
Step 10: Creative Uses for Homegrown Chamomile
Growing chamomile at home opens up a world of possibilities:
- Herbal Tea: Brew fresh or dried flowers for calming chamomile tea.
- Skincare: Chamomile-infused oils and baths soothe irritated skin and reduce inflammation.
- Aromatherapy: Dried chamomile flowers can be used in sachets, candles, or potpourri.
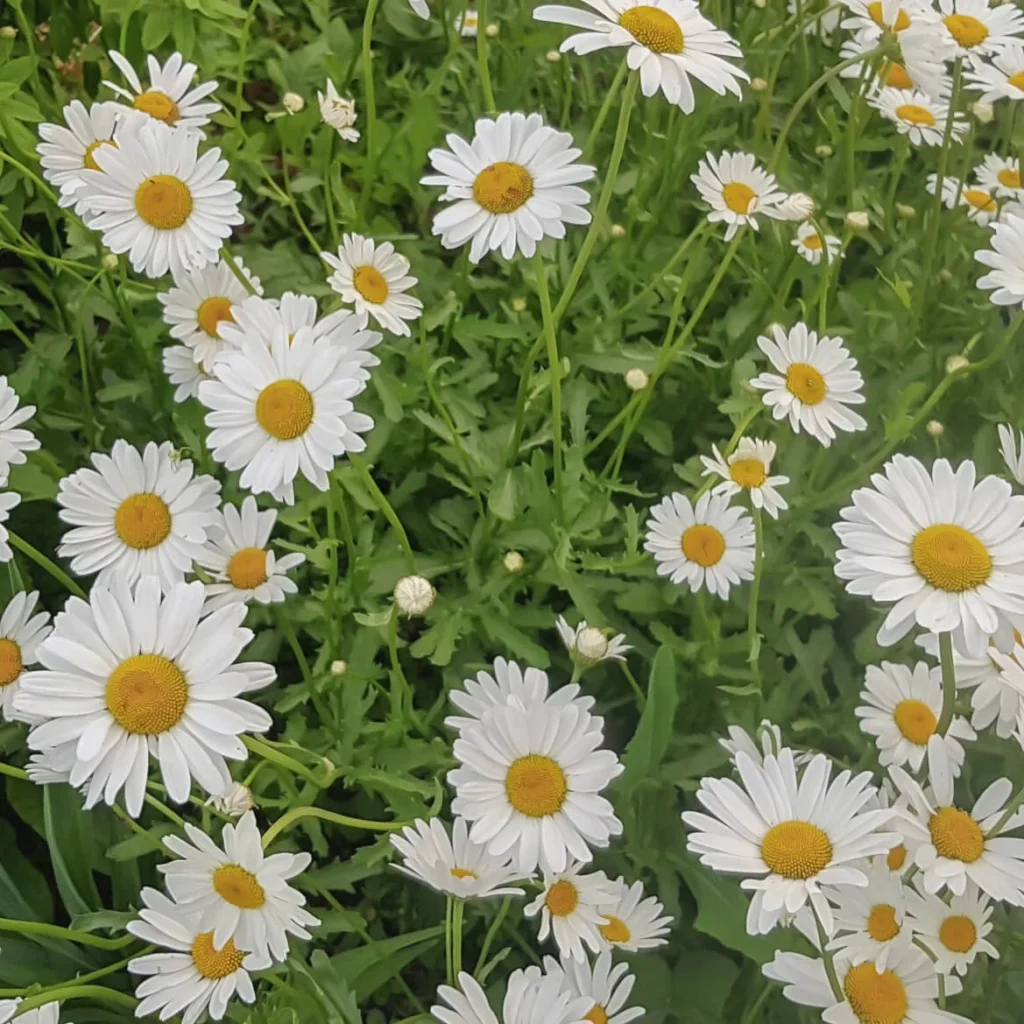
- Decorative: The small, daisy-like flowers make beautiful accents for gardens and indoor spaces.
Your homegrown chamomile is not only practical but also a charming addition to your daily life.

Quick Tips for Success
- Use high-quality, pure chamomile tea bags to ensure good seed viability.
- Keep soil lightly moist during germination.
- Provide ample sunlight for healthy growth.
- Thin seedlings for strong, well-spaced plants.
- Harvest flowers at peak bloom for the best flavor and fragrance.
Conclusion
Growing chamomile from tea bags is a simple, cost-effective, and rewarding way to enjoy this aromatic herb at home. With minimal effort, you can transform ordinary tea bags into thriving plants that provide beauty, fragrance, and health benefits. Whether you use it for tea, skincare, or decoration, homegrown chamomile is a delightful addition to any indoor or outdoor space.
Start your chamomile journey today, and in just a few weeks, you’ll enjoy the soothing charm of fresh, homegrown chamomile right at your fingertips. It’s a fun, easy, and sustainable way to bring nature closer to home.
Leave A Comment