
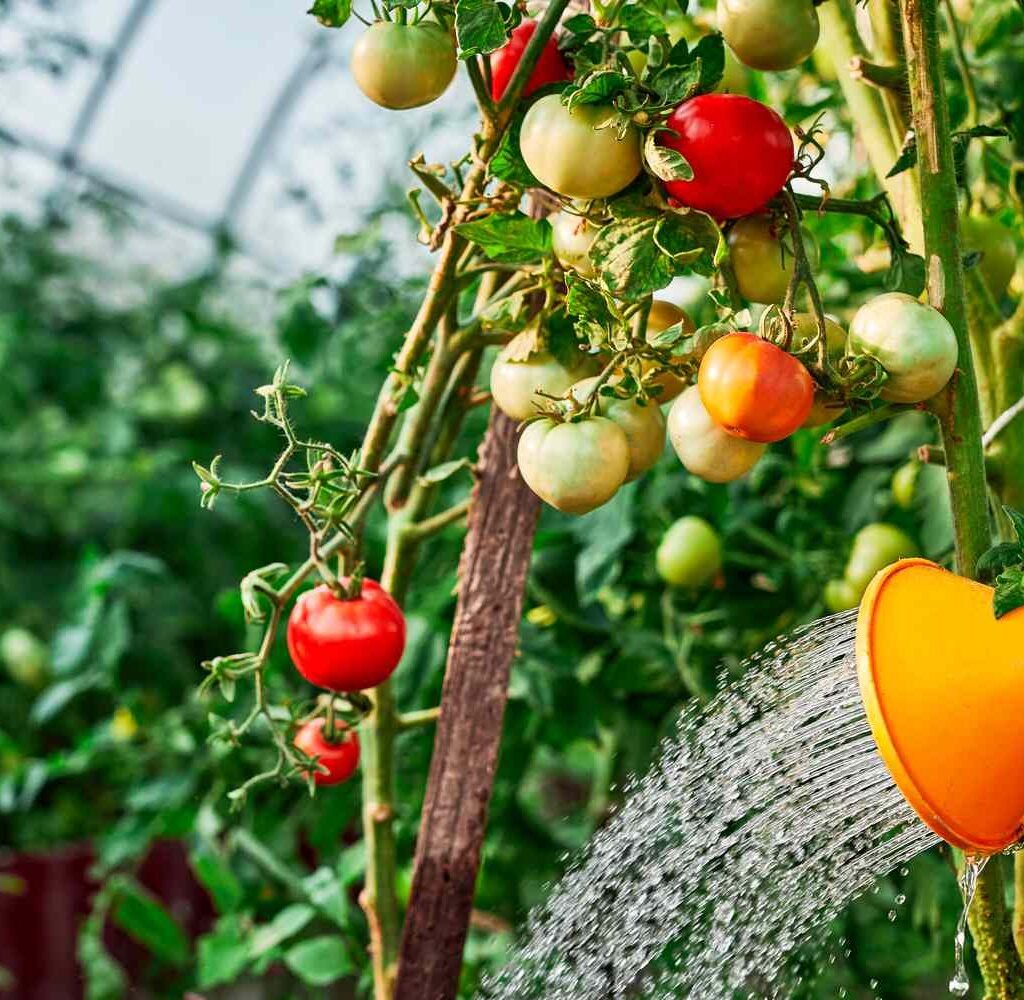
Tomatoes are one of the most popular and rewarding crops for home gardeners and commercial growers alike. But did you know that grafting your tomatoes before planting can significantly improve plant vigor, disease resistance, and fruit production? Grafted tomato plants combine the strengths of a robust rootstock with the desirable traits of a high-yielding scion, giving you healthier, more productive plants. In this guide, we’ll explore why grafting tomatoes before planting is beneficial and provide a step-by-step process to do it quickly and easily at home.
Why Graft Tomatoes?
Grafting is the process of joining two different tomato plants so they grow as one. The lower part (rootstock) provides strong roots, while the upper part (scion) produces the fruits. The benefits of grafting tomatoes include:
- Disease Resistance: Rootstocks are often resistant to soil-borne diseases like Fusarium wilt, Verticillium wilt, and nematodes.
- Improved Growth: Grafted tomatoes develop stronger root systems, which support better nutrient and water uptake.
- Higher Yields: Healthier plants produce more flowers and fruits, often earlier in the season.
- Stress Tolerance: Grafted plants are more tolerant of drought, heat, and poor soil conditions.
- Variety Combinations: You can grow a high-quality fruit variety on a vigorous rootstock for the best of both worlds.
Selecting the Right Rootstock and Scion

The success of grafting depends on the compatibility and quality of your rootstock and scion:
Rootstock:

- Choose a disease-resistant, vigorous variety suited to your growing conditions.
- Common rootstocks include ‘Maxifort,’ ‘Beaufort,’ and ‘Multifort.’
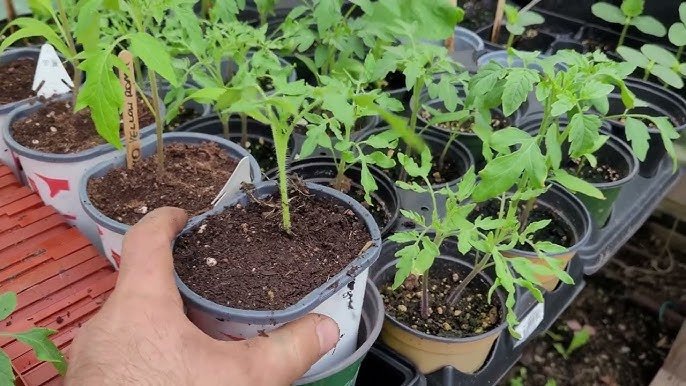
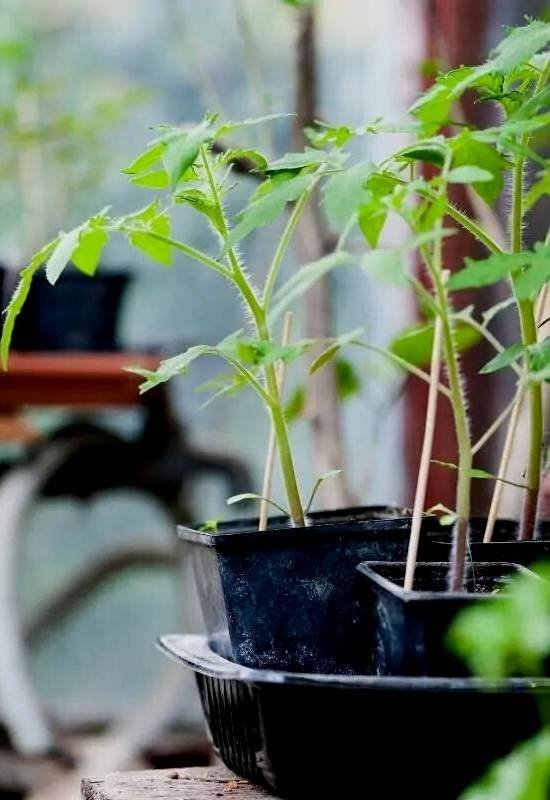
- Ensure the seedling is 3–4 weeks old and healthy.
Scion:
- Select the tomato variety you want to grow for fruit production.
- Choose seedlings that are 2–3 weeks old with 2–4 true leaves.
- Avoid diseased or weak plants.
Tools and Materials Needed
To graft tomatoes quickly and efficiently, gather the following:
- Sharp, sterilized grafting knife or razor
- Grafting clips or small rubber bands
- Rootstock and scion seedlings
- Humidity dome or clear plastic bag
- Tray for holding seedlings
Step-by-Step Guide to Grafting Tomatoes
1. Prepare the Rootstock
- Select a strong, healthy rootstock seedling.
- Remove the top portion, leaving about 2–3 inches of stem.
- Make a clean, diagonal cut across the stem to create a flat surface for the graft.
2. Prepare the Scion

- Select a scion with 2–3 true leaves.
- Trim the lower stem to match the cut on the rootstock.
- Make a diagonal cut that complements the rootstock cut to ensure good cambium contact.
3. Join Rootstock and Scion
- Align the cambium layers (the green tissue just beneath the bark) of both pieces. Proper alignment is crucial for successful grafting.
- Place the scion onto the rootstock carefully, ensuring full contact along the cut surfaces.
4. Secure the Graft
- Use a grafting clip or rubber band to hold the scion in place.
- The clip should be snug but not overly tight to avoid damaging the plant tissue.
5. Maintain Humidity
- Place the grafted plant in a tray and cover it with a humidity dome or clear plastic bag.
- High humidity helps prevent the scion from drying out while the graft union heals.
- Avoid direct sunlight initially; indirect light is ideal.
6. Healing and Acclimation

- Keep the grafted plant in a warm, shaded environment (24–28°C / 75–82°F).
- Gradually acclimate the plant to normal light and temperature over 5–7 days.
- Remove the humidity cover once the scion shows new growth, indicating the graft has taken.
Caring for Grafted Tomatoes
After grafting, proper care ensures the plant develops a strong root system and produces abundant fruits:
- Watering: Keep the soil consistently moist but not waterlogged. Overwatering can rot the rootstock.
- Fertilization: Use a balanced, water-soluble fertilizer to support new growth. Switch to phosphorus- and potassium-rich fertilizers when flowering begins.
- Pruning: Remove side shoots or suckers from the rootstock below the graft to focus energy on the scion.
- Support: Use stakes or cages to support growth and prevent damage to the grafted union.
Advantages of Grafting Tomatoes Before Planting
- Quick Establishment: Grafted plants adapt quickly when transplanted into the garden or containers.
- Early Harvest: Grafted tomatoes tend to produce flowers and fruits earlier than seed-grown plants.
- Consistent Quality: You can ensure fruit quality and variety by using selected scions.
- Reduced Losses: Resistant rootstocks help plants survive in soils with pathogens or stressful conditions.
Common Grafting Techniques for Tomatoes
- Splice Grafting: A simple diagonal cut on both scion and rootstock, aligned and held with clips. Ideal for small seedlings.
- Cleft Grafting: Suitable for slightly larger seedlings, involves inserting a wedge-shaped scion into a slit in the rootstock.
- Side-Veneer Grafting: Used for young seedlings; the scion is inserted into a cut along the side of the rootstock.
Troubleshooting Common Problems
1. Graft Failure: Often caused by poor cambium contact, excessive heat, or insufficient humidity. Ensure proper alignment and care.
2. Scion Wilting: May occur due to water stress or high temperatures. Maintain consistent moisture and shade.
3. Infection: Use sterilized tools and disease-free seedlings to prevent fungal or bacterial infections.

Transplanting Grafted Tomatoes
Once the graft has healed and the scion shows healthy new growth:
- Timing: Transplant into the garden or larger pots after 2–3 weeks of healing.
- Soil: Use well-draining, nutrient-rich soil with a pH of 6.0–6.8.
- Spacing: Plant grafted tomatoes 18–24 inches apart to allow airflow and reduce disease risk.
- Care: Water regularly and provide support for vines or branches.
Maximizing Yields from Grafted Tomatoes
- Sunlight: Ensure at least 6–8 hours of direct sunlight daily.
- Pruning: Remove lower leaves and suckers to focus energy on fruiting branches.
- Fertilization: Feed regularly with a balanced or fruiting-specific fertilizer.
- Pest Management: Monitor for common pests like aphids, whiteflies, and tomato hornworms. Organic solutions like neem oil or insecticidal soap can help.
Final Thoughts
Grafting tomatoes before planting is a quick and effective way to produce healthier, more productive plants. By combining a strong, disease-resistant rootstock with a high-quality scion, gardeners can enjoy earlier harvests, higher yields, and superior fruit quality. Even home gardeners with limited experience can successfully graft tomatoes by following the simple step-by-step method outlined in this guide.
Whether you’re growing tomatoes for fresh salads, cooking, or preserving, grafted plants offer a significant advantage over traditional seed-grown varieties. With proper care, grafted tomatoes thrive in the garden or containers, giving you a season full of delicious, nutrient-rich fruits.
Start grafting your tomatoes before planting, and enjoy stronger plants, abundant harvests, and the satisfaction of mastering a simple yet powerful gardening technique.

Leave A Comment