Marigolds, with their vibrant yellow, orange, and red blooms, are among the most popular and versatile flowers in gardens worldwide. Known for their beauty, easy maintenance, and pest-repelling properties, marigolds are a favorite choice for both novice and experienced gardeners. Growing marigolds from seeds is a rewarding and cost-effective way to fill your garden, balcony, or containers with cheerful flowers. This comprehensive guide provides full updates, step-by-step instructions, and tips to help you grow marigolds successfully from seeds.
1. Why Grow Marigolds from Seeds?
Growing marigolds from seeds has multiple advantages:
- Cost-effective: Seeds are much cheaper than buying nursery plants.
- Variety selection: Choose from numerous varieties such as African marigolds (Tagetes erecta), French marigolds (Tagetes patula), or Signet marigolds (Tagetes tenuifolia).
- Homegrown freshness: You control soil quality, watering, and fertilizers.
- Gardening satisfaction: Watching marigolds grow from seed to full bloom is highly rewarding.
While marigolds are easy to grow, starting from seed allows you to explore different varieties and colors at a lower cost.
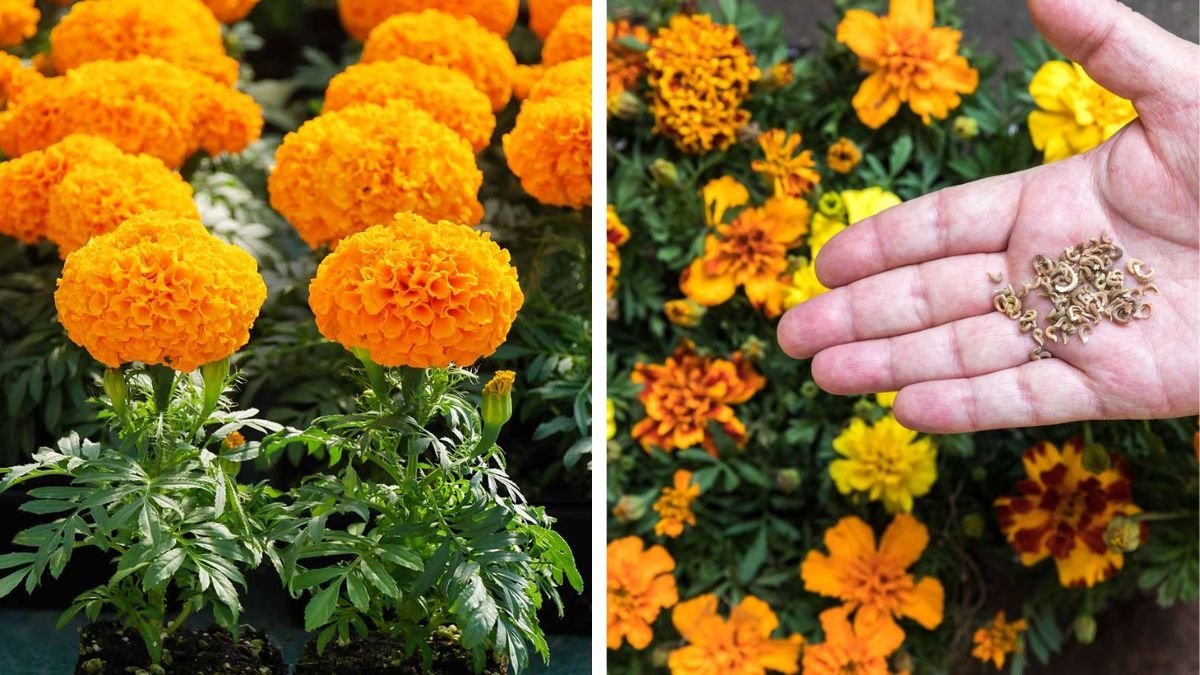
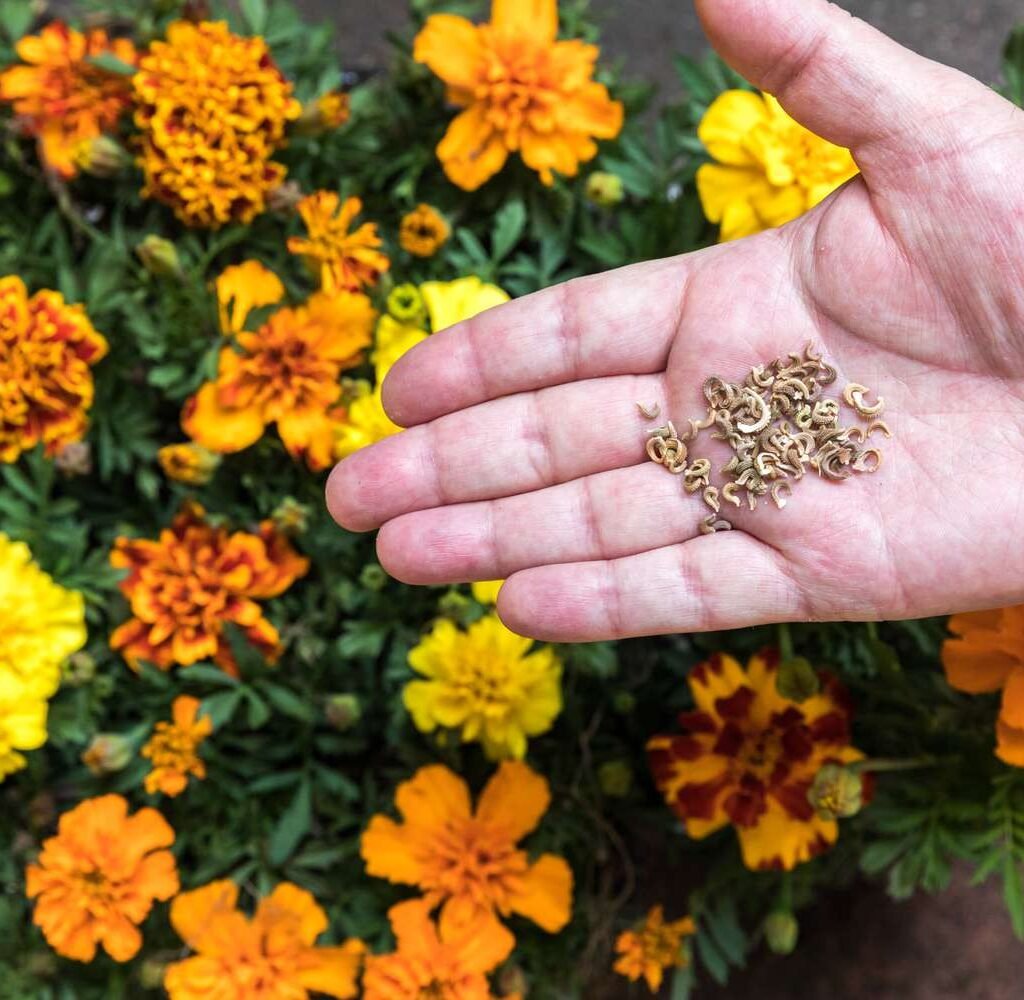
2. Selecting High-Quality Marigold Seeds

The first step to success is choosing healthy seeds:
- Fresh seeds: Check the packaging for the expiration date to ensure good germination.
- Varieties: Select seeds based on your space and preference:
- African marigolds: Large flowers, tall plants, ideal for borders.
- French marigolds: Compact plants with abundant blooms, suitable for containers.
- Signet marigolds: Small, delicate flowers, perfect for garden edges or companion planting.
- Seed source: Buy seeds from trusted suppliers to ensure disease-free and high-quality seeds.
Good seeds are the foundation of strong, healthy plants and abundant blooms.

3. Pre-Treating Marigold Seeds for Germination

Marigold seeds are relatively easy to germinate but benefit from pre-treatment:
- Soaking: Soak seeds in lukewarm water for 4–6 hours to soften the seed coat.
- Scarification (optional): Lightly rub the seeds with sandpaper to improve water absorption.
- Cold stratification: Not necessary for most marigold varieties, but can slightly improve germination rates for certain types.
Pre-treated seeds germinate faster and produce stronger seedlings.
4. Choosing the Right Growing Medium

Marigolds thrive in light, well-draining soil:
- Seed-starting mix: Use a fine, sterile seed-starting mix to prevent fungal issues.
- Soil pH: Slightly acidic to neutral (pH 6.0–7.0) is ideal.
- Containers: Seed trays, small pots, or cell packs work perfectly for starting seeds indoors.
Healthy, well-draining soil ensures strong seedlings with robust roots.
5. Planting Marigold Seeds
Correct planting ensures high germination rates and healthy seedlings:

- Sowing depth: Sow seeds about 0.25–0.5 inches deep in the soil.
- Spacing: Leave small gaps between seeds to prevent overcrowding.
- Watering: Mist gently to moisten the soil without washing away seeds.
- Humidity: Cover trays or pots with a transparent lid or plastic wrap to maintain humidity.
Marigold seeds usually germinate in 5–10 days, depending on variety and conditions.
6. Light and Temperature Requirements
Marigolds thrive in bright light and moderate warmth:
- Temperature: Ideal germination occurs at 20–25°C (68–77°F).
- Sunlight: Provide 12–16 hours of light daily using a sunny window or grow lights.
- Indoor care: Rotate seedlings to ensure even growth and prevent legginess.
Proper light and temperature conditions help seedlings develop strong stems and vibrant leaves.
7. Watering and Care
Consistent care is key to producing healthy marigolds:
- Moisture: Keep soil consistently moist until seeds germinate. After germination, water moderately.
- Watering method: Water at the base of seedlings to avoid wetting foliage, which can lead to fungal issues.
- Mulching: Apply a thin layer of mulch around seedlings once transplanted to retain soil moisture.
Balanced watering encourages strong root systems and long-lasting blooms.

8. Transplanting Seedlings
Once seedlings have 3–4 true leaves, they are ready for transplanting:
- Hardening off: Gradually expose seedlings to outdoor conditions for 7–10 days to reduce transplant shock.
- Container or garden beds: Ensure containers have drainage holes or beds are well-prepared with nutrient-rich soil.
- Spacing: Plant seedlings 8–12 inches apart depending on variety to allow proper airflow.
- Watering: Water immediately after transplanting to help seedlings establish.
Proper transplanting ensures robust growth and abundant flowering.
9. Fertilizing Marigolds
Marigolds are relatively low-maintenance but benefit from occasional feeding:
- Balanced fertilizer: Apply a water-soluble, balanced fertilizer every 3–4 weeks.
- Organic alternatives: Compost or vermicompost can provide essential nutrients naturally.
- Avoid excess nitrogen: Too much nitrogen encourages foliage growth at the expense of flowers.
Proper fertilization promotes continuous blooms and vibrant colors.
10. Pruning and Maintenance
Routine maintenance keeps marigolds healthy and flowering abundantly:

- Deadheading: Remove spent flowers regularly to encourage new blooms.
- Trimming: Cut leggy or damaged stems to encourage bushy growth.
- Pest monitoring: Watch for aphids, spider mites, or snails and treat with organic solutions as needed.
Regular pruning extends the flowering period and keeps plants looking neat.
11. Pest and Disease Management
Marigolds are generally hardy but can face challenges:
- Common pests: Aphids, spider mites, and snails. Use neem oil, insecticidal soap, or barriers.
- Diseases: Powdery mildew, root rot, and leaf spot may occur in overly damp conditions.
- Preventive care: Ensure proper spacing, airflow, and avoid wetting foliage.
Timely intervention ensures healthy plants and abundant blooms.
12. Tips for Beginners
- Succession planting: Sow seeds every few weeks for continuous flowering.
- Labeling: Keep track of different varieties and colors.
- Companion planting: Marigolds repel pests and are excellent companions for tomatoes, peppers, and other garden plants.
- Patience: Marigolds from seed take 8–10 weeks to bloom, but the results are spectacular.
Following these tips ensures beginners achieve a thriving, colorful marigold garden.
13. Benefits of Growing Marigolds from Seeds
- Variety and creativity: Choose from numerous colors and types to design your garden.
- Cost-effective: Seeds are cheaper than buying mature plants.
- Gardening experience: Enhances skills in seed sowing, care, and maintenance.
- Pest control: Marigolds naturally repel harmful insects in the garden.
- Long-lasting blooms: With proper care, marigolds bloom for months, brightening your space.
Growing marigolds from seeds is a fulfilling and visually rewarding experience.

Conclusion
Marigolds are cheerful, hardy, and versatile flowers that can brighten any garden or balcony. By selecting high-quality seeds, pre-treating them, planting correctly, providing proper light, water, and nutrients, and maintaining regular care, even beginners can enjoy vibrant marigolds from seed to bloom.
This complete guide with full updates ensures that gardeners of all skill levels can grow abundant, healthy marigolds in pots, containers, or garden beds. Start your marigold-growing journey today and transform your garden into a golden paradise of color and fragrance!
Leave A Comment