Moringa, often called the “miracle tree,” has been gaining immense popularity in gardens and kitchens around the world. Its nutrient-rich leaves are packed with vitamins, minerals, and antioxidants, making them a powerhouse for boosting health. While many people think growing Moringa is a challenge due to its reputation as a tropical tree, the truth is, you can grow Moringa leaves in a pot with minimal effort—right on your balcony, patio, or even indoors. This article will guide you through an easy, practical approach to cultivating lush Moringa leaves without any gardening stress.
Why Grow Moringa in a Pot?
Before diving into the steps, it’s worth understanding why growing Moringa in a pot is beneficial:
- Space-saving: Not everyone has a backyard, and potted plants allow you to enjoy Moringa even in small urban spaces.
- Mobility: Pots let you move your plant to a sunny spot or indoors during harsh weather.
- Controlled growth: Moringa grows very fast in soil, but pot cultivation naturally limits its height and spread, making maintenance easier.
- Ease of harvesting: With a pot-grown Moringa, leaves are accessible at arm’s reach, making daily harvesting convenient.
With these advantages, you can have a constant supply of fresh, green Moringa leaves without turning your garden into a forest.
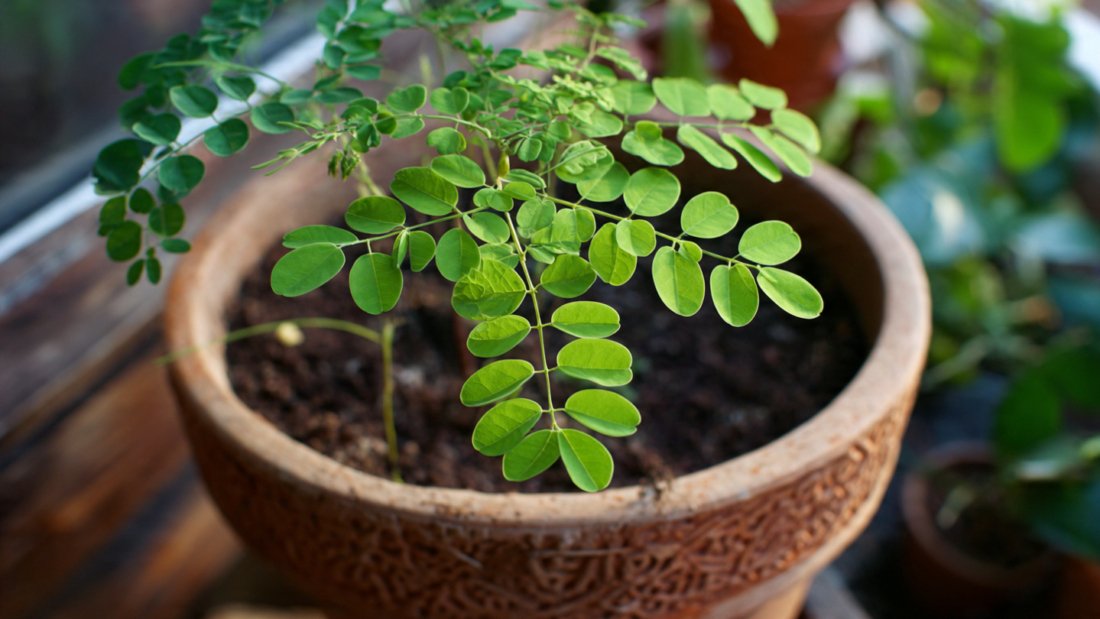
Choosing the Right Pot
The first step in growing Moringa in a pot is selecting an appropriate container. Moringa prefers deep soil for its long taproot. Ideally:
- Use a pot at least 12-16 inches deep and 12 inches wide for young plants.
- If you want a larger tree eventually, choose a deep and wide container to accommodate root growth.
- Ensure the pot has good drainage holes; Moringa doesn’t like waterlogged soil. Poor drainage can cause root rot, a common reason for plant failure.
Tip: A lightweight plastic or fiber pot works well if you need to move it around. Clay pots look beautiful but dry out faster, which may require more frequent watering.
Soil Requirements
Moringa thrives in well-draining, sandy loam soil with a neutral to slightly acidic pH (6.3–7.0). If you’re using potting soil, make it more suitable by:
- Mixing 1 part compost to enrich nutrients.
- Adding 1 part sand or perlite to improve drainage.
- Ensuring the soil is light and airy; compact soil can restrict root growth and stunt leaf production.
Good soil ensures healthy growth and abundant leaves with minimal intervention.
Selecting the Moringa Variety
For pot cultivation, not all Moringa varieties are ideal. The two main types are:
- Moringa Oleifera: The most common variety, also called the drumstick tree, grows quickly and produces tender, nutrient-rich leaves.
- Dwarf varieties: Perfect for pots and balconies, dwarf Moringa trees rarely grow taller than 6–8 feet and are easier to maintain and harvest.
If your goal is to harvest leaves frequently without dealing with a massive tree, a dwarf variety is your best bet.
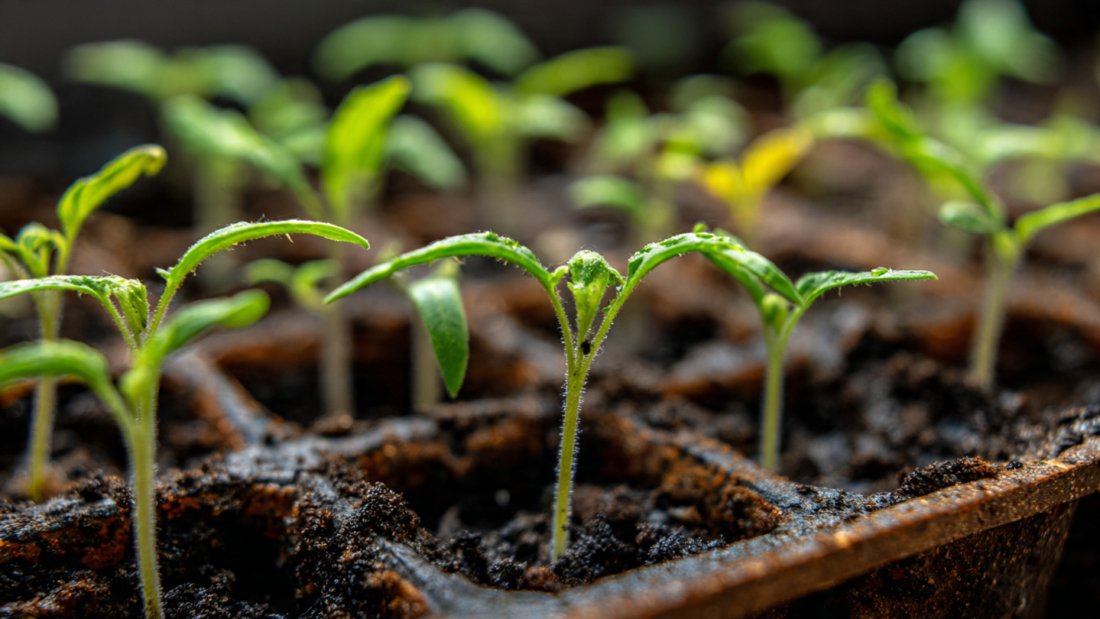
Planting Moringa Seeds
Moringa grows easily from seeds. Here’s a simple method to ensure success:
- Soak seeds in water for 24 hours. This helps break dormancy and encourages faster germination.
- Fill your pot with the prepared soil mix.
- Plant 2–3 seeds about 1 inch deep in the soil. This increases the chance of at least one seedling sprouting.
- Water gently but thoroughly, ensuring the soil is moist but not soggy.
Moringa seeds typically sprout within 1–2 weeks. Once seedlings are about 6 inches tall, select the strongest one and thin out the others.
Pro Tip: If you live in a cooler climate, start seeds indoors and transplant them after the last frost.
Watering Tips
Moringa is drought-tolerant but still needs proper watering, especially when grown in pots. The trick is moderation:
- Water when the top inch of soil feels dry.
- Avoid overwatering; soggy soil can damage roots.
- During hot months, you may need to water every 2–3 days, while in cooler months, watering once a week may suffice.
Using a pot with good drainage and light soil helps prevent waterlogging, making Moringa care virtually effortless.
Sunlight Requirements
Moringa is a sun-loving plant. To maximize leaf growth:
- Place your pot in a spot that receives 6–8 hours of direct sunlight daily.
- If grown indoors, place near a south-facing window or under grow lights.
Sunlight encourages faster growth and enhances the flavor and nutrition of the leaves. Insufficient light can lead to spindly stems and smaller leaves.
Fertilizing Made Simple
One of the easiest ways to encourage abundant Moringa leaves without complex routines is to use natural fertilizers:
- Compost tea: Steep compost in water for a few days and water the plant weekly.
- Liquid organic fertilizers: Fish emulsion or seaweed extract can boost leaf growth.
- Slow-release granular fertilizer: A balanced NPK (10:10:10) fertilizer applied once every 2–3 months is sufficient.
Avoid over-fertilizing, which can lead to excessive stem growth at the expense of leaves.
Pruning for Maximum Leaf Yield
Pruning is a simple trick to encourage bushier Moringa plants:
- Once your Moringa reaches 12–18 inches, pinch the top leaves to promote lateral growth.
- Regularly trim the tips every few weeks to prevent tall, leggy growth.
- Harvesting leaves regularly not only provides fresh greens but also stimulates new shoots.
With this method, your potted Moringa can stay compact and continuously produce tender leaves.
Dealing with Pests
Moringa is relatively pest-resistant, but occasional issues can arise. Minimal effort strategies include:
- Inspecting leaves weekly: Check for aphids, spider mites, or caterpillars.
- Neem oil spray: A natural, non-toxic solution that keeps pests away.
- Hand-picking insects: For small infestations, simply removing pests by hand is effective.
Because Moringa grows fast, minor pest damage usually doesn’t harm the plant long-term.
Harvesting Moringa Leaves
The beauty of pot-grown Moringa is that you can harvest leaves frequently and easily:
- Pick tender leaves when they are young for salads, smoothies, or teas.
- Harvest in the morning when leaves are most turgid and fresh.
- Avoid removing more than 25–30% of the plant at once to ensure continued growth.
Frequent harvesting is a key trick for minimal-effort maintenance, as it keeps the plant from becoming unruly and encourages fresh shoots.
Minimal Effort Maintenance Routine
Here’s a simple weekly routine that keeps your Moringa thriving:
- Water: Check soil moisture and water lightly if needed.
- Sunlight: Ensure the plant is still receiving enough light. Rotate pot occasionally for even growth.
- Prune/Harvest: Pinch tips or harvest leaves for daily use.
- Check for pests: Quick inspection and neem spray if necessary.
- Fertilize (optional): Use organic liquid fertilizer once a month if growth is slow.
With this simple routine, Moringa can thrive with less than 15 minutes of effort per week.
Bonus Tips for Indoor or Balcony Growth
- Use a tray or saucer under the pot to catch excess water and prevent mess.
- In windy areas, secure the pot to prevent tipping.
- Rotate your pot every week to ensure even sunlight exposure.
- If leaves get too small, it may be a sign of insufficient nutrients or light; adjust accordingly.
Even in small spaces, these adjustments make growing Moringa a stress-free experience.
Why This Trick Works
The combination of pot cultivation, well-draining soil, regular light watering, strategic pruning, and sun exposure ensures that Moringa thrives without requiring constant attention. By limiting the tree’s root space, encouraging bushy growth through pruning, and harvesting leaves regularly, you can enjoy a consistent supply of fresh greens with minimal effort.
Final Thoughts
Growing Moringa leaves in a pot is surprisingly easy when you follow the right approach. With just a few smart strategies—choosing a suitable pot, using well-draining soil, giving adequate sunlight, pruning regularly, and harvesting frequently—you can cultivate this nutrient-rich superfood right at home. Whether for teas, smoothies, or daily cooking, home-grown Moringa leaves are fresh, flavorful, and packed with health benefits.
By embracing these minimal-effort techniques, you don’t need a large garden, fancy equipment, or gardening expertise. All it takes is a bit of sunlight, occasional watering, and strategic harvesting to enjoy the miracle of Moringa every day. Your balcony, patio, or indoor space can easily become a green oasis of health, offering fresh Moringa leaves year-round.
Start small, be consistent, and watch your pot-grown Moringa thrive effortlessly—proving that even busy people can enjoy the bounty of this remarkable plant.