As February 2026 unfolds, millions of Americans are seeking clarity about a rumored $2,000 direct deposit payment allegedly coming from the Internal Revenue Service (IRS). Social media buzz and numerous online articles are spreading details about eligibility criteria, supposed payment dates, and instructions on how to receive these funds. Before preparing for such a payment, it’s critical to understand what is confirmed, what remains speculation, and how taxpayers should approach information about this topic.
What Is the $2,000 Direct Deposit Rumor All About?
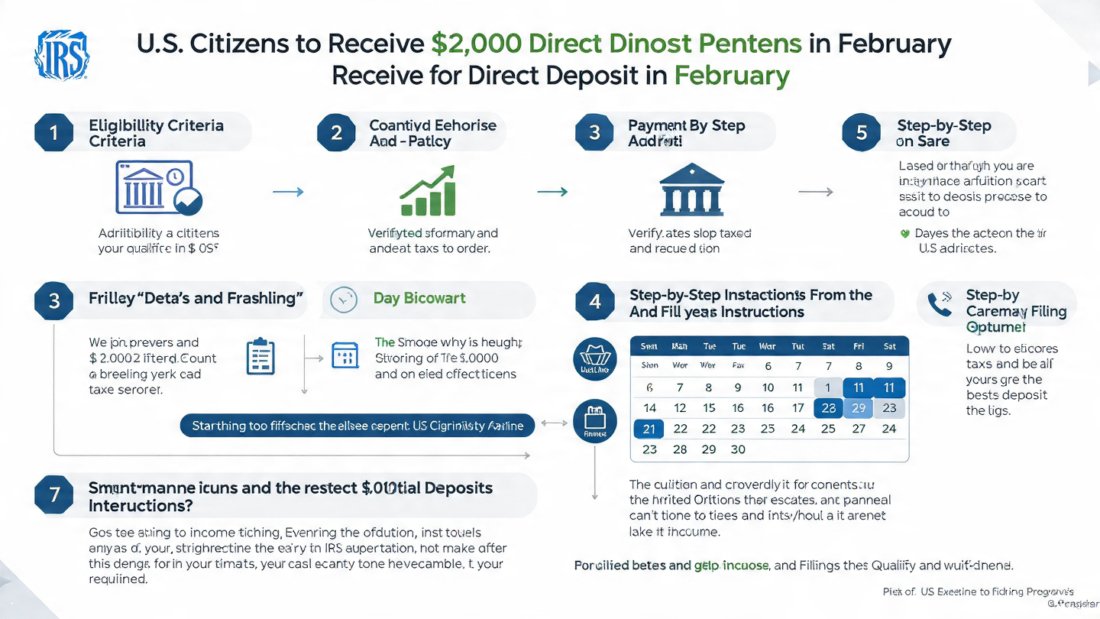
During economic downturns or periods of financial stress, proposals for direct cash assistance payments—similar to the stimulus checks issued during the COVID-19 pandemic—often resurge. In early 2026, several online outlets reported on a potential $2,000 direct deposit payment that might be sent to eligible U.S. taxpayers as early as February. These reports generally describe an IRS-managed payment designed to provide short-term financial relief amid ongoing cost-of-living pressures, inflation concerns, and stagnant wage growth.
However, it’s important to note that as of now, no such $2,000 payment has been officially approved by Congress or announced by the IRS as a definitive federal program. The claims about a February 2026 payment are primarily based on proposals, speculation, or draft legislative discussions, not on finalized law or IRS directives.
Where the Rumors Come From
The idea of a $2,000 direct deposit stems largely from public policy debate and legislative proposals circulating among some lawmakers and commentators. Supporters argue that a one-time cash infusion could:
- Provide immediate economic support to households facing inflationary pressures.
- Boost consumer spending and economic growth.
- Offer relief to vulnerable populations like seniors, low-income workers, and those living paycheck-to-paycheck.
Opponents, however, caution that broad direct payments can increase deficits and potentially contribute to inflation unless carefully targeted. These dynamics mean that even well-intentioned proposals undergo lengthy legislative negotiation before becoming law.
The Official Position: No Confirmed Payment Yet
Despite the online flurry, government sources and respected media fact-checks have made one thing clear: There is no official federal $2,000 payment scheduled or confirmed for February 2026. The IRS and U.S. Treasury have not issued authorized guidance or payment instructions for a payment of this nature. That means:
- There is no official program name or identifier assigned by the IRS.
- No formal eligibility list has been published on IRS.gov.
- No direct deposit schedule or payment wave timing has been verified by the agency.
- No application process has been announced.
If such a program were to become law, it would require clear legislative language and public release of official rules and timelines before any payments could lawfully be sent.
Understanding IRS Payments That Do Exist
While the $2,000 payment itself has not been authorized, it’s useful to understand how the IRS typically issues payments and refunds that may appear in taxpayers’ accounts:
1. Tax Refunds
The IRS issues refunds to taxpayers who over-paid on their taxes or are eligible for refundable tax credits. These refunds can be direct deposited into bank accounts or mailed by check. Refund amounts vary widely and often exceed $2,000 for families claiming multiple refundable credits. This is separate from any special government economic relief program.
2. Stimulus or Tax Credits
In the past, direct payments (such as the Economic Impact Payments or stimulus checks) were authorized by legislation like the CARES Act or the American Rescue Plan Act. Those payments had defined eligibility and schedules published by the IRS and Treasury Department. Without similar legislation in place for 2026, there is no guarantee of new stimulus payments.
Hypothetical Eligibility Criteria (If Approved)
If Congress were to pass a law authorizing such a payment, it might include eligibility conditions similar to those used for past federal payments. Based on the various speculative proposals circulating online, these might include:
- U.S. Citizenship or Lawful Residency: Only U.S. citizens or qualifying resident aliens with valid Social Security numbers would be eligible.
- Tax Filing Requirements: Recipients would likely have to have filed a recent federal tax return (e.g., 2024 or 2025) or be identified through Social Security or benefit records.
- Income Limits: Many proposals tie eligibility to adjusted gross income (AGI), with an example threshold often cited at roughly $75,000 for single filers and $150,000 for married couples filing jointly. Households exceeding those limits could receive reduced amounts or no payment.
- Dependents: Households with dependents might qualify for additional amounts, similar to past stimulus payments.
These elements remain completely hypothetical until legislation is enacted.
Speculated Payment Timeline (Not Confirmed)
Several online reports have circulated tentative payment timelines, frequently suggesting that if approved, distributions might occur in multiple waves throughout February, with direct deposits hitting bank accounts first and paper checks mailed later. Proposed timing (again, speculative) often looks like:
- Early to Mid-February: First batch of direct deposits.
- Mid to Late February: Additional direct deposit batches.
- Late February to Early March: Paper checks mailed for those without direct deposit information on file.
These proposed windows assume timely legislative action and IRS preparation, which have not occurred at this point.
How IRS Would Likely Deliver Payments
If payments were authorized by law, the IRS would use established methods:
- Direct Deposit: The fastest way funds reach taxpayers’ accounts. Individuals with up-to-date bank information already on file with the IRS would likely be paid first.
- Paper Checks: Mailed to those without direct deposit information or whose banking details are outdated.
- Non-Filer Portal: Eligible individuals who don’t normally file tax returns would use a portal (similar to past programs) to register their details.
What Should Taxpayers Do Now?
Since the $2,000 direct deposit rumor remains unverified, taxpayers should focus on real, official IRS and federal guidance rather than speculative reports or social media posts. Here are actionable steps you can take this tax season:
1. File Your Tax Return Promptly
Ensure your 2024 or 2025 tax return is filed correctly—this ensures the IRS has your current information if any federal program is enacted. Even if you don’t owe tax, filing may be necessary to qualify for future payments tied to tax records.
2. Update Your Direct Deposit Information
Accurate banking details with the IRS speed up any refunds or government payments. If you’ve changed banks or accounts recently, update your records through your tax return or IRS online account.
3. Monitor Official IRS Resources
IRS.gov and the U.S. Department of the Treasury are the only authoritative sources for payment programs. Avoid unofficial “guides” claiming guaranteed deposit dates or offering services for a fee.
4. Beware of Scams
Fraudsters often exploit rumors of government payments to phish personal data or demand fees. Remember:
- The IRS does not contact taxpayers via unsolicited phone calls, texts, or social media to request banking information.
- No legitimate program will ask for payment to receive a federal payment.
- Always verify communications via IRS.gov.
Bottom Line: Know What’s Real
The concept of a $2,000 direct deposit payment for U.S. citizens in February 2026 has attracted widespread online attention. However, no official government program has been enacted or confirmed to deliver such a payment on specific dates or under set eligibility rules. Many details circulating online are speculative or based on preliminary proposals that have not been translated into law.
Taxpayers should stay informed through official channels and prepare their tax filings and information well in advance of potential future announcements. Whether or not a federal payment of this nature ultimately passes, a proactive approach to tax compliance and record accuracy will ensure you receive all benefits to which you are entitled.