Mint is one of the easiest and most rewarding herbs you can grow at home. Whether you love adding it to your tea, chutneys, smoothies, or salads, having a fresh supply at your doorstep is always a joy. The best part? You don’t need seeds! You can easily grow a lush, fragrant mint plant from just a simple cutting.
In this full guide—with updates on every stage—you will learn how to root mint cuttings, transplant them successfully, and keep them producing vigorously throughout the year.
Why Growing Mint from Cuttings Is the Best Method
Mint seeds take a long time to germinate and often fail to grow true to type. But mint cuttings grow fast, root quickly, and produce a healthy, cloned plant that retains all the qualities of the parent plant.
This method also guarantees:
- Faster growth (roots appear in 5–7 days)
- Higher success rate
- True-to-variety plants
- Quick bushy growth
So if you’re looking to grow mint the beginner-friendly way, stem cuttings are the perfect choice.
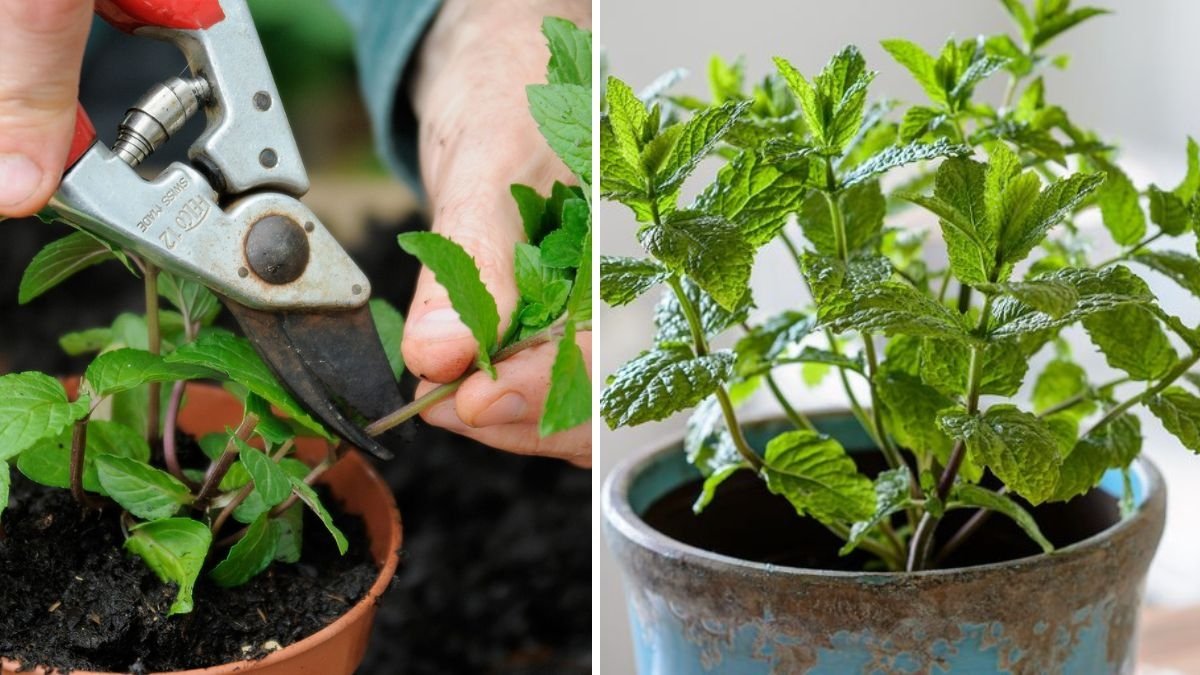
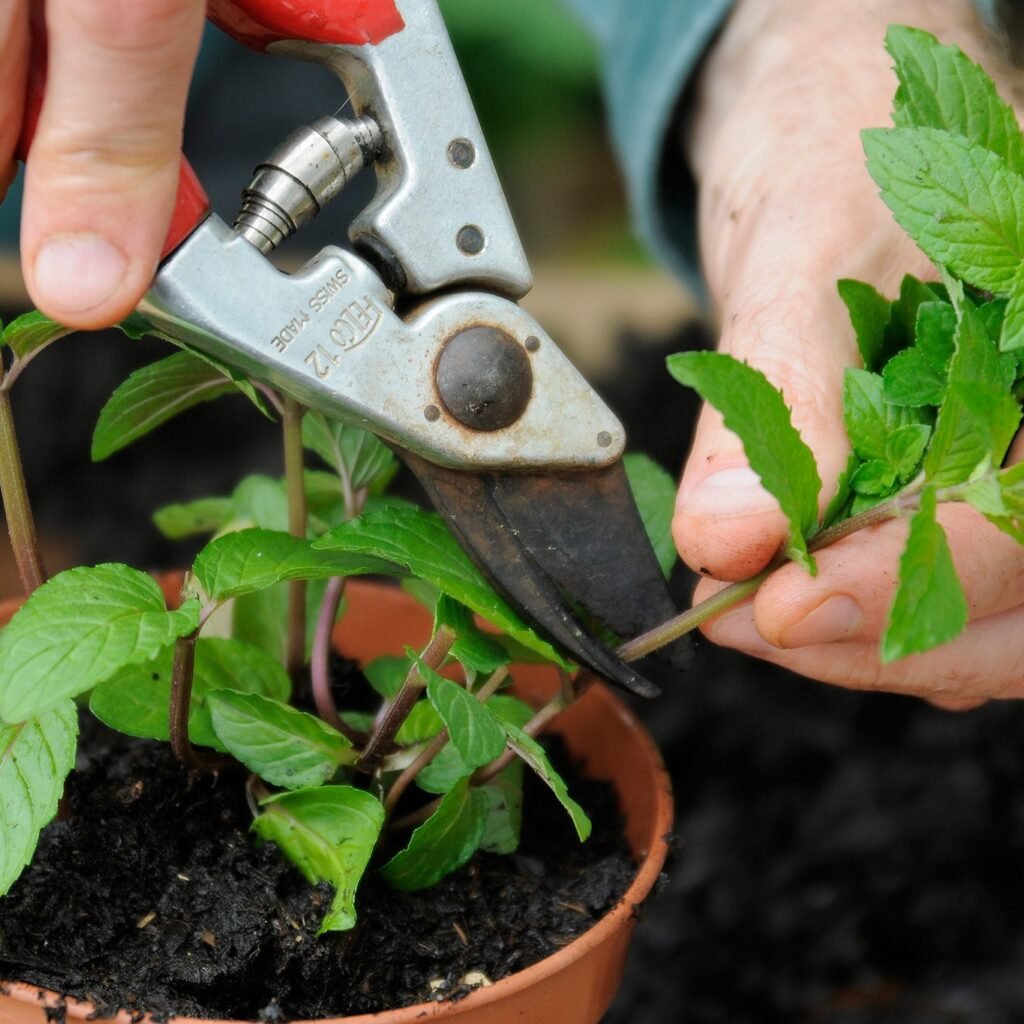
Step 1: Selecting the Perfect Mint Cutting
Healthy cuttings mean healthy plants. Choose cuttings that are:
- 5–6 inches long
- Bright green
- Disease-free
- Taken from new, soft stems (not woody)
Trim off the lower leaves, leaving only the top 2–3 pairs. This helps reduce water loss and allows the plant to focus on root formation.

Tip: You can take cuttings from store-bought mint bundles too!
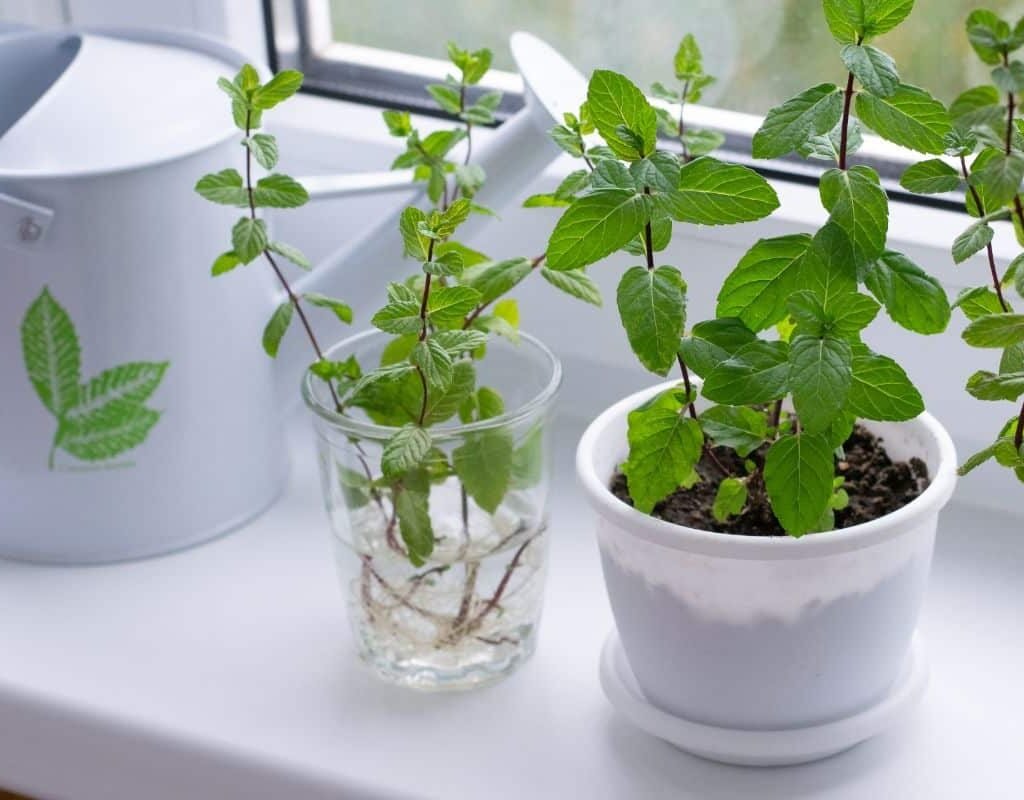
Step 2: Rooting Mint Cuttings in Water
Water propagation is the easiest and most reliable method. Mint loves moisture, so rooting is usually very fast.
How to Do It:
- Take a clean glass or jar.
- Fill it with clean, chlorine-free water.
- Place the cuttings inside, making sure the leaf nodes are submerged.
- Keep it in a bright, indirect light location.
- Change the water every 2 days to prevent rotting.
What Happens Next (Full Update)
- Day 2–3: Stems stay fresh, leaves firm up.
- Day 4–5: Tiny white roots begin appearing.
- Day 7–10: Strong root growth of 1–2 inches.
- Day 14: Roots become thick and ready for planting.
Once the roots reach 1–2 inches in length, the cuttings are ready to be moved into soil.
Step 3: Preparing the Perfect Soil Mix for Mint
Mint loves moist, loose, nutrient-rich soil. The ideal potting mix is:
- 40% garden soil
- 30% compost/cow dung
- 30% cocopeat or sand
This combination retains moisture but also ensures good drainage—mint hates waterlogged soil.
Best Container Size
- Start with a 6–8 inch pot for a few cuttings.
- If you want a large, bushy mint patch, use a wide container or grow bed.
Mint spreads fast, so a wide space results in fuller growth.
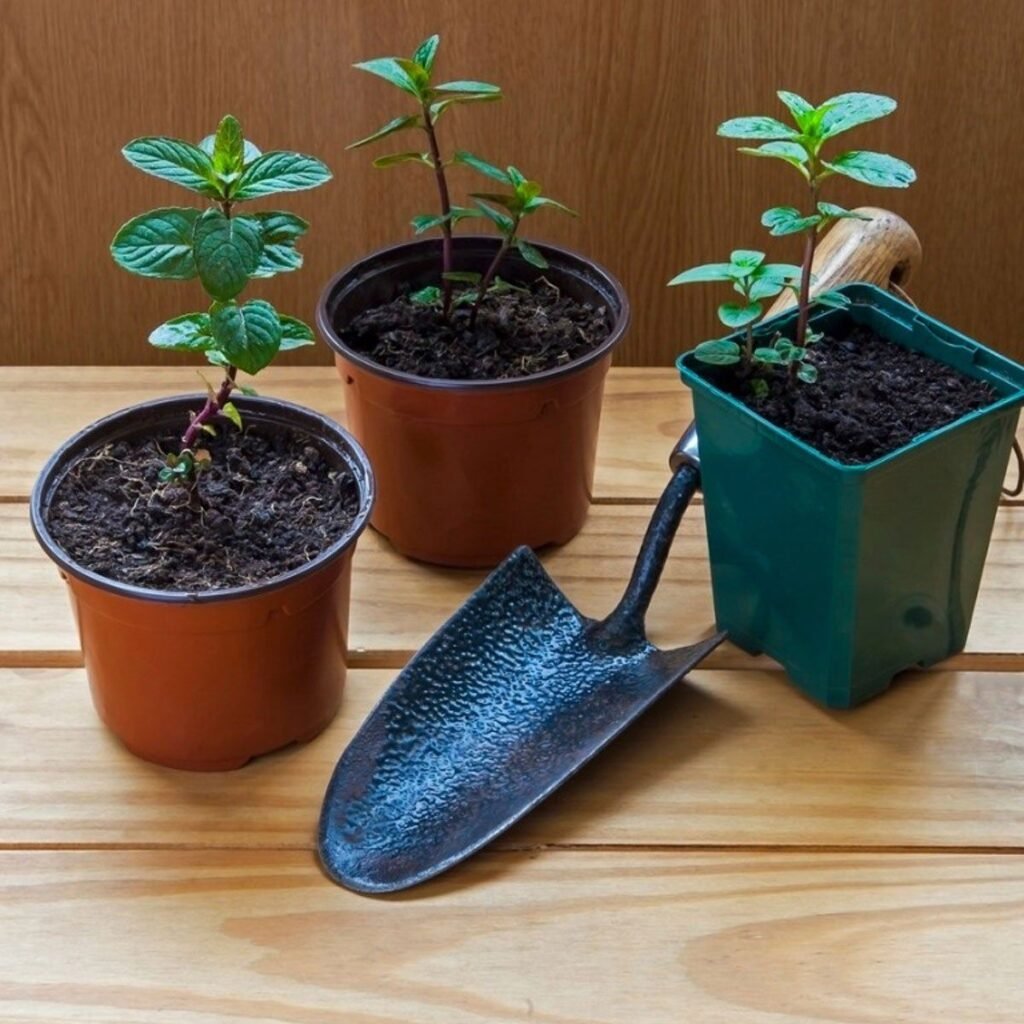
Step 4: Planting the Rooted Cuttings
Follow these steps for a successful transplant:

- Fill the pot with the soil mix.
- Make a hole with your finger or a stick.
- Gently place each rooted cutting into the hole.
- Cover roots with soil and press lightly.
- Water thoroughly to settle the soil.
Post-Planting Care Update (Next 7 Days)
- Day 1–3: Plants may look droopy—this is normal.
- Day 4–5: Plants perk up and new leaves appear.
- Day 6–7: Growth becomes vigorous, and stems begin expanding sideways.
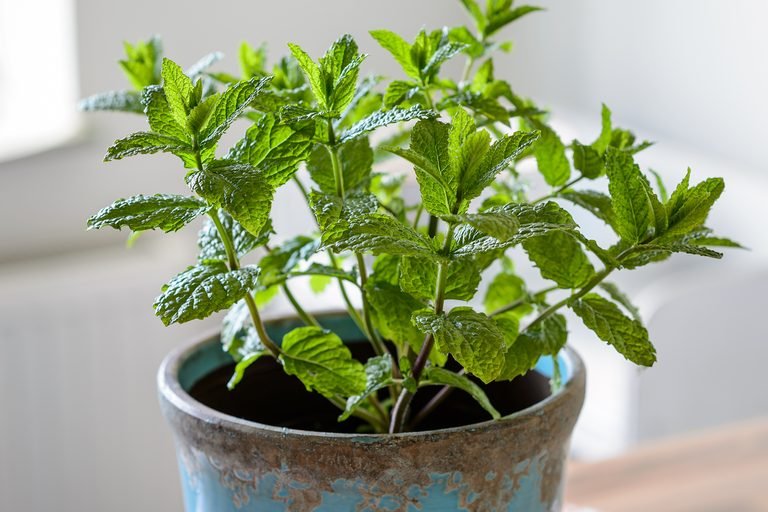
Your mint plant is now established!
Step 5: Light, Water, and Temperature Requirements
Sunlight
Mint prefers partial sunlight to bright indirect light.
Direct sunlight can burn the leaves, especially during hot summer days.
Best Position:
- East-facing balcony
- Shaded terrace
- Window with filtered light
Watering
Mint loves moisture, but not soggy soil.
- Water every 1–2 days or whenever the top soil feels dry.
- Ensure the pot has drainage holes.
Temperature
Mint thrives in temperatures between 18°C–32°C.
It struggles in extreme heat, so provide shade during hot afternoons.
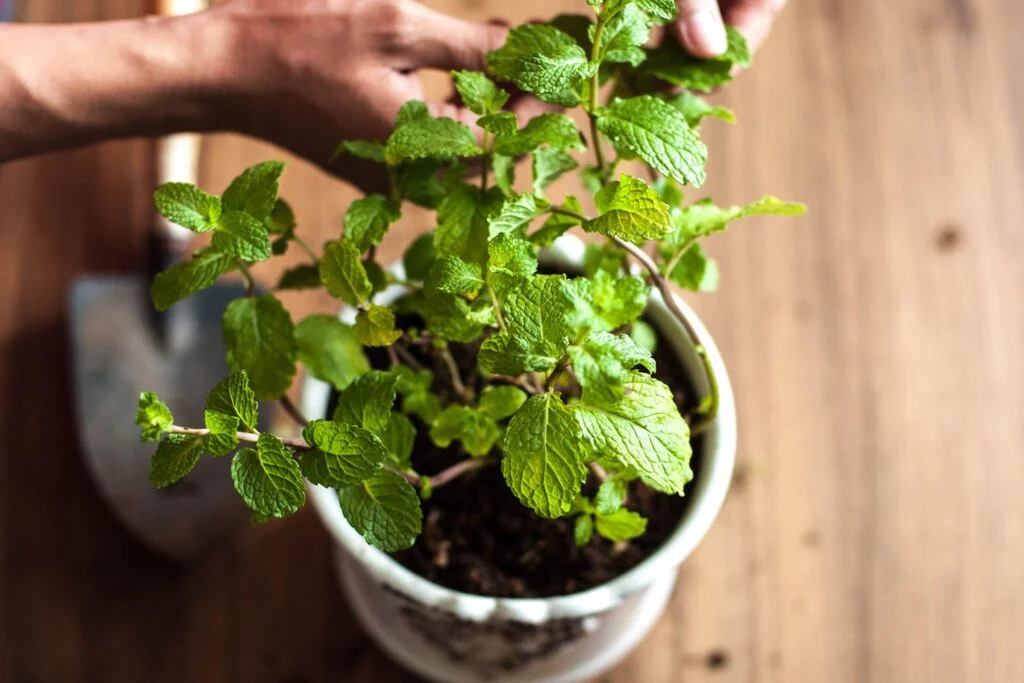
Step 6: How to Make Mint Grow Thick and Bushy
Mint naturally spreads through its runners, but with a few tips, you can make it grow exceptionally bushy:
1. Pinch the Top Leaves
Whenever the plant reaches 6–8 inches in height, pinch the top 2–3 leaves.
This encourages side branching.

2. Harvest Often
Frequent harvesting keeps the plant active and prevents legginess.
3. Feed Monthly
Use organic fertilizers such as:
- Vermicompost
- Cow dung compost
- Mustard cake liquid
- Seaweed extract
Feeding once every 20–25 days boosts lush growth.
Step 7: Mint Plant Full Growth Updates (Month-Wise)
Week 1:
Cuttings establish roots and new leaves appear.
Week 2:
Plants begin spreading sideways; stems become fuller.
Week 3:
You can start light harvesting by picking 2–3 leaves per plant.
Week 4:
The plant becomes dense and strong—harvest freely now.

Month 2:
Mint grows vigorously. Runners (side stems) spread rapidly and fill the pot.
Month 3:
Plant becomes fully mature. Trim it regularly to prevent overcrowding and keep it fresh.
Step 8: Common Mint Problems and Solutions
1. Yellowing Leaves
Caused by overwatering or poor drainage.
→ Fix: Reduce watering and improve soil aeration.
2. Leggy Growth
Due to lack of sunlight or infrequent pruning.
→ Fix: Move to brighter location and pinch tips regularly.
3. Root Rot
Excess water can rot delicate mint roots.
→ Fix: Use well-drained soil and avoid waterlogging.
4. Pest Attacks
Mint is generally pest-resistant but may attract aphids or whiteflies.
→ Fix: Spray neem oil every 10–12 days.
Step 9: How to Harvest Mint Properly
Harvesting mint correctly ensures continuous growth.

Do This:
- Cut stems from the top
- Leave at least 2–3 inches from the base
- Harvest only one-third of the plant at a time
Regular harvesting actually makes your mint bushier!
Step 10: How to Multiply Your Mint (Forever!)
Once you have one bushy plant, you can create unlimited plants using:
- Runner cuttings
- Stem cuttings
- Dividing the root ball
Mint spreads like wildfire, so you’ll have a never-ending supply.
Final Thoughts
Growing mint from cuttings is one of the easiest gardening projects, even for beginners. With minimal effort, you can have a fresh, fragrant, and unlimited supply of mint right in your home.
Follow the simple steps—rooting, planting, watering, pruning—and watch your mint turn into a lush green patch within weeks. Whether you’re growing it for cooking, tea, aroma, or herbal remedies, mint is a must-have plant in every home garden.
Leave A Comment