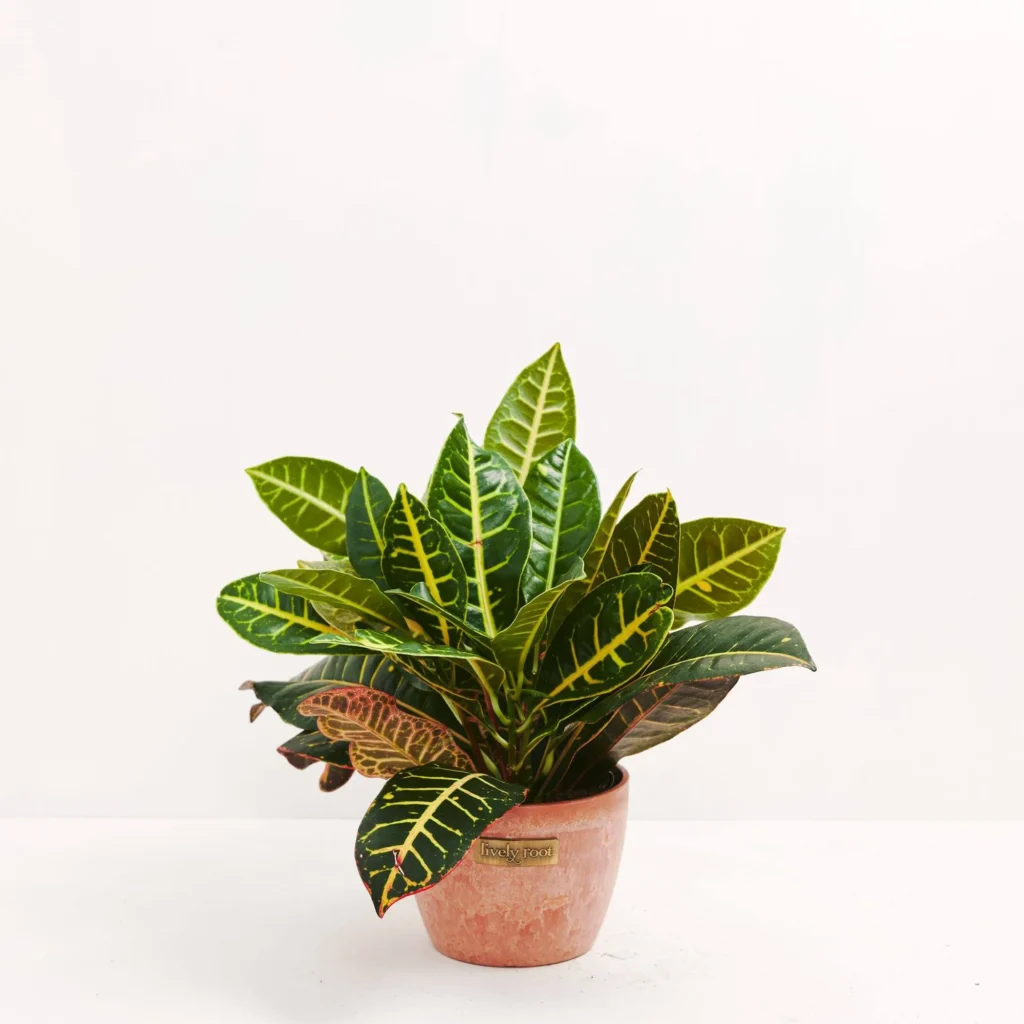
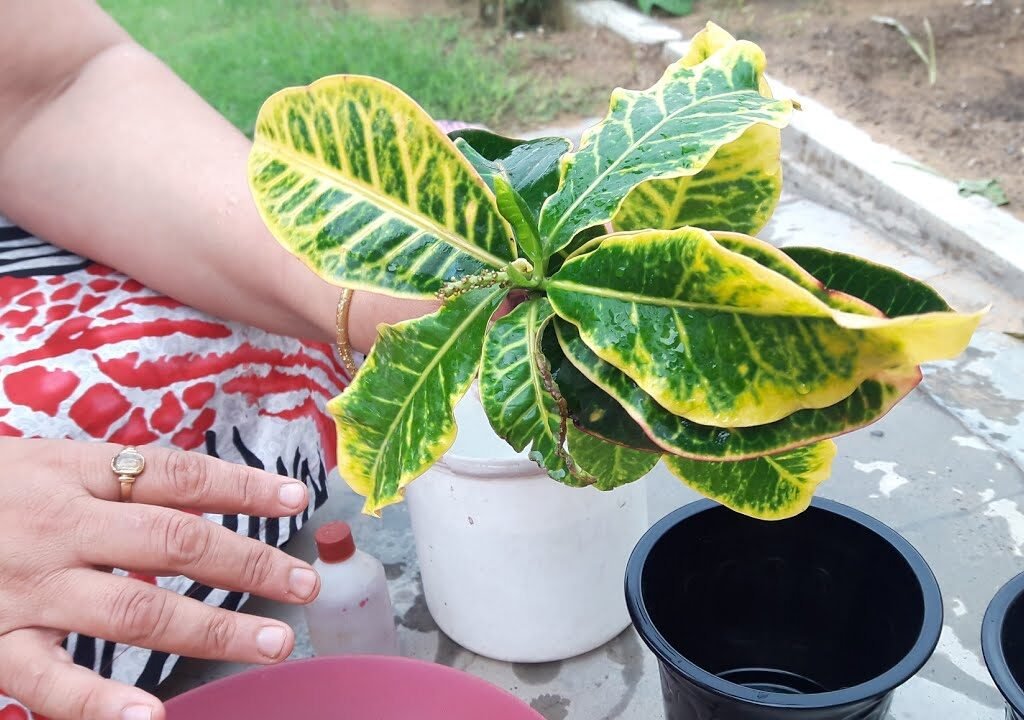
Crotons are famous for their vibrant, multicolored leaves that can instantly brighten any garden or indoor space. Their dramatic foliage, painted in red, yellow, orange, green, and sometimes even purple, makes them one of the most eye-catching ornamental plants. The best part? You can easily grow crotons at home from cuttings—and it’s surprisingly quick and simple.
Whether you are a gardening beginner or someone who loves multiplying plants, this full-step guide will help you propagate crotons effectively, boosting your plant collection without spending extra money. With the right method, a little patience, and care, your cuttings will root within a few weeks and grow into healthy, vibrant plants.
Let’s dive into the complete 1200-word guide on how to grow croton plants from cuttings—FAST & EASY!
Why Grow Crotons From Cuttings?
Crotons can be grown from seeds, but the process is slow and unpredictable. Growing from cuttings is much better because:
- It’s fast (roots in 2–4 weeks).
- The new plant becomes identical to the parent plant (same leaf pattern and colors).
- You save money by multiplying your existing plant.
- It’s easy and requires minimal tools.
Propagating crotons from cuttings is a fun and rewarding gardening activity that guarantees results if done the right way.
1. Selecting the Perfect Croton Cutting
Success begins with choosing the right stem for propagation.
Best Type of Cutting:
- Semi-hardwood stem (not too soft, not too old)
- 4–6 inches long
- Has at least 3–4 leaves
- Healthy, disease-free, vibrant colors
Avoid completely green, soft stems—they rot easily.
Also avoid very old, woody stems—they root slowly.

How to Prepare the Cutting:
- Cut the stem using a clean, sharp scissor or pruning shear.
- Cut just below a node (where a leaf joins the stem).
- Remove the lower leaves, keeping 2–3 leaves at the top.
- If the leaves are too large, cut them in half to reduce water loss.
This simple preparation increases the rooting success rate significantly.
2. Use Rooting Hormone for Faster Root Growth (Optional but Helpful)
Rooting hormone is not mandatory, but it speeds up the propagation process.
Dip the bottom of the cutting in:
- Rooting powder
or - Aloe vera gel (natural rooting agent)
This prevents fungal infections and triggers faster root formation.
3. Best Growing Medium for Croton Cuttings
Croton cuttings root best in a light, airy, and sterile medium. Avoid heavy garden soil because it retains too much moisture and can lead to rotting.
Recommended Soil Mix:
- 40% Cocopeat
- 30% Perlite or Sand
- 20% Compost
- 10% Garden Soil
This mix ensures:
- Proper drainage
- Good air circulation
- Fast root development
If you prefer the water propagation method, you can also root crotons in a jar of clean water (details below).

4. Two Proven Methods to Propagate Croton Cuttings
You can root crotons in soil or water. Both methods work, but each has its advantages.
Method 1: Soil Propagation (Most Effective)
Steps:
- Fill a pot with the prepared soil mix.
- Make a small hole using a pencil.
- Insert the cutting 1–2 inches deep.
- Firm the soil gently around it.
- Water lightly.
- Cover the pot with a transparent plastic bag to create humidity.
This mini greenhouse environment increases success by keeping moisture locked in.
Ideal Conditions:
- Warm temperature (20–30°C)
- Indirect bright light
- High humidity
Roots develop in about 3–4 weeks.
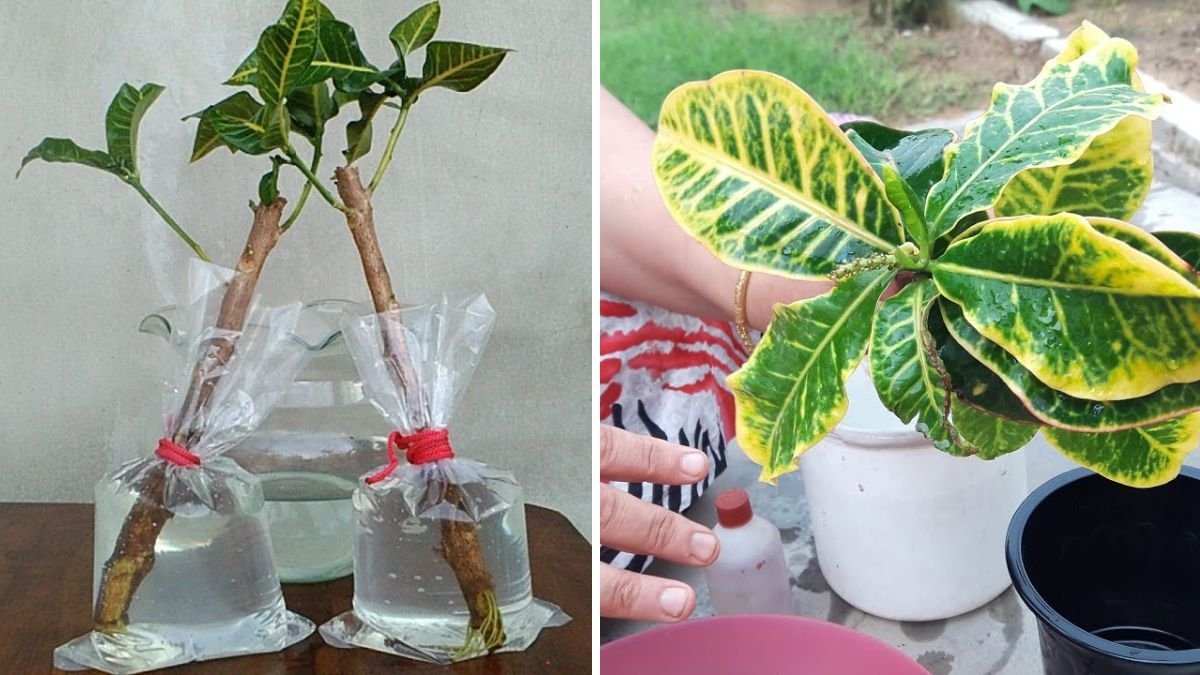
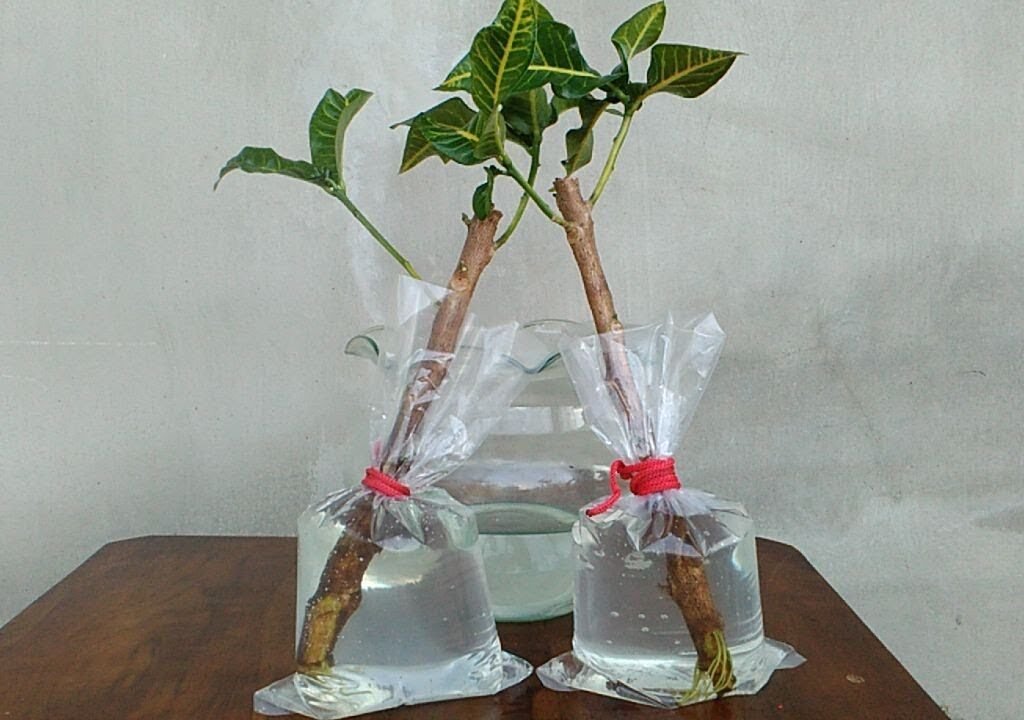
Method 2: Water Propagation (Easy & Fun)
Steps:
- Fill a glass jar with clean, room-temperature water.
- Insert the cutting so only the stem touches the water.
- Keep it in bright, indirect sunlight.
- Change the water every 3–4 days.
Roots appear within 2–3 weeks.
After roots grow 2–3 inches long, transfer the cutting to soil carefully.
5. Watering Croton Cuttings Properly
Cuttings do not have roots, so they lose moisture quickly. Watering correctly is important.
Watering Tips:
- Keep the soil slightly moist—not soggy.
- Water only when the top layer feels dry.
- Never let water accumulate in the pot tray.
- High humidity helps in faster rooting.
Overwatering is the number one cause of cutting failure, so avoid heavy watering.

6. Light Requirements for Croton Cuttings
Crotons love bright light, but direct sun can burn new cuttings.
Best Light Conditions:
- Bright indirect sunlight
- Avoid harsh afternoon sun
- Morning sunlight is good
- Never keep freshly planted cuttings in full sun
Once fully rooted, the plant can handle brighter light and its leaf colors will become richer.
7. Temperature & Humidity Needs
Crotons thrive best in warm conditions.
Ideal Temperature:
- 20–32°C
They cannot tolerate cold climates or chilly winds. Keep them away from AC vents, cold windows, and winter drafts.
Humidity:
- Grow well in 60–80% humidity
- Mist lightly once a day
- You can also place a bowl of water nearby to increase moisture
Higher humidity = faster rooting.
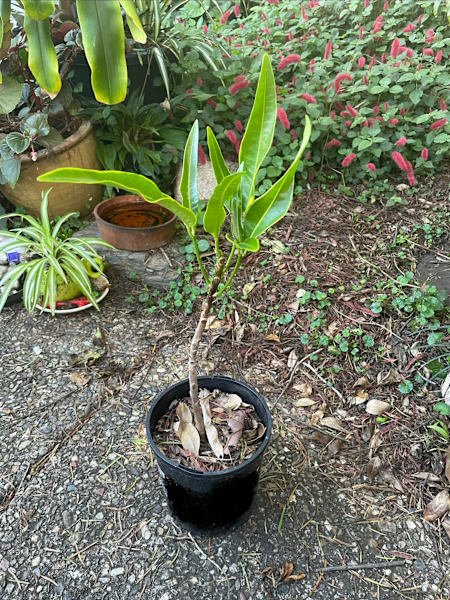
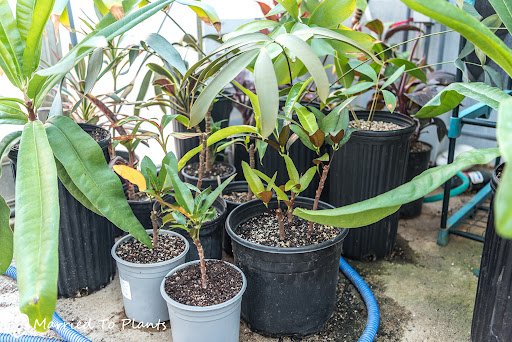
8. Caring for Rooted Cuttings
Once your cutting develops strong roots (after 3–4 weeks), it needs proper care to grow into a full plant.
Repotting Guide:
- Take a 6–8 inch pot.
- Fill it with a rich croton soil mix.
- Plant the rooted cutting carefully.
- Water thoroughly once.
- Keep in partial shade for 10–12 days.
After establishment, slowly introduce it to brighter light.

9. Fertilizing Newly Rooted Crotons
Do NOT fertilize freshly planted cuttings.
Wait for 4–6 weeks, then begin:
Best Fertilizers:
- Liquid seaweed
- Cow dung compost
- Vermicompost tea
- Mustard cake liquid (diluted)
Apply once a month for best results.
Avoid chemical fertilizers initially.
10. Common Problems & Solutions
1. Cutting Turning Black
Cause: Too much water, fungus
Fix: Improve drainage, reduce watering, use fungicide
2. Leaves Wilting
Cause: Low humidity
Fix: Mist daily, keep under plastic cover
3. Cutting Rotting in Water
Cause: Stale water
Fix: Change water frequently
4. No Roots After 4 Weeks
Cause: Cutting too old or too soft
Fix: Try fresh semi-hardwood stems

11. Tips to Grow Healthy, Colorful Crotons
- Keep the plant in bright sunlight (after rooting).
- Water only when needed.
- Maintain warm temperature.
- Provide good humidity.
- Fertilize monthly.
- Remove dead or damaged leaves.
Crotons reward you with vibrant, glossy leaves when cared for well.
12. Conclusion: Grow Unlimited Crotons Easily at Home
Growing croton plants from cuttings is one of the easiest and most satisfying ways to expand your garden. With just a few simple steps—selecting the right cutting, using proper soil, maintaining humidity, and giving enough light—you can grow healthy crotons in just a few weeks.
Whether you choose soil propagation or water propagation, success is almost guaranteed if you follow the right method. Soon, your cuttings will turn into beautiful, colorful plants that enhance the beauty of your home, balcony, or garden.
Leave A Comment