
The hibiscus plant—known for its large, vibrant, eye-catching blooms—has become a favorite among home gardeners. Whether you grow it in pots, containers, or directly in the ground, hibiscus rewards you with stunning flowers almost year-round in warm climates. With the right care and techniques, anyone can grow hibiscus successfully—even beginners.
This complete guide will walk you through everything you need to know: soil, watering, sunlight, feeding, pruning, propagation, pest control, and pro tips for maximum blooms.
Introduction: Why Hibiscus is a Must-Have Plant
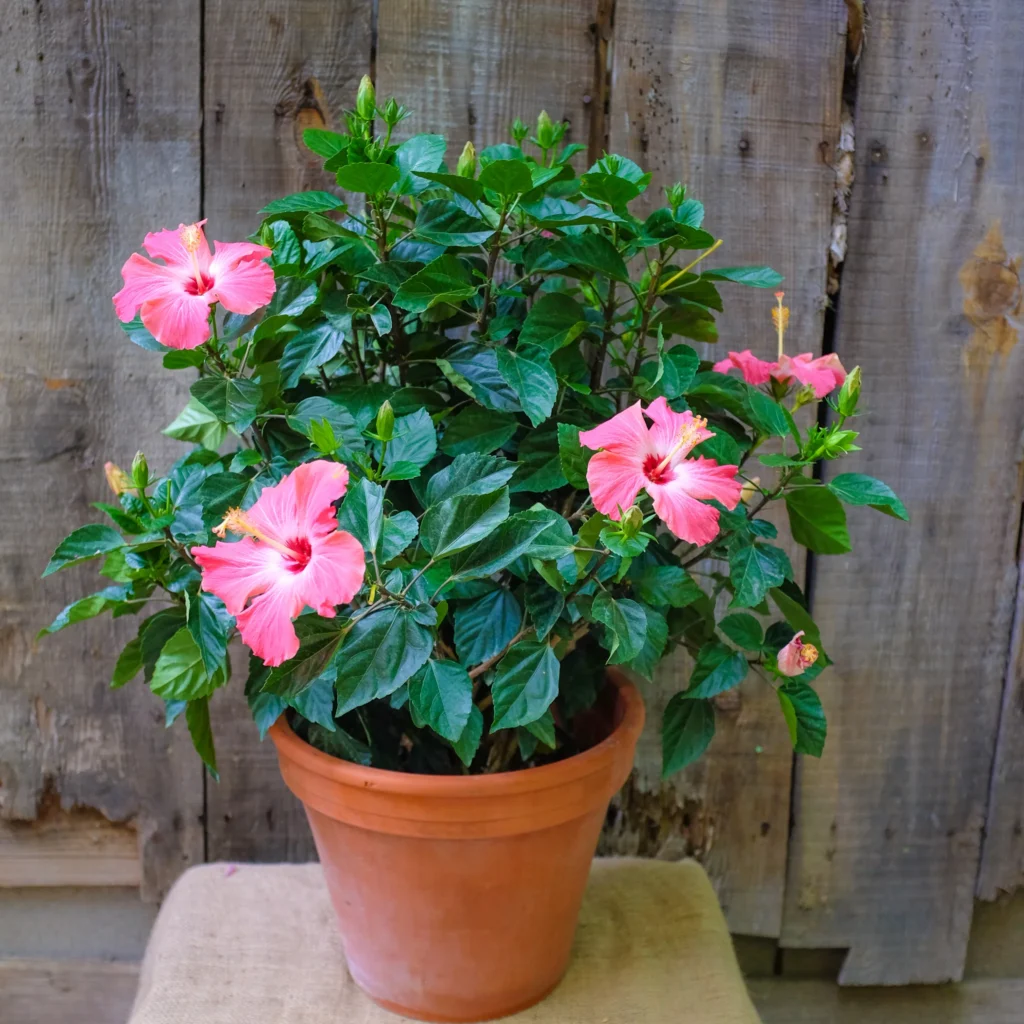
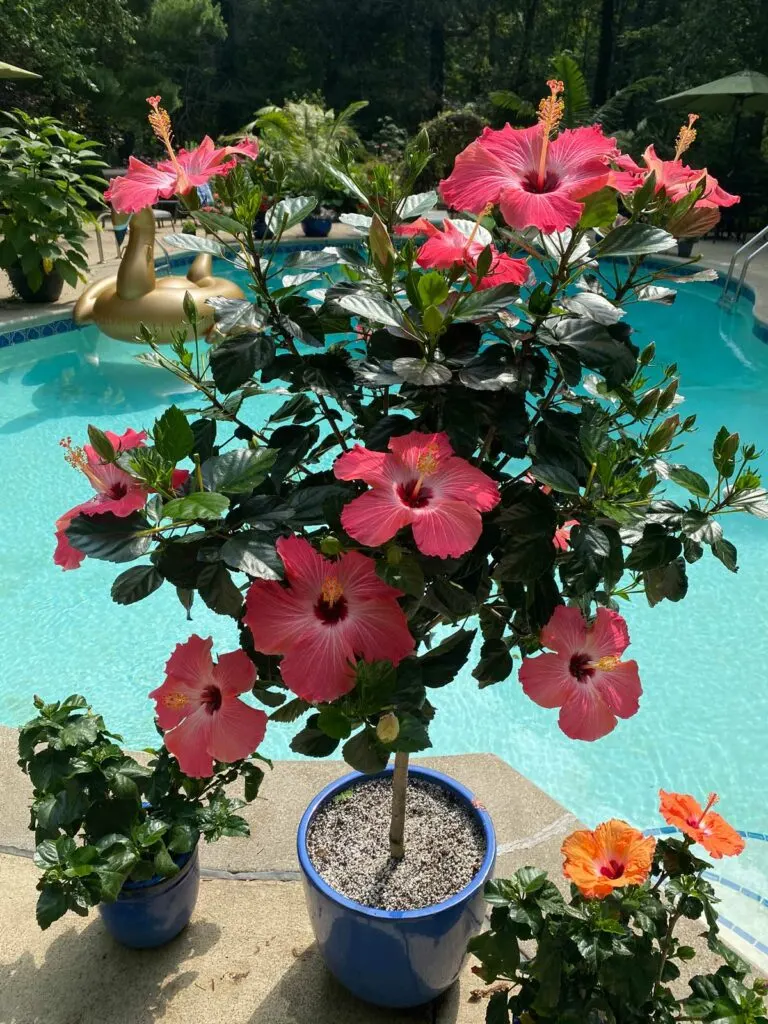
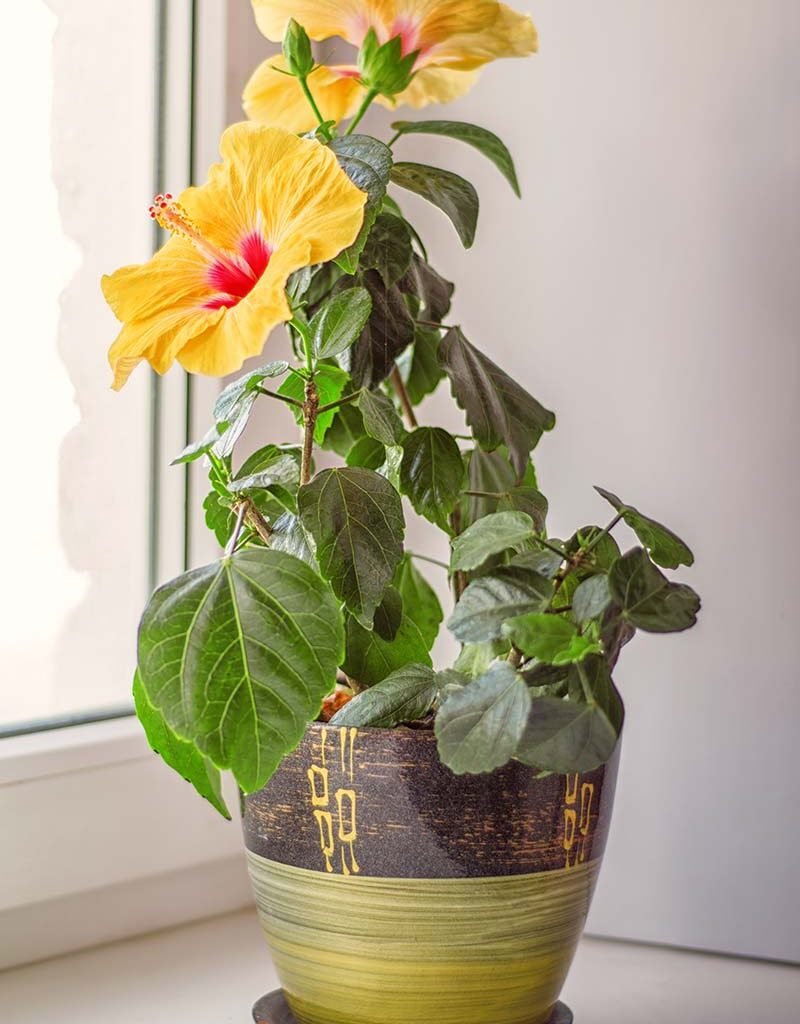
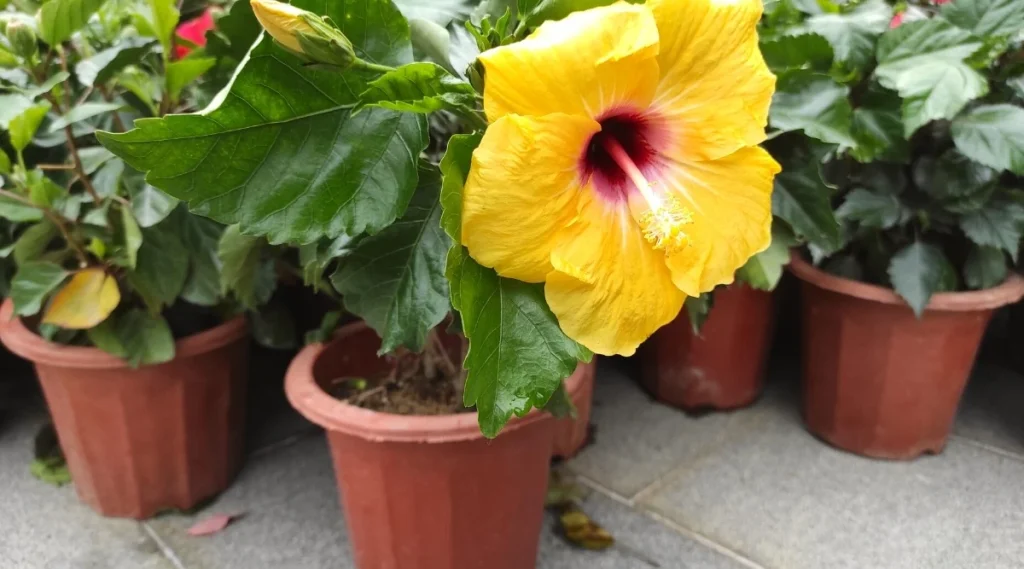
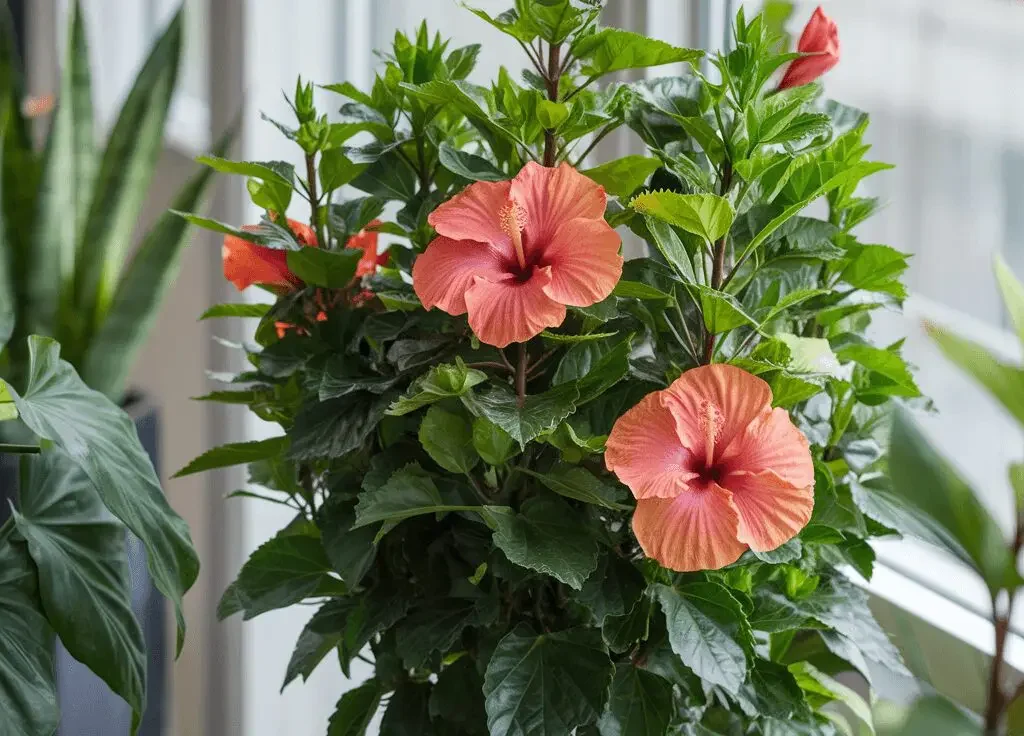
Hibiscus (Hibiscus rosa-sinensis) is admired for its tropical charm and comes in countless colors—red, pink, yellow, orange, white, and even multi-shaded varieties. Its large flowers can bloom daily, making it one of the most rewarding flowering plants for home gardens.
It grows beautifully in:
- Terraces
- Balcony pots
- Garden beds
- Large containers
- Indoor spaces with bright light
But to keep hibiscus blooming regularly, you must understand its specific care needs. Let’s break it down step-by-step.
Step 1: Choosing the Right Hibiscus Plant
When selecting a hibiscus, look for:

- Healthy green leaves
- A strong central stem
- No signs of pests (whiteflies, aphids)
- Multiple branches
- Compact, bushy growth
Choose varieties according to your climate:
- Tropical hibiscus for warm climates
- Hardy hibiscus for colder climates
Step 2: Best Pot & Soil Mix for Hibiscus
Pot Size
Hibiscus loves space. For best results:
- Use a 12–16 inch pot for young plants
- Upgrade to 18–20 inches as the plant grows
- Ensure drainage holes at the bottom
A bigger pot = more roots = more blooms.
Best Soil Mix
Hibiscus needs light, airy, and nutrient-rich soil.
Perfect Soil Mix:
- 40% garden soil
- 30% compost/vermicompost
- 20% cocopeat
- 10% sand/perlite
Add 1 handful neem cake powder to prevent root fungus.

Why this works:
Hibiscus hates waterlogging. This mix ensures drainage + nutrients for continuous growth.
Step 3: Sunlight Requirement
Hibiscus is a sun-loving plant.
- Needs 4–6 hours of direct sunlight daily
- Morning sunlight is best
If grown in low light, you’ll notice:
- No blooms
- Yellowing leaves
- Weak stems
Tip: Keep the pot where it receives bright sun but avoid harsh afternoon summer heat in extremely hot regions.
Step 4: Watering the Hibiscus Plant
Hibiscus is moisture-loving but sensitive to overwatering.
Watering Rules:
- Water when the top soil feels slightly dry
- In summer: water daily or every alternate day
- In winter: water every 3–4 days
- Never let the pot stand in water
Signs of underwatering:

- Droopy leaves
- Dry soil
Signs of overwatering:
- Yellow leaves
- Mushy soil
- Root rot
Use a deep watering method—water until it drains out from the bottom.
Step 5: Fertilizing Hibiscus for Heavy Blooming
Hibiscus is a heavy feeder. To bloom continuously, it needs regular nutrition.
Best Fertilizers:
- Compost or vermicompost – once every 15 days
- Liquid seaweed fertilizer – weekly
- Banana peel fertilizer – boosts bud formation
- NPK 19:19:19 or DAP – once a month (in small quantity)
- Epsom salt (magnesium) – once monthly for greener leaves
Important Tip:
After applying solid fertilizers, water the plant gently to activate nutrients.
Step 6: Pruning for Bushy Growth & More Flowers
Pruning is essential for hibiscus.
Why prune?
- Encourages new branches
- Increases flowering
- Controls the height
- Removes weak or dead parts
When to prune?
- Major pruning: End of winter / early spring
- Light pruning: Anytime during the growing season
How to prune?
- Cut 1–2 inches above the nodes
- Remove leggy and weak stems
- Don’t prune during extreme winter or heavy flowering
New growth appears within weeks, followed by lots of flower buds.

Step 7: Propagating Hibiscus from Cuttings
Hibiscus propagation is easy and fun.
Steps:
- Choose a healthy semi-hardwood branch
- Cut 6–8 inch long cuttings
- Remove lower leaves
- Dip in rooting hormone (optional)
- Plant in cocopeat/soil mix
- Keep in partial shade
- Keep soil slightly moist
Roots appear in 15–25 days.
Shift to a bigger pot after 45–60 days.
Step 8: Pest & Disease Control
Hibiscus may face pests like:
- Aphids
- Whiteflies
- Spider mites
- Mealybugs
Organic Treatment:
- Neem oil spray (5 ml in 1 litre water) + 2 drops liquid soap
- Spray every 7 days
- Don’t spray in direct sunlight
Fungal Issues:
- Yellow leaves
- White powder-like layer
- Black spots
Treat with:
- Copper fungicide (monthly)
- Good drainage
Step 9: Seasonal Care Tips
Summer Care:
- Water more frequently
- Give morning sunlight
- Mulch soil to retain moisture
Rainy Season Care:
- Avoid overwatering
- Check for fungus
- Improve drainage
Winter Care:
- Reduce watering
- Protect from frost
- Move pots indoors if temperature drops below 10°C
Expert Tips to Boost Hibiscus Flowering
Add banana peel fertilizer twice a month
Use seaweed extract for faster growth
Keep the plant in full sun
Prune regularly to make the plant bushy
Remove spent flowers to prevent disease
Avoid shifting the pot too frequently
Maintain slightly acidic soil (pH 6–6.5)
Conclusion: Grow the Most Beautiful Hibiscus at Home
Growing hibiscus is easy once you understand its needs—sunlight, regular watering, nutrient-rich soil, and proper pruning. With these full tips, your hibiscus will reward you with big, colorful blooms throughout the year.

Whether you want to grow hibiscus on your terrace, balcony, or garden, just follow the steps above and watch your plant transform into a full, flower-loaded beauty.
If you want more articles like this, just send the next title!
Leave A Comment