A beautiful flower planter can instantly uplift the look of your home, balcony, or garden. But many people shy away from creating planters because they assume it takes hours, expensive materials, or expert skills. What if you could make a stunning flower planter in just 3 minutes? Yes, it’s fast, easy, and incredibly rewarding! With minimal effort and a few simple materials, you can craft planters that are not only functional but also eye-catching. This guide will walk you through step-by-step instructions, tips, and creative ideas to make planters in minutes.
Why Make Your Own Flower Planter?
DIY flower planters are more than just decorative containers. They offer several advantages:
- Personalization: Choose colors, shapes, and designs that match your home décor.
- Cost-Effective: Save money compared to buying expensive store-bought planters.
- Eco-Friendly: Repurpose old containers, jars, or bottles to create planters, reducing waste.
- Creative Expression: DIY planters let you explore your creativity while adding charm to any space.
- Fast and Easy: With the right techniques, you can have a planter ready in just a few minutes.
Whether you have a tiny balcony, a windowsill, or a spacious garden, DIY planters allow you to add color and life instantly.
Materials You’ll Need
The best part about fast and easy planters is that you don’t need fancy tools. Here’s what you’ll need:

- Container: Any small pot, jar, cup, tin can, or recycled bottle works perfectly.
- Soil: Use potting soil suitable for your chosen plant.
- Plants or Bulbs: Flowers like marigolds, petunias, pansies, or small succulents are ideal for quick planters.
- Optional Decorative Items: Pebbles, sand, paint, or ribbons for decoration.
- Basic Tools: Spoon for filling soil, small scissors, or craft knife (optional).
These materials are easy to find at home or in your local garden store, making this DIY project accessible to everyone.
Step 1: Choose the Right Container
Your container is the foundation of the planter. Here are some tips:
- Repurposed Items: Old mugs, tins, jars, or even coconut shells can become stylish planters.
- Drainage: Ensure there is a hole at the bottom for water to drain. If not, add a layer of pebbles to prevent waterlogging.
- Size: Choose a size suitable for your plant. Small flowers or succulents do well in smaller containers, while larger blooms need more space.
- Shape and Style: Round, square, or rectangular containers can each create a different aesthetic. Be creative!
Selecting a container sets the tone for your planter and can be done in seconds.
Step 2: Prepare the Container
Preparation ensures your planter is functional and ready to support healthy plant growth:

- Clean the Container: Wash thoroughly to remove dust or residues.
- Add Drainage Layer: If there’s no drainage hole, place a 1–2 inch layer of pebbles at the bottom. This prevents root rot.
- Decorate (Optional): Paint, wrap with fabric, or tie a ribbon around the container for instant beauty.
This step takes just a minute and ensures your planter is both practical and visually appealing.
Step 3: Fill with Soil
The right soil mix supports healthy roots and abundant blooms:
- Use potting soil suitable for flowers.
- Fill the container about 3/4 full, leaving space for your plant.
- Lightly pat the soil to remove air pockets, ensuring the plant has stable support.
Using quality soil accelerates growth and makes your planter ready for planting in seconds.
Step 4: Plant Your Flowers
Now comes the exciting part—planting your flowers:

- Make a small hole in the soil slightly larger than the plant’s root ball.
- Gently place the plant into the hole and cover the roots with soil.
- Press lightly around the base to secure the plant.
- Water lightly to settle the soil and hydrate the roots.
Within a minute or two, your planter transforms from a simple container into a blooming beauty.
Step 5: Add Finishing Touches
Small details make your planter look professional and polished:
- Top Layer Decoration: Add pebbles, colored sand, or mulch to enhance appearance.
- Grouping Planters: Place multiple planters together for a striking display.
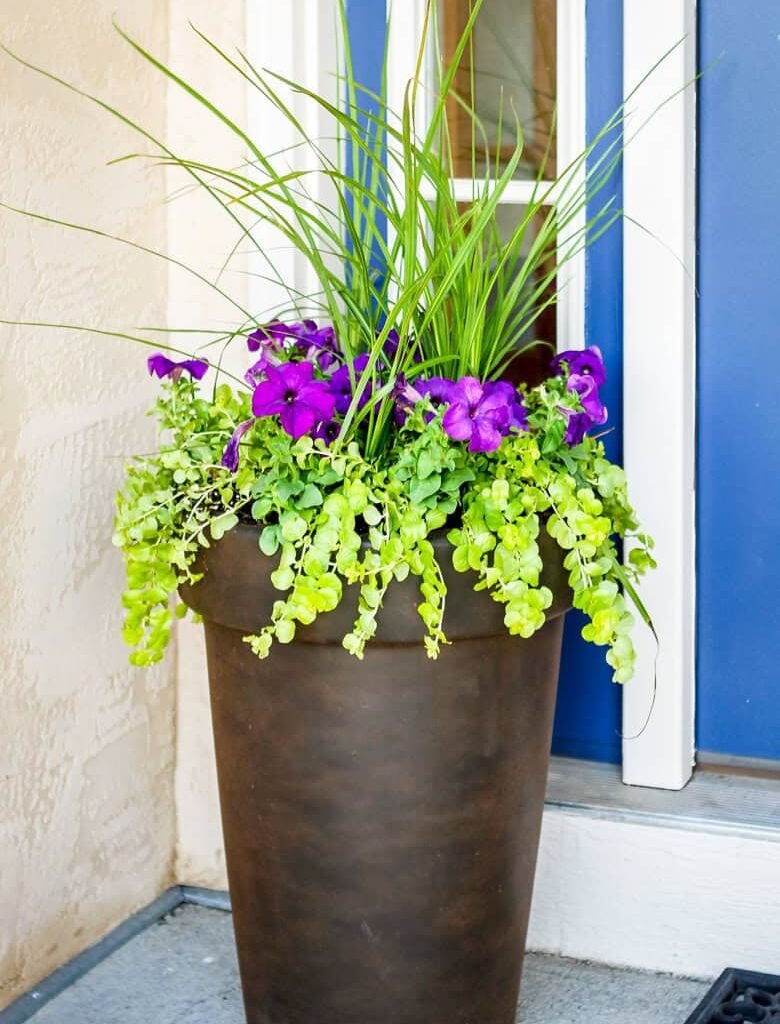
- Indoor Display: Put the planter on windowsills, tables, or shelves to brighten any room.
- Outdoor Placement: Arrange on balconies, patios, or garden edges for a vibrant floral accent.
Finishing touches take less than a minute but dramatically improve the overall look.
Tips for Fast-Growing Flowers in Containers
To maximize blooms and enjoy quick results:

- Choose Fast-Blooming Plants: Marigolds, petunias, pansies, and nasturtiums grow quickly and flower abundantly.
- Sunlight: Most flowering plants need 4–6 hours of sunlight daily. Place your planter in a bright spot.
- Watering: Keep the soil moist but not soggy. Container plants dry out faster than garden soil.
- Fertilization: Use a liquid fertilizer every 2–3 weeks to encourage rapid flowering.
- Pruning and Deadheading: Remove faded flowers to stimulate new blooms.
Following these tips ensures your planter looks beautiful in record time.
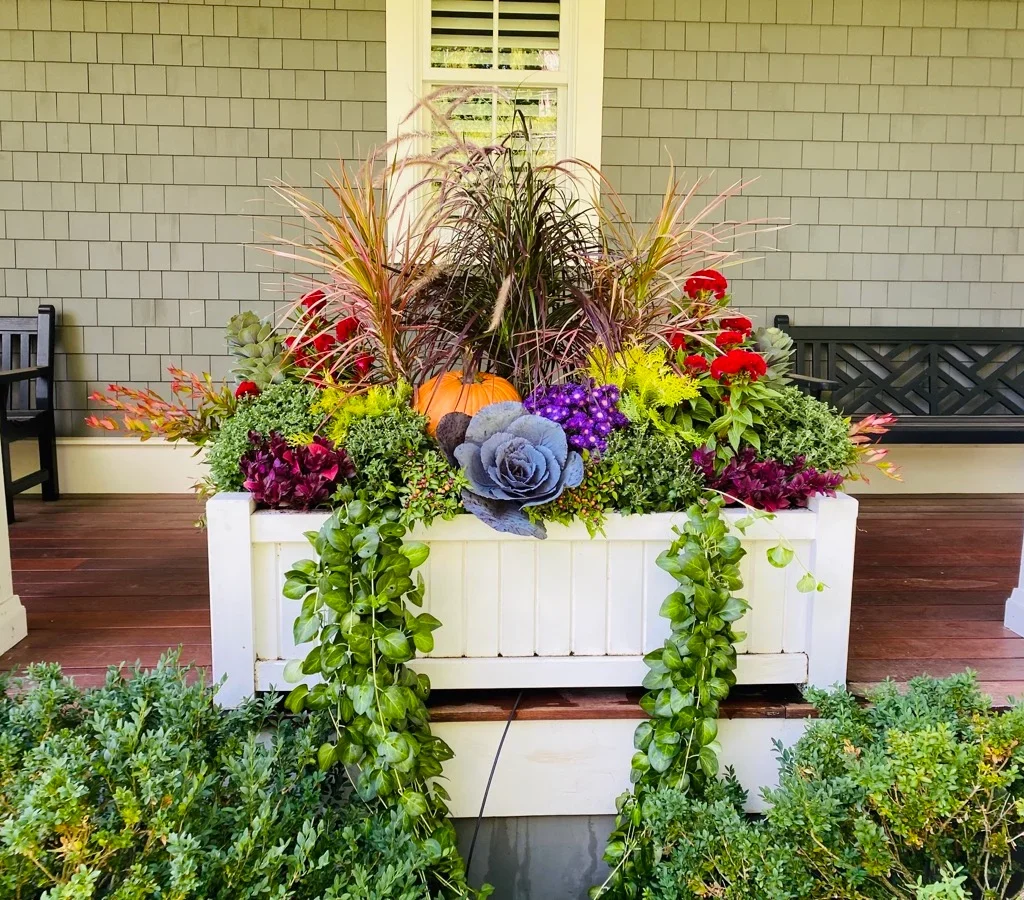
Creative Ideas for Unique Planters
- Hanging Planters: Use old tins, jars, or bottles to create hanging displays.
- Tiered Planters: Stack multiple containers for a cascading floral effect.
- Recycled Planters: Transform teapots, kettles, or wooden boxes into charming flower homes.
- Themed Planters: Paint the container to match holidays, seasons, or personal décor style.
With a little imagination, your 3-minute planter can become a centerpiece of creativity and charm.
Maintenance for Long-Lasting Beauty
Even though your planter is easy to make, a few simple maintenance steps keep it flourishing:
- Regular Watering: Adjust according to plant type and container size.
- Fertilize Monthly: Use slow-release or liquid fertilizer to support healthy growth.
- Check for Pests: Inspect leaves for aphids or mites and treat promptly.
- Rotate Containers: Ensure even sunlight exposure for balanced growth.
- Replant or Refresh Soil: After a few months, refresh the soil to keep your flowers healthy.
Minimal care ensures that your planter stays vibrant and attractive for weeks or months.

Why This Method is the Fastest and Easiest
- Uses simple household containers—no expensive pots required.
- Takes only 3 minutes from start to finish.
- Minimal tools and materials needed.
- Works for indoors, balconies, patios, and small gardens.
- Immediate gratification—you can see your flowers planted and flourishing in minutes.
It’s an ideal project for beginners, busy individuals, or anyone looking to quickly brighten their space.
Conclusion
Creating a beautiful flower planter doesn’t have to be complicated or time-consuming. With this fast and easy 3-minute method, you can transform simple containers into blooming works of art. By choosing the right plants, preparing containers, adding soil, planting, and adding finishing touches, you can have planters that bring joy, color, and life to any space.
Whether for indoor décor, balcony gardening, or gifting purposes, these quick planters are a perfect blend of creativity, convenience, and beauty. Start today, and watch your space bloom in just minutes!
Leave A Comment