Garlic is one of the easiest and most rewarding crops you can grow at home. Whether you have a spacious backyard or just a few containers on a balcony, you can grow a healthy batch of garlic using nothing more than a single clove. Yes—one clove grows into an entire bulb! With proper planting, care, and timing, you can harvest a basket full of aromatic, flavorful garlic that is fresher and more potent than anything you’ll find in a store.
This comprehensive 1200-word guide walks you through every step—from choosing the right clove to harvesting and storing your garlic. Even if you’ve never grown vegetables before, this method is simple, reliable, and perfect for beginners.
Why Grow Garlic at Home?
Garlic is surprisingly low-maintenance, making it an ideal crop for home gardeners. Here’s why:
1. Easy to Grow from a Single Clove
Each clove naturally multiplies into a full bulb, giving you a huge return from minimal effort.
2. Requires Very Little Space
Garlic grows beautifully in pots, grow bags, raised beds, or even between other plants in your garden.
3. Low-Maintenance Plant
Garlic doesn’t need daily attention—just sunlight, loose soil, and occasional watering.
4. Pest-Resistant
Its strong smell repels many pests, making it naturally protected.
5. Fresh Garlic Has Better Flavor
Homegrown garlic is more aromatic, stronger, and healthier than store-bought varieties treated to prevent sprouting.
Now let’s learn how to grow garlic easily from just one clove.

Step 1: Choose the Right Garlic Variety
Not all garlic sold in markets is ideal for planting. Many commercial garlic bulbs are treated with chemicals to prevent sprouting. To ensure success, choose the right type:
1. Hardneck Garlic
- Best for cold climates
- Produces fewer cloves but stronger flavor
- Produces scapes (curly flower stalks)
2. Softneck Garlic
- Best for warm climates
- Stores longer
- Produces more cloves
How to Choose a Planting Garlic Clove
- Buy from a nursery or organic grocer
- Select large, healthy, firm bulbs
- Avoid soft, moldy, or tiny cloves
The larger the clove, the larger the garlic bulb it will produce.
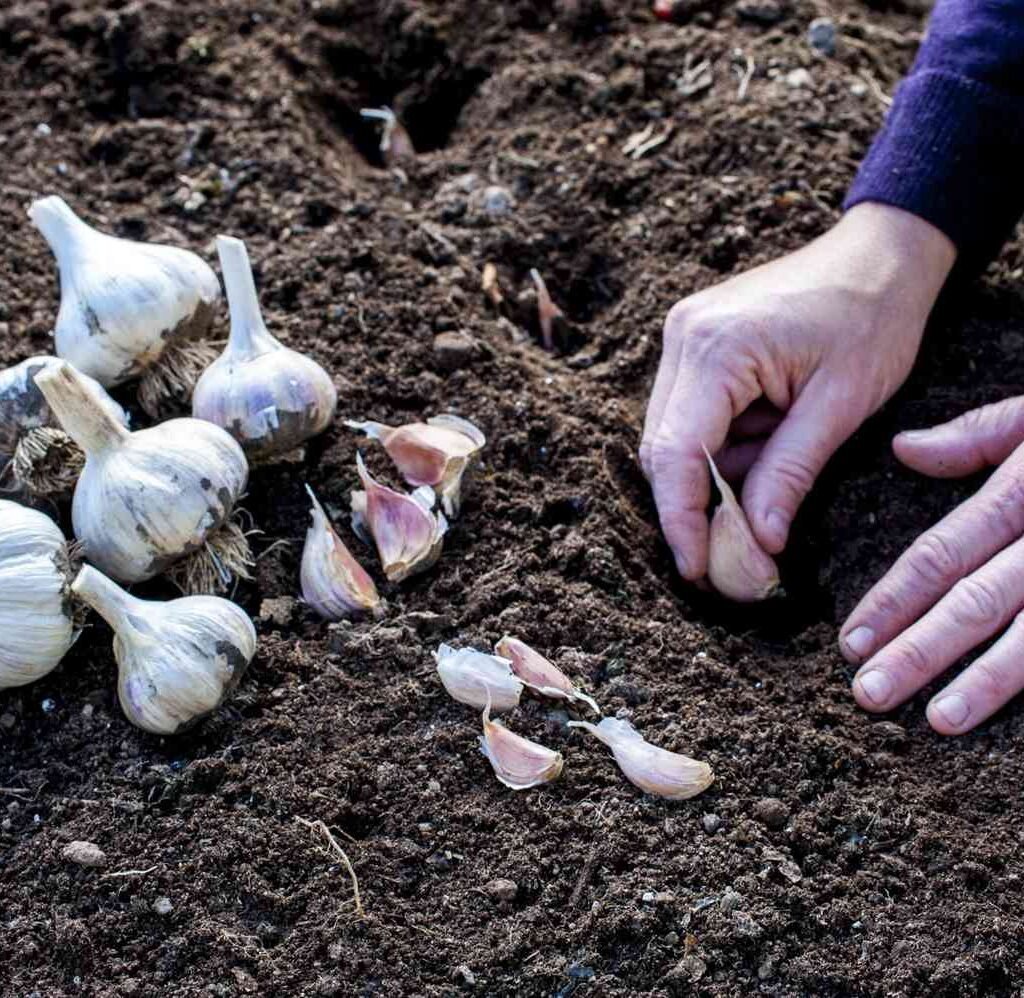
Step 2: Prepare the Clove for Planting
Once you have a healthy garlic bulb, it’s time to prepare the clove for planting.
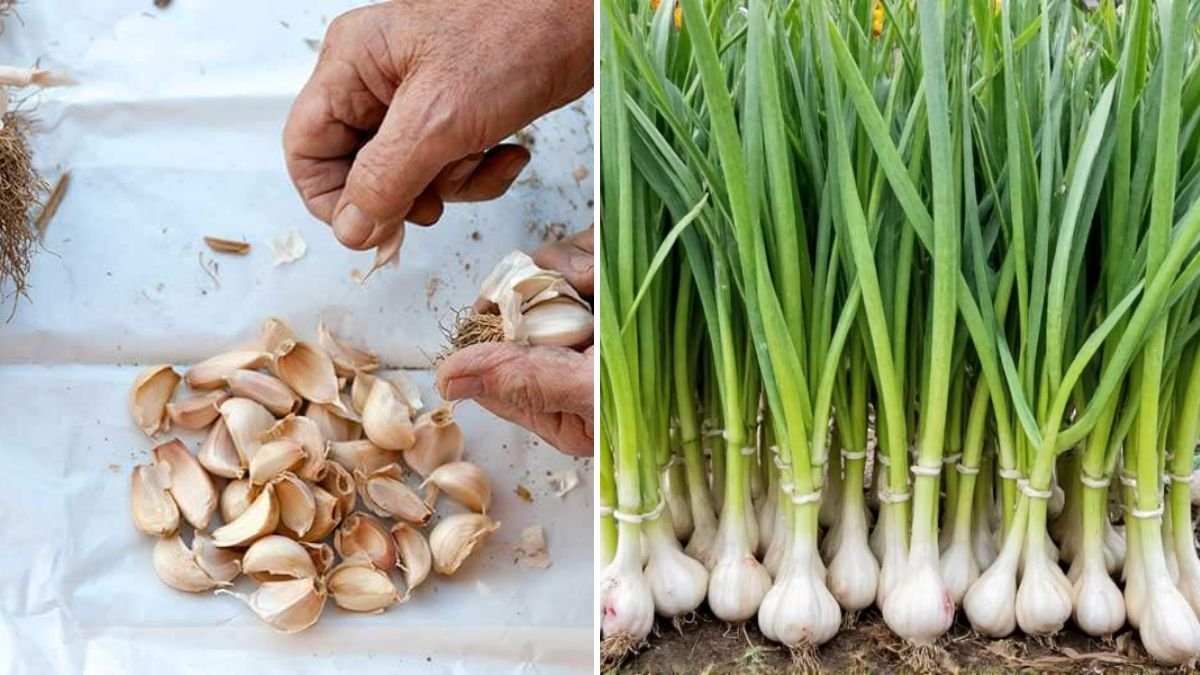
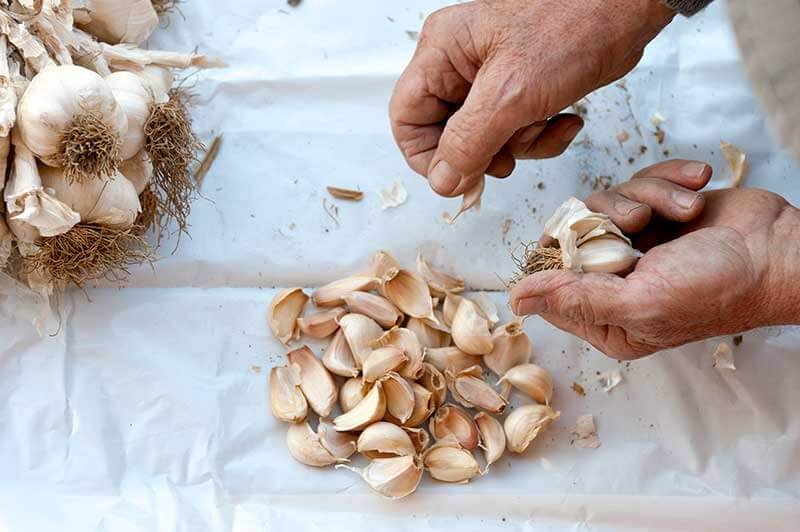
1. Break the Bulb Apart
Separate the bulb carefully into individual cloves. Do this gently to avoid damaging the base.
2. Keep the Outer Skin On
The papery skin protects the clove and helps prevent rot.
3. Choose the Largest Cloves
Plant only the biggest and healthiest cloves. Smaller cloves produce weak plants and smaller bulbs.
Step 3: Use Loose, Nutrient-Rich Soil
Garlic thrives in loose, well-draining soil. Compacted or clay-heavy soil leads to stunted bulbs.
Ideal Soil Mix
- 50% garden soil or potting mix
- 30% compost
- 20% sand or coco peat for drainage
Soil pH
Garlic prefers a slightly acidic to neutral soil of 6.0–7.0 pH.
Step 4: Choose the Right Container (If Growing in Pots)
If you’re growing garlic on a balcony or terrace, containers work perfectly.

Best Containers
- 8–10 inch deep pots
- 3–5 gallon grow bags
- Rectangular planters
Spacing
Leave at least 4–6 inches between cloves for bulbs to grow properly.
Step 5: When to Plant Garlic
Timing is the most important factor in garlic-growing success.
Best Planting Season
- In cold climates: Plant in fall (Sept–Nov)
- In warm climates: Plant in late winter or early spring (Jan–Feb)
Garlic needs a period of cool weather so the bulb can divide into multiple cloves.
Why Planting Time Matters
Cool temperatures help garlic form strong roots before warming weather triggers bulb growth.
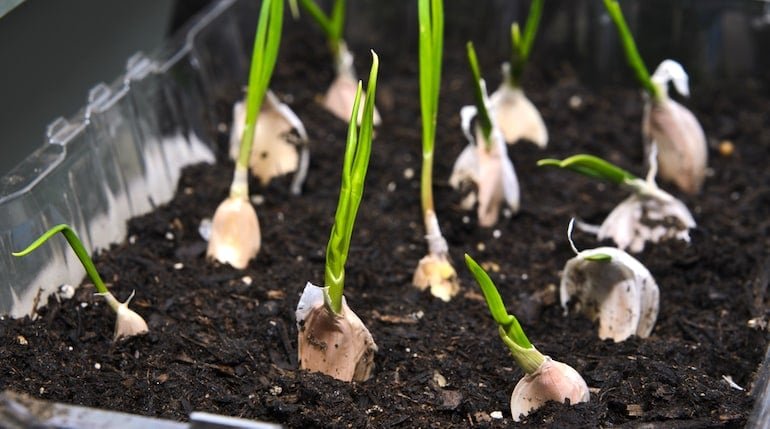
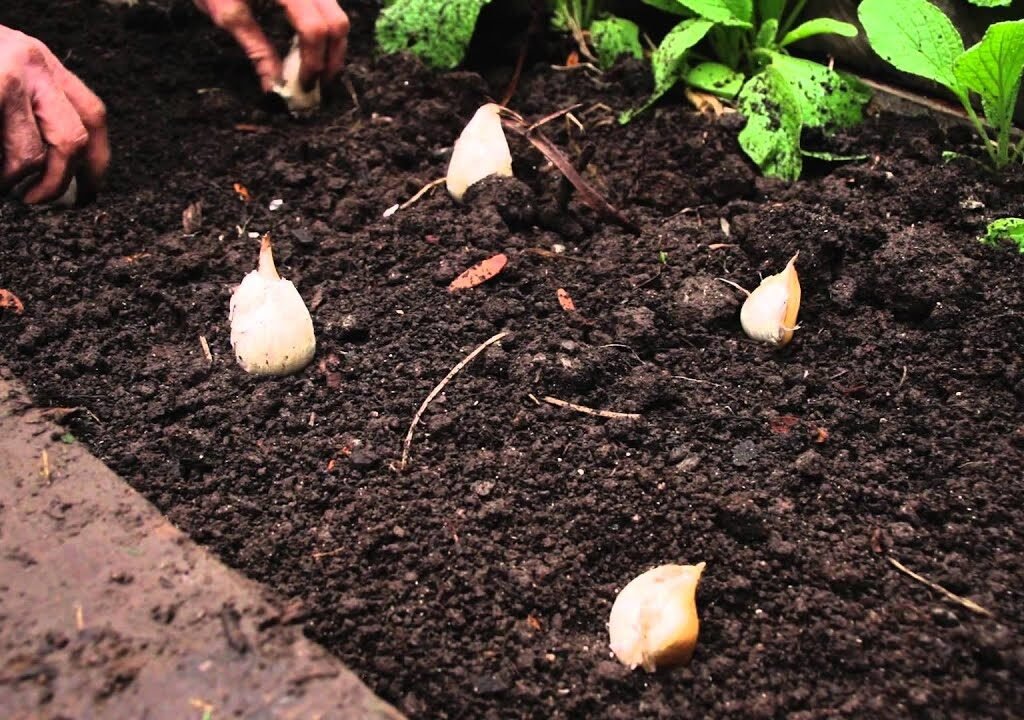
Step 6: How to Plant Garlic Correctly
Now that you have the right clove, soil, and season—let’s plant!
Planting Instructions
- Loosen the soil to a depth of 6–8 inches.
- Make a hole 2 inches deep.
- Place the clove pointy end up and flat end down.
- Cover lightly with soil.
- Water gently.
Important Tips
- Don’t plant cloves too deep—2 inches is enough.
- Ensure each clove gets proper sunlight.
- If planting multiple cloves, leave space between them.
Step 7: Sunlight Requirements
Garlic grows best in full sun, requiring at least 6 hours of sunlight daily.
If grown in partial shade, the bulbs may stay small. Balconies that get morning sunlight are perfect for garlic.
Step 8: Watering Garlic the Right Way
Garlic needs balanced watering—not too much, not too little.
Watering Tips
- Keep soil slightly moist in the early stages.
- Avoid overwatering; garlic hates soggy soil.
- Reduce watering once the bulbs start maturing (after 2–3 months).
- Stop watering completely 10–14 days before harvest.
Overwatering near harvest leads to rotting and reduces storage life.

Step 9: Fertilizing Garlic for Bigger Bulbs
Garlic is a light feeder but does benefit from nutrients during growth.
Best Fertilizers
- Compost
- Vermicompost
- Seaweed extract
- Bone meal (before planting)
Feeding Schedule
- Add compost at planting time
- Apply liquid fertilizer every 20–30 days
- Avoid excess nitrogen—it produces leafy growth instead of big bulbs
Step 10: Mulching for Root Protection
Mulching helps garlic grow stronger by:
- Retaining moisture
- Regulating soil temperature
- Preventing weeds
- Protecting cloves from sun exposure
Use straw, dried leaves, or coco husk as mulch.
Step 11: Caring for Garlic During Growth
Garlic takes 6–8 months to mature, depending on when you plant. Here’s how to care for it.
1. Remove Weeds
Weeds steal nutrients and water—keep the area weed-free.
2. Check for Pests
Garlic rarely gets pests, but watch for:
- Aphids
- Thrips
Use neem oil spray if needed.
3. Watch for Bolting
Hardneck garlic may produce a central flower stalk (scape). Remove it to increase bulb size.
Step 12: How to Know When Garlic Is Ready to Harvest
This is the most exciting part!

Signs of Mature Garlic
- Lower leaves turn yellow and dry
- Upper leaves remain green
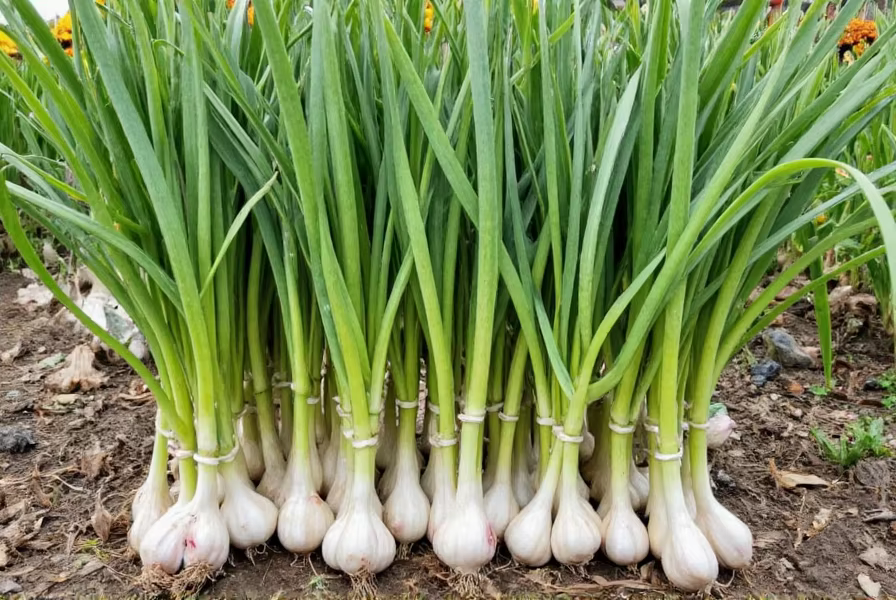
- Bulbs visibly swell under the soil
- Paper covering looks papery and dry
Harvesting Instructions
- Loosen soil gently with a trowel.
- Pull out the bulbs carefully by the stem.
- Brush off excess soil—do not wash.
Let freshly harvested garlic dry for a few hours in shade.
Step 13: Curing Garlic for Storage
Curing is essential for long-lasting garlic.
How to Cure Garlic
- Tie garlic in bundles
- Hang them in a cool, dry, well-ventilated area
- Allow 2–3 weeks for full curing
Once cured, trim the roots, cut the stems, and store in a mesh bag.
Properly cured garlic lasts 6–8 months.
Common Problems and Solutions
1. Small Garlic Bulbs
Caused by:
- Late planting
- Not enough sunlight
- Dense soil
2. Rotting Cloves
Avoid overwatering and ensure good drainage.
3. Garlic Not Sprouting
Store-bought garlic may be chemically treated—use organic or seed garlic.
4. Bulbs Splitting
Happens when garlic is harvested too late.
Final Tips for Growing Garlic Successfully
Plant only large, healthy cloves
Ensure full sunlight exposure
Use loose, well-draining soil
Avoid overwatering
Mulch for protection
Harvest on time and cure properly

With these steps, you can grow garlic easily—even in containers, on balconies, or in tiny gardens.
Final Thoughts
Learning how to grow garlic from a single clove is one of the most empowering gardening skills. It’s simple, productive, and perfect for beginners. Whether you want chemical-free garlic for cooking or simply enjoy gardening, this method guarantees success.
From one clove, you can get an entire bulb—and from that bulb, your next year’s crop begins. It’s a cycle of abundance that starts with a single, small step.
Leave A Comment