A thriving garden doesn’t necessarily demand daily watering or constant babysitting. For busy gardeners—whether you work long hours, travel often, or simply forget to water occasionally—self-watering systems can be a lifesaver. They deliver consistent moisture directly to plant roots, reduce water waste, and keep your garden lush even when life gets hectic.
Self-watering pots may sound high-tech, but you don’t need expensive equipment. With a few simple materials, you can create effective, eco-friendly, and budget-friendly DIY self-watering pots that work beautifully for balconies, terraces, indoor plants, and small gardens.
In this detailed guide, we’ll share 5 DIY self-watering pot ideas for busy gardeners, complete with instructions, materials, and helpful tips to keep your plants healthy with minimal effort.
Why Busy Gardeners Need Self-Watering Pots
Before diving into the DIYs, let’s understand why they’re so valuable:
1. They Prevent Overwatering and Underwatering
Plants get water only when they need it. The reservoir releases moisture through capillary action, providing balance.
2. Saves Time
No need for daily watering—perfect if you juggle work, kids, or frequent travel.

3. Conserves Water
Self-watering systems reduce wastage and evaporation, ideal for hot climates.
4. Encourages Strong Root Growth
Roots grow downward toward the water source, resulting in healthier, hardier plants.
5. Perfect for Urban Spaces
Balcony and indoor gardeners benefit greatly since water doesn’t spill and soil stays cleaner.
Idea 1: Plastic Bottle Self-Watering System

One of the easiest self-watering systems you can make uses a simple plastic bottle. It’s great for herbs, small flowering plants, and indoor pots.
Materials Needed
- 1 plastic bottle (500ml–1 liter)
- Sharp knife or scissors
- Cotton rope or shoelace (works as a wick)
- Potting soil
- Plant of your choice
How to Make It
- Cut the bottle into two halves.
- Invert the top half (funnel side) into the bottom half.
- Thread the cotton wick through the bottle cap.
- Fill the top half with soil, ensuring the wick is buried inside.
- Fill the bottom half with water—your reservoir.
- Insert the funnel half and place your plant.
How It Works
The wick absorbs water and delivers it slowly to plant roots. Refill the reservoir every 5–7 days.
Best For
- Basil, mint, coriander
- Succulents (if soil mix is well-draining)
- Small balcony flowers
Idea 2: Clay Pot-In-Pot Olla System
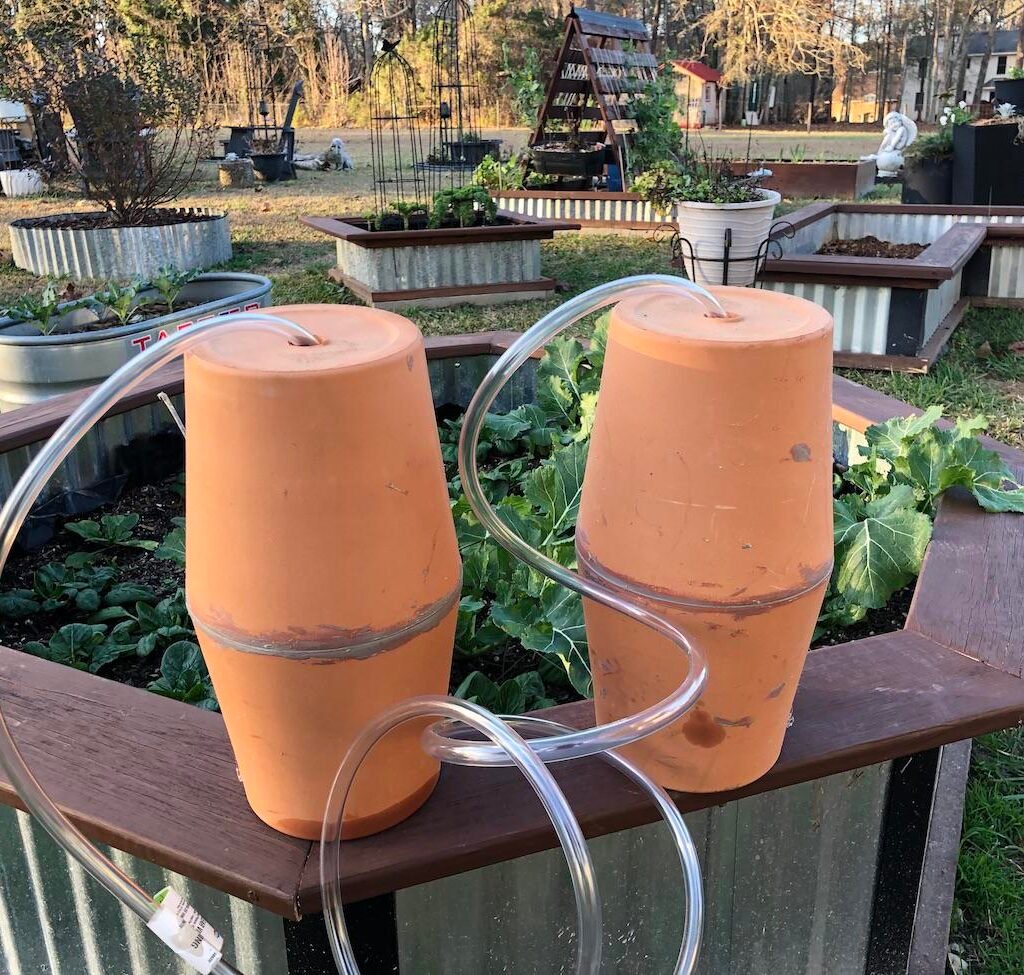
Ollas are ancient, highly efficient irrigation tools that use porous clay pots to release water slowly into the soil. This DIY version works wonderfully for vegetable pots, fruit trees in containers, and balcony gardens.

Materials Needed
- 2 small unglazed clay pots
- Waterproof sealant or clay tray
- A lid, tile, or flat stone
- Soil and plants
Instructions
- Seal the bottom hole of one clay pot with waterproof glue or a small tile.
- Place this pot inside your planter, leaving its opening exposed.
- Fill your planter with soil, packing around the pot.
- Plant around the clay pot.
- Fill the clay pot with water and cover the opening with a tile or stone.
Why It Works
Unglazed clay is porous, so water seeps slowly into the surrounding soil. Plants drink as needed, preventing root rot.
Best For
- Tomatoes
- Chillies
- Eggplants
- Balcony fruit plants like strawberries and lemons
Refill Cycle
Every 3–6 days depending on temperature.
Idea 3: Wick Watering Using a Water Storage Container
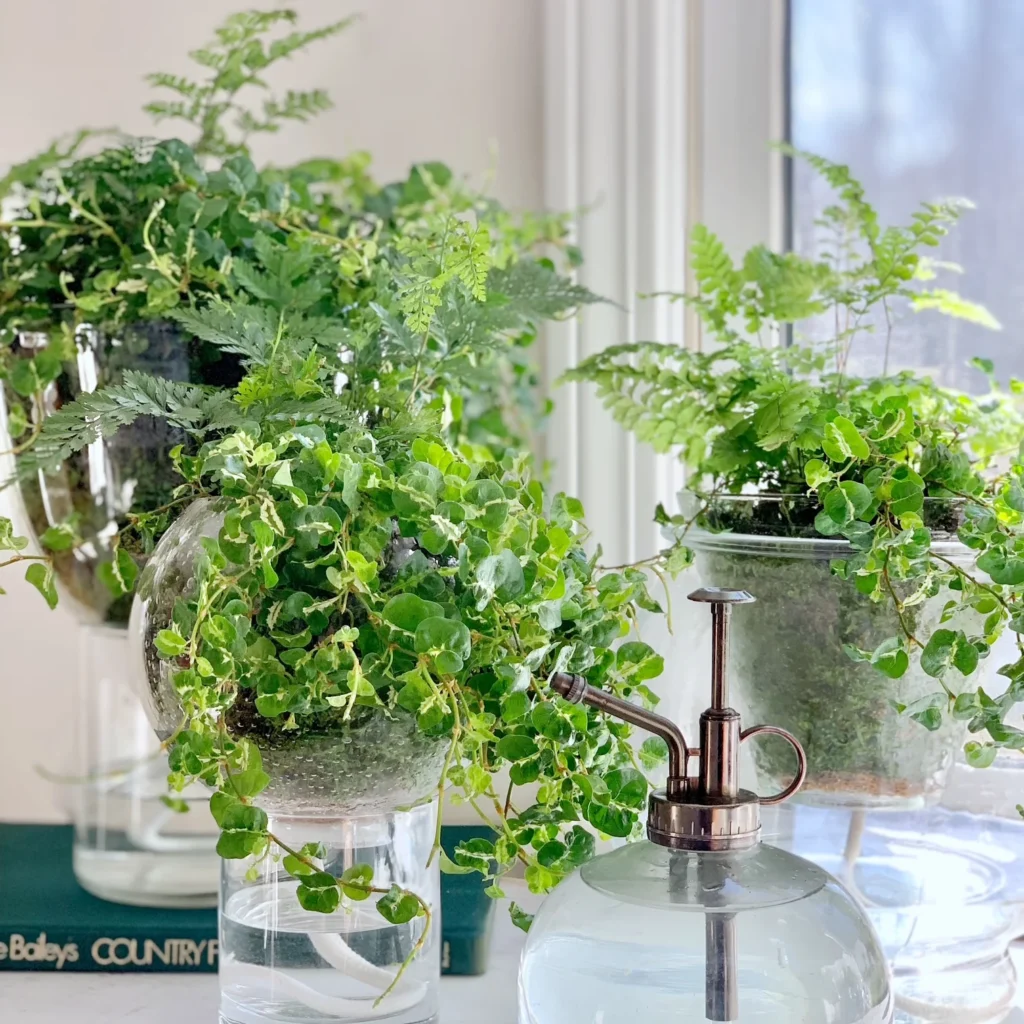
This is perfect for indoor gardeners or people who travel frequently. Unlike the bottle method, this wick system connects a plant pot to an external water source.
What You Need
- A potted plant
- A long cotton rope or thick wool yarn
- A water container (glass jar, jug, or bowl)
- A chopstick or pencil (optional)
How to Set It Up
- Soak the wick in water for 30 minutes.
- Insert one end into the soil, 2–3 inches deep.
- Place the other end into the water container.
- Ensure the water source is slightly lower than the pot to avoid flooding.
- Use a chopstick to tuck the wick neatly into the soil.
Why It Works
Capillary action pulls water upward into the soil whenever it becomes dry. The plant drinks at its own pace.
Ideal For
- Indoor houseplants
- Ferns
- Peace lilies
- Balcony plants during vacations
Maintenance
Refill the container once a week.
Idea 4: Large Two-Bucket Self-Watering Pot for Bigger Plants
If you grow vegetables like tomatoes, peppers, okra, or even small fruiting plants, this two-bucket system is your best choice. It holds more water and provides a stable moisture level.

Materials
- 2 sturdy buckets of the same size
- A small plastic cup or net pot
- A drill
- Potting mix
- Your plant
How to Build It
- Drill a hole in the center of the top bucket’s bottom.
- Insert a small net pot or perforated cup—this will act as a soil-filled wick.
- Drill a drainage hole in the bottom bucket about 3 inches from the top (overflow control).
- Place the top bucket into the bottom one so the net pot dips inside the water reservoir.
- Fill the top bucket with soil and plant.
- Fill the bottom bucket with water through the net cup area.
Why It Works
The bottom bucket acts as a large reservoir. The net cup filled with soil absorbs water and keeps the entire pot evenly moist.
Best For
- Tomatoes
- Cucumbers
- Peppers
- Roses
- Hibiscus
Watering Cycle
Refill every 5–10 days depending on plant size and weather.
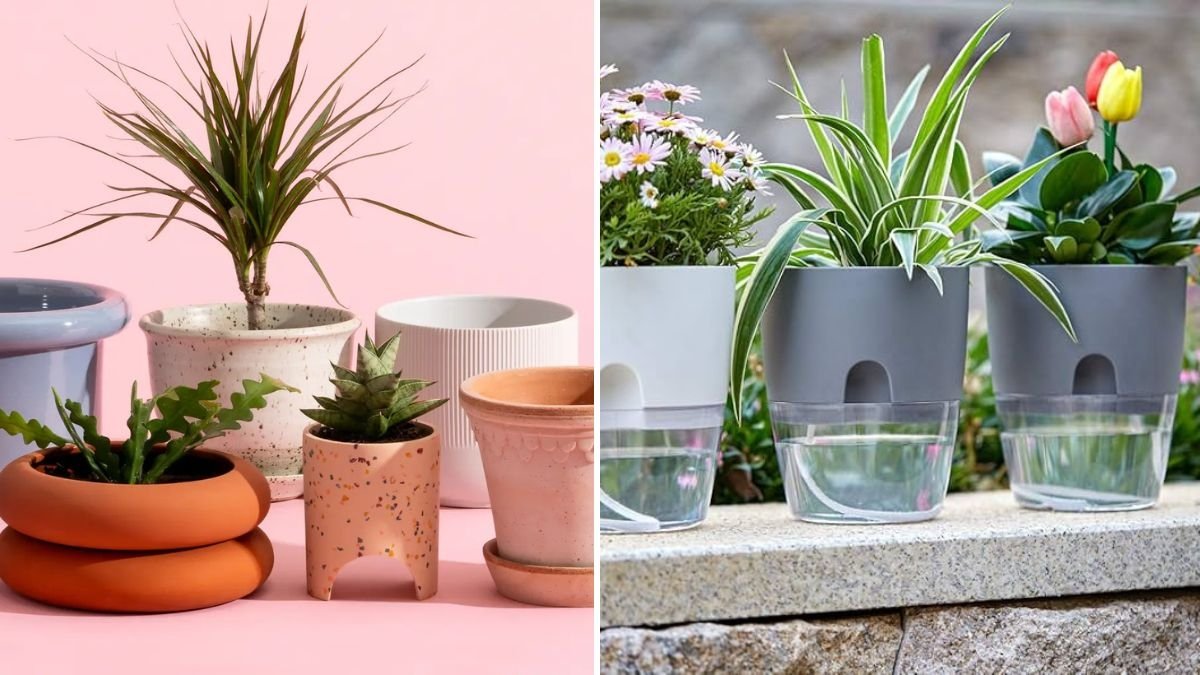
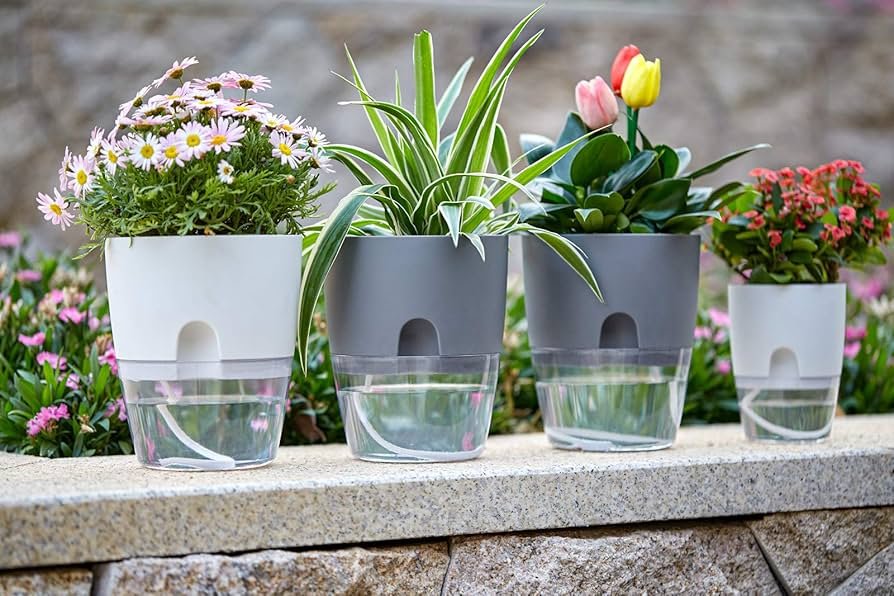
Idea 5: Ceramic Pot with Built-In Reservoir Tray
This is the simplest self-watering method and works especially well for ornamental plants. Most pots already have a drainage hole—this project turns it into a water-efficient system.
Materials
- Ceramic or plastic pot with drainage hole
- A matching deep saucer
- Gravel or small stones
- Cotton wick (optional)
- Potting soil
Steps
- Place a layer of stones on the saucer.
- Seat the pot on top, ensuring the drainage hole touches the stones.
- Insert a cotton wick through the drainage hole for extra water absorption.
- Fill the pot with soil and plant.
- Pour water into the saucer.
How It Works
Water slowly moves upward through the wick or stones, providing moisture to roots. This method prevents waterlogging because the pot never sits in standing water—it’s raised by stones.
Best Suited For
- Snake plant
- Spider plant
- Jade
- Money plant (pothos)
- Decorative flowers
Tips to Make Your Self-Watering Pots More Effective
1. Use the Right Soil
Self-watering systems work best with:
- Light, well-draining soil
- Mixes with cocopeat or perlite
Heavy garden soil can clog wicks and reduce absorption.
2. Add Mulch on Top
Mulching reduces evaporation and keeps the soil cool.

3. Always Pre-Moisten the Soil
Dry soil repels water, so moisten it before filling pots.
4. Keep Containers Clean
Algae and bacteria build up over time—wash and disinfect every few months.
5. Test the System First
Check if water is wicking properly before leaving your plants unattended.
Bonus: What Plants Thrive in Self-Watering Pots?
Self-watering systems work best for:
- Herbs
- Vegetables like tomatoes, peppers, lettuce, spinach
- Indoor tropical plants
- Flowering plants like marigold, petunia, geranium
- Creepers and vining plants
Avoid cactus or succulents unless you use minimal water.
Conclusion: A Low-Maintenance Garden Is Possible!
Being busy shouldn’t stop you from enjoying a lush, thriving garden. With these 5 DIY self-watering pot ideas, you can:

- Save time
- Reduce watering frequency
- Keep plants healthy
- Reuse materials sustainably
- Make gardening easy and stress-free
Whether you prefer a simple plastic bottle system for herbs or a more advanced two-bucket setup for vegetables, there’s a DIY method here for everyone.
Once you try self-watering systems, you’ll wonder how you ever gardened without them. So gather your materials, pick your favorite idea, and make your gardening routine simpler, smarter, and more enjoyable.
Leave A Comment